How to Make a Seashell Necklace With Stuff You Already Have
Ever looked at a handful of shells and wondered what you could turn them into? Making your own seashell necklace with stuff you already have is simple, budget-friendly, and fun!
You don’t need fancy materials or special skills… just a little creativity and a few household basics!
This guide on how to make a seashell necklace shows you how to recycle what you own and add your personal style!
You’ll learn the easiest steps to piece everything together, so your finished necklace looks like it came from a beachside shop, not your junk drawer.
So grab your supplies and let’s get started!
Gathering Your Materials From Home

Before you make your seashell necklace, take a look around your house. You probably have just about everything you need tucked away in a drawer or closet. With a little imagination, everyday items can step in for jewelry tools and supplies. This section shows you how to gather and prepare seashells and swap in household stand-ins for those items you’d usually buy from a craft store.
Choosing and Preparing Seashells
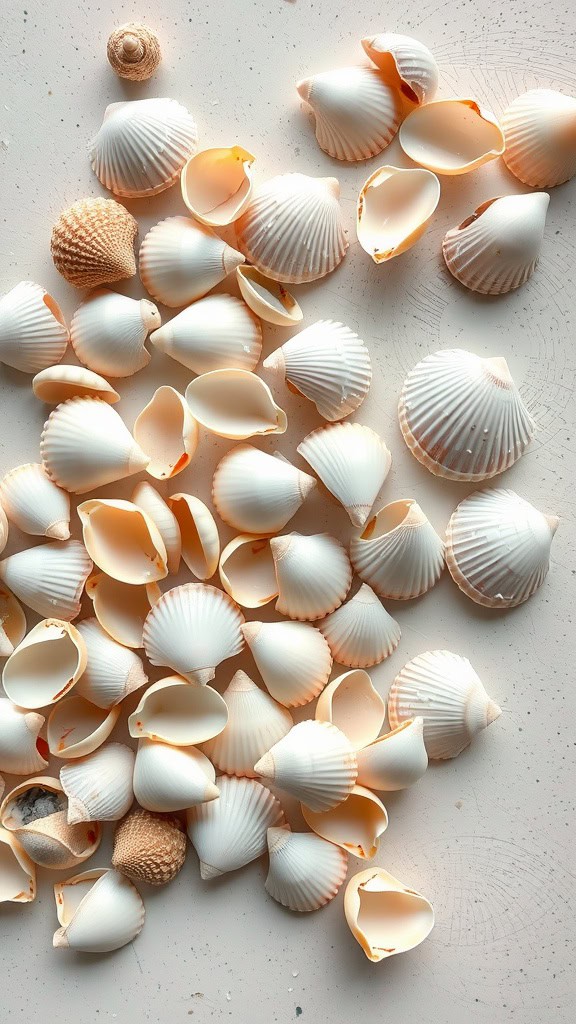
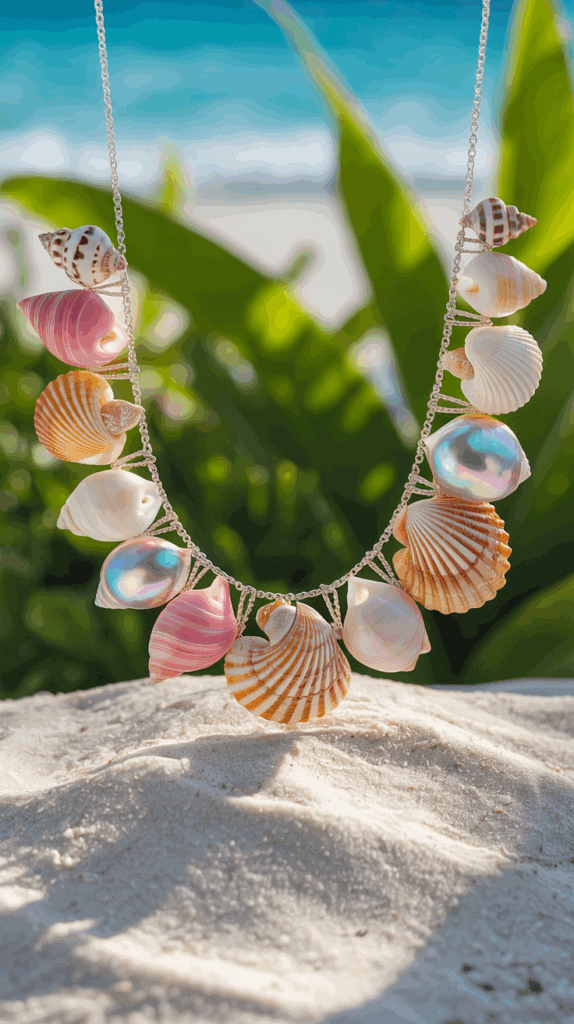
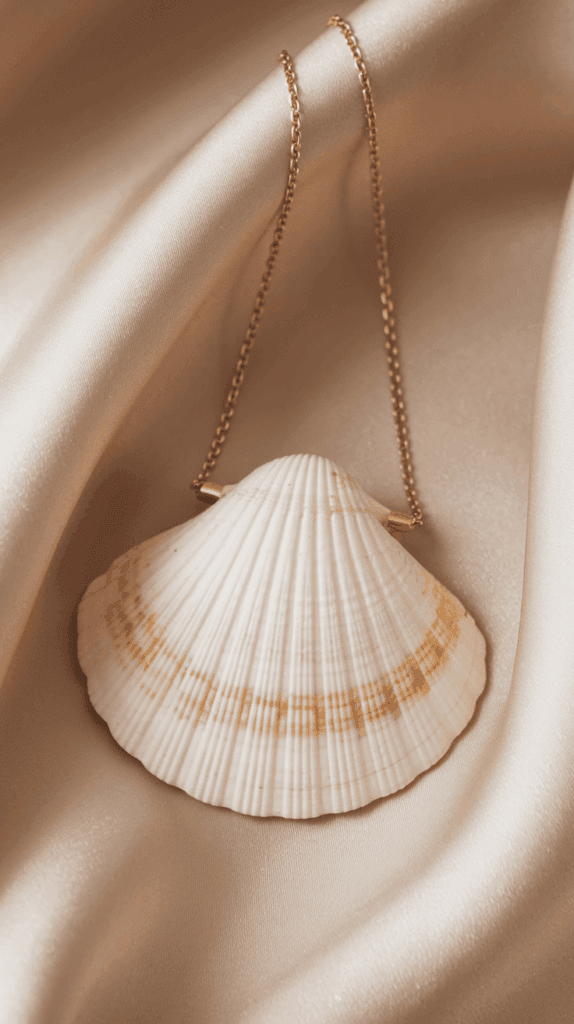
Start by picking out a few seashells that mean something to you. Small or flat shells work best because they’re lightweight and comfortable to wear. Rinse the sand away under warm water and let them dry. If you spot any rough edges, gently rub them with sandpaper or a nail file to smooth them out. For shells with small holes, you’re halfway there—otherwise, you can use a simple tool like a needle or thumbtack to make a tiny hole near the edge.
Tips for prepping shells:
- Soak to remove dirt and sand.
- Use a soft toothbrush for stubborn spots.
- Let shells dry completely before using.
- Stack shells beforehand to see which ones look good together.
Household Items to Replace Jewelry Tools

Making a seashell necklace doesn’t mean you have to own jewelry pliers or beads. Most of what you need is likely already in your home. With a little creativity, you can swap in these items:
- Toothpicks: Use for applying glue or poking tiny holes.
- Yarn, string, or shoelaces: Any thin, flexible material you can thread through a shell. Dental floss can even do the trick for a minimalist vibe.
- Paper clips: Straighten them out for a quick needle, or use them as makeshift hooks and clasps.
- Old chains or necklaces: Repurpose a broken chain or bracelet as your necklace base.
- Kitchen scissors or nail clippers: Great for trimming your string or yarn to the right length.
- Glue (super glue or nail glue): Secures shells or holds knots in place.
Scan your junk drawer, sewing box, or tool kit—there’s probably something perfect hiding there.
Optional Embellishments You Might Already Own
Accessorize your seashell necklace with bits and pieces you find around the house for an extra pop of personality. Small treasures add character without the need for a store run. Look for items like:
- Beads from old jewelry: Recycle single earrings, bracelets, or beaded keychains.
- Buttons: Vintage or mismatched buttons add a playful touch between shells.
- Colored thread or embroidery floss: Liven up your design with a splash of color.
- Ribbon or fabric strips: Soft materials can cushion shells and create texture.
- Charms or pendants: Dig through old jewelry boxes for lost or forgotten baubles.
- Paint or nail polish: Add color to plain shells or cover chips and scratches.
With these options, you give your seashell necklace a look that’s one-of-a-kind. Personal touches make a big difference, and using what you already have helps keep things simple and budget-friendly on your journey to learning how to make a seashell necklace.
Step-by-Step Instructions: How to Make a Seashell Necklace
Ready to see your seashell necklace take shape? Here’s where everything comes together—no fancy supplies or tools needed. These steps show you how to turn your shells, string, and a few odds and ends into a wearable, beachy necklace. From cleaning and drilling to adding fun extras, you’ll use materials that are probably already in your home.
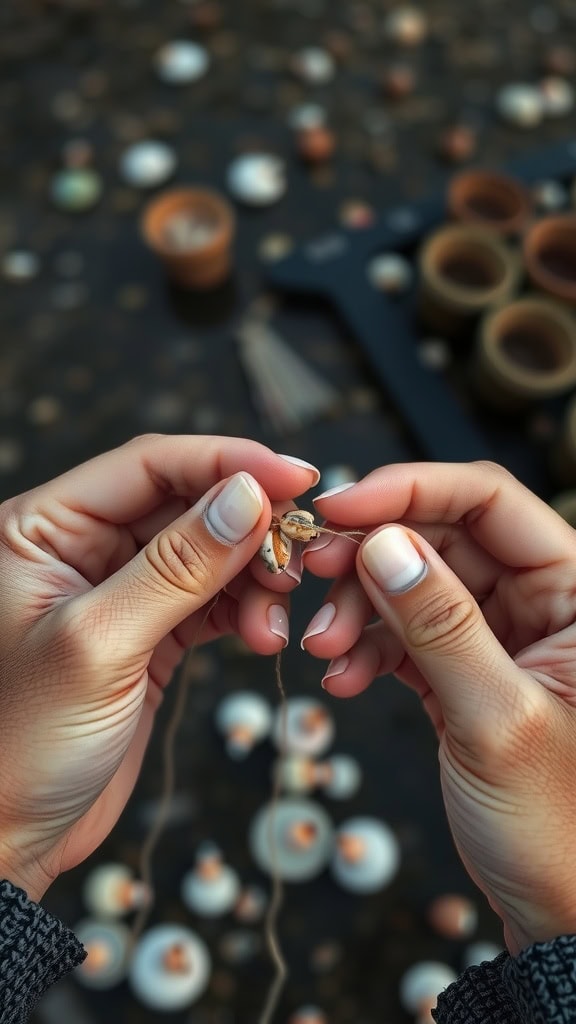
Cleaning and Drilling Seashells Without Special Tools
You don’t need jewelry drills to make neat holes in shells. Smooth, shiny shells are best for necklaces, so start with a good cleaning job and be gentle with your DIY drilling.
- Cleaning: Wash each shell in warm, soapy water. Use an old toothbrush to scrub away dirt, sand, or grime. Let them dry fully on a towel.
- Drilling: To make a hole, place your shell flat on a dish towel. Take a thick sewing needle, pushpin, or even a clean nail. Twist the tip over the spot you want the hole, pressing gently but firmly—don’t rush or you’ll risk cracks. Once you see a small dent start to form, keep twisting slowly until you break through.
- Safety tip: Do this on a stable surface. Support the shell with your non-drilling hand to keep it steady.
If a shell is really tough, soak it in water for an hour first. That makes it less brittle and easier to pierce.
Designing Your Necklace: Layout and Planning
Take a moment to plan out your necklace before stringing anything. Group your seashells, beads, or buttons on a flat surface, like a table or tray.
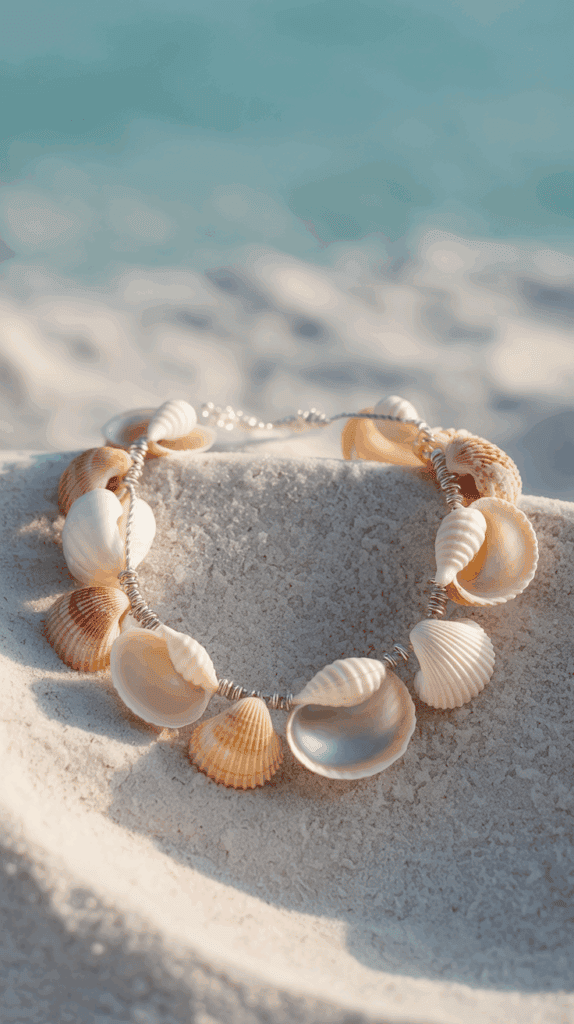
- Lay out your design: Place your biggest shell in the middle if you want a statement piece, or scatter smaller shells throughout for a more balanced look.
- Mix and match: Test how your found objects—old beads, buttons, or charms—pair with the shells. Shuffle things around until the style fits your taste.
- Measure your string: Hold the string or chain up to your neck and add an extra few inches for tying or fastening.
If you have colored string or ribbon, try weaving it between shells for added texture and color. Snap a quick photo of your layout before you start assembling—it helps to remember your favorite arrangement.
Stringing and Securing Your Necklace
After planning your layout, it’s time to put everything together. You don’t need fancy clasps or crimps—here’s how to string a seashell necklace with simple household items:
- Thread your string: Use yarn, dental floss, or a sturdy shoelace. Start by tying a knot at one end for an anchor.
- Add shells and extras: Slip each shell and bead onto the thread, using the holes you made. Use a toothpick to help guide the string if it gets stuck.
- Space things out: If you like, tie tiny knots between each item. This keeps shells from bumping into each other and makes the necklace sturdier.
- Secure the ends: When finished, tie a secure double knot, or loop each end through an old button for a makeshift clasp.
- Check fit: Try on your necklace before trimming the extra string. Adjust if needed.
A simple dab of glue on the knots keeps everything in place and helps your necklace last longer.
Adding Creative Touches With Found Objects
Small extras found around your house turn an ordinary necklace into something special. Personalize your piece even more with accents that show off your style.
- Beads from broken bracelets: Upcycle colorful beads and slip them beside your shells.
- Buttons: Place pretty or mismatched buttons between shells for texture and contrast.
- Ribbon scraps or embroidery thread: Knot these along the string, or wrap them around shells.
- Keys, coins, or charms: Add a found key or small coin for a quirky, personal pendant.
- Paint or nail polish: Paint a few shells for a burst of color, or add patterns with a fine-tip marker.
These touches make each necklace unique. Look through your old jewelry box or junk drawer—chances are, you’ll find something perfect to add that little bit of “you” to your finished seashell necklace.
Tips for Successful DIY Seashell Jewelry
Making your own necklace with found seashells brings plenty of small surprises—some good, some not so much. Wobbly shells, weak knots, or a tricky closure can trip you up if you’re new to how to make a seashell necklace at home. Here are clear tips and handy fixes for the most common roadblocks, so your necklace stays strong and looks great from every angle.
Preventing Breakage and Ensuring Durability
Broken shells or snapped strings can ruin your project. Simple steps keep your necklace sturdy so you can actually wear it, not just hang it up.
- Pick thicker string, floss, or cord. Skip thread that looks weak or frayed.
- Add knots between shells. This stops shells from clashing and cracking against each other.
- Check for sharp shell edges. Smooth rough spots with a nail file or sandpaper.
- Double up on knots at the ends. A second knot means extra hold, so things don’t slide off later.
- Glue helps. A tiny dab of clear glue on each knot, especially at the entry and exit points of shells, adds major staying power.
- Test your necklace before adding extras. Gently tug at either end to check if anything feels loose.
A sturdy necklace stands up to years of wear and play. These small habits stop problems before they start.
Easy Clasp and Closure Hacks
You don’t need a jewelry store clasp to finish off your seashell necklace. There are plenty of smart workarounds using stuff you probably have.
- Button-and-loop closure: Use a button from an old shirt. Thread the string through and tie a snug loop at the other end to hook over it.
- Paperclip fastener: Bend a paperclip into an S-shape. Attach it to each end and hook them together for a makeshift clasp.
- Tie-it-on style: Measure your necklace a few inches longer and just tie a bow at the back of your neck.
- Twisted wire closure: Take a short piece of wire (even floral or twist-tie style) and twist into a hook at one end, a small loop for the other.
- If you want the necklace to be easy-on, easy-off, remember to make the opening large enough to slip over your head or to untie with one hand.
These hacks work for just about any homemade necklace and make it easy to adjust, re-knot, or add more shells later.
Fixes for Uneven or Misaligned Designs
It’s easy for shells to end up facing sideways, sliding out of place, or looking crooked once they’re strung up. Tidy up your necklace by making these small adjustments:
- Use spacer knots: Tie small knots or add beads between shells to keep them facing forward, not flipped or slid to the side.
- Pinch and realign before tying off: Before making the final knot, hold the necklace at both ends and gently slide shells into place. Most can be nudged along the string without untying anything.
- Glue for extra hold: For especially tricky shells, put a bit of glue right where the string meets the shell. Hold steady for a minute before moving on.
- Balance weight: Place your largest or heaviest shell in the center, and match shells on the right and left for even weight. This keeps your necklace from looking lopsided.
- Quick swap: If something is badly misaligned, snip just that section of string, replace or adjust the shell, and tie a new knot. Hide the knot under a bead or button.
A quick test: Hang your necklace by both ends before wearing to check if everything rests flat. Small tweaks at this stage make a big difference in how your finished seashell necklace looks and feels.
Sustainable Crafting Ideas
Making a seashell necklace with what’s already at home is more than a budget hack, it’s a simple way to reuse and help the planet. When you use things that might otherwise go to waste, you reduce clutter, save money, and create something special with real meaning. This section looks at how to keep your project eco-friendly and offers inspiration for turning old odds and ends into beautiful necklace details.
Eco-Friendly Crafting Practices
Sustainability starts with what you choose to use. Skip buying new supplies and give new life to things you already have. This approach helps the environment and shows that style doesn’t need to cost a penny.
- Use upcycled materials: Instead of throwing out old jewelry or bits of household string, put them to work in your necklace. Every piece you save from the trash means less waste in landfills.
- Avoid single-use plastics: If possible, stick to natural materials like cotton string, shells, buttons, or glass beads from past projects. Keep plastic to a minimum by skipping bead kits or mass-produced charms.
- Repurpose packaging: Even junk mail or cardboard boxes work for lining your workspace, drying shells, or testing paint colors. It’s another way to cut down on trash.
- Choose safe glues and paints: If you add color or glue pieces together, look for water-based or non-toxic options. These are safer for your skin and better for the planet.
- Recycle or compost scraps: Tiny bits of string or leftover organic material from prepping shells can go in compost if you have one—or at least in the recycling bin if allowed in your area.
When you focus on reusing and reducing, your seashell necklace becomes more than just jewelry. It’s a small step toward being mindful of what you use and throw away.
Ideas for Repurposing Old Jewelry and Household Items
The best part of making a seashell necklace with what you already have is the chance to get creative with things you might never expect. Everyday items, even the ones at the back of your junk drawer, can find new purpose.
Try these ideas when gathering supplies for your necklace:
- Broken or outdated jewelry: Pull beads, clasps, or chains from unused bracelets and necklaces. A broken chain becomes the perfect base for your seashells.
- Odd buttons: Use single or mismatched buttons as colorful spacers between shells. Big, bold buttons can even serve as the necklace’s main feature.
- Old keys and pendants: Add extra personality with found keys, lockets, or small charms that have lost their original use.
- Snippets of fabric or ribbon: Soft, leftover strips from sewing projects or even old clothes add texture and color. Tie short pieces between shells for fun flair.
- String, twine, or shoelaces: Instead of buying new string, look for unused shoelaces, yarn, or twine in your home supply bins. Even dental floss can work for a sleek, minimalist look.
- Paperclips and safety pins: Bend these into hooks, connectors, or even artistic shapes for your necklace. They’re perfect for makeshift clasps or adding industrial-style details.
- Beads and embellishments from household decor: Check old keychains, curtain tiebacks, or even zipper pulls for beads and small charms that can be repurposed.
Turning these finds into features on your necklace isn’t just clever—it keeps materials in use longer and adds backstory to every piece. When someone asks how to make a seashell necklace that’s unique and eco-smart, you’ll have real answers and a necklace that tells a story.
Conclusion
Turning found objects and seashells into jewelry is a creative way to make something personal while saving money. Making a seashell necklace at home means you control the style and add stories to every piece. You’ve seen how easy it is to use what you already have, turning leftovers and forgotten items into something new.
With every project, you help cut down on waste and support an eco-friendly mindset. Trying out how to make a seashell necklace for yourself is simple and satisfying. Give it a shot and let your imagination guide you—your next necklace might be the one everyone asks about.
Thanks for following along. Share your results or pass this guide to anyone who loves unique, homemade style.
This post may contain affiliate links. Read the full disclosure here.