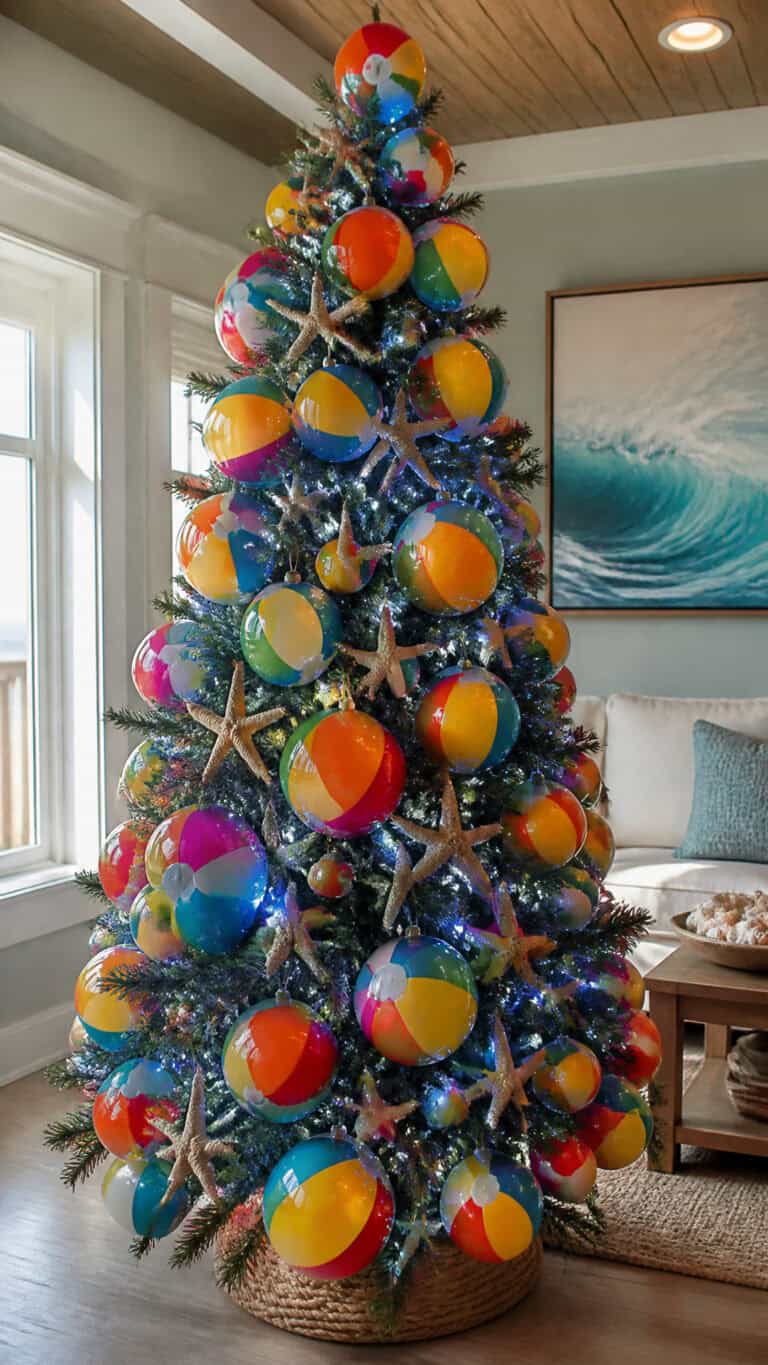
8 DIY Beach Christmas Decor Ideas With Seaside Holiday Charm
There’s something absolutely magical about combining the cozy warmth of Christmas with the breezy, relaxed vibes of beach life! As a mom of three energetic boys, I’m always looking for creative ways to make our holiday decorations special without spending a fortune or losing my sanity in the process.
That’s why I fell head over heels for DIY beach Christmas decor – it’s unique, budget-friendly, and honestly so much fun to create with the kiddos!
Create a cohesive holiday look with this complete guide to DIY coastal Christmas decor!
Whether you live by the ocean or just dream of sandy shores during the winter months, these coastal-inspired Christmas decorations will bring that seaside charm right into your home. Plus, many of these projects use materials you might already have from summer beach trips or can easily find at your local craft store. Let’s dive into these amazing ideas that’ll have your home looking like a beachy winter wonderland!
Seashell Ornament Collection
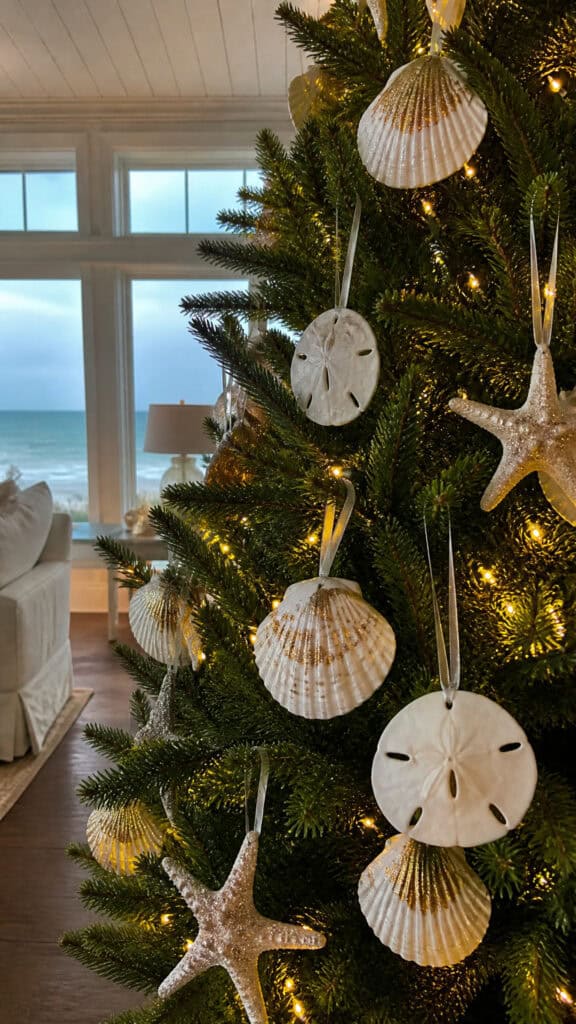

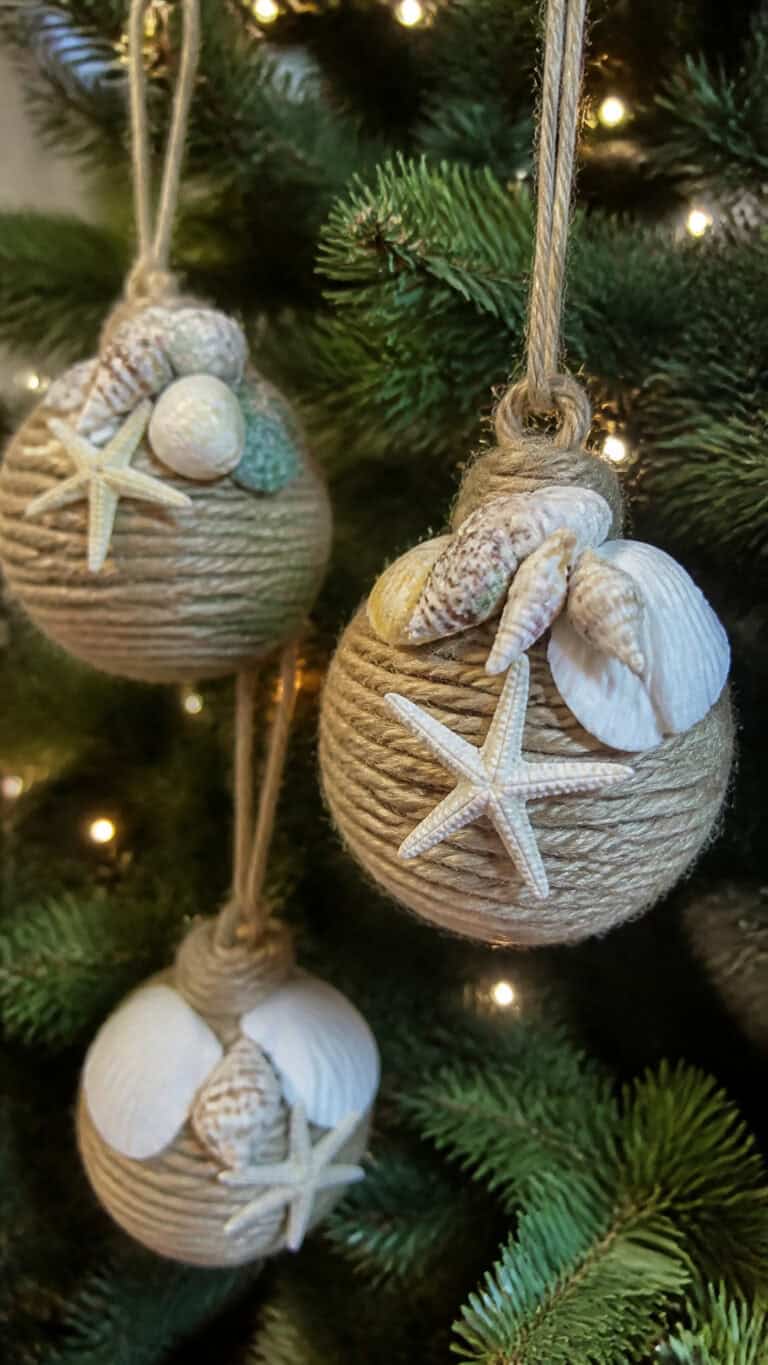
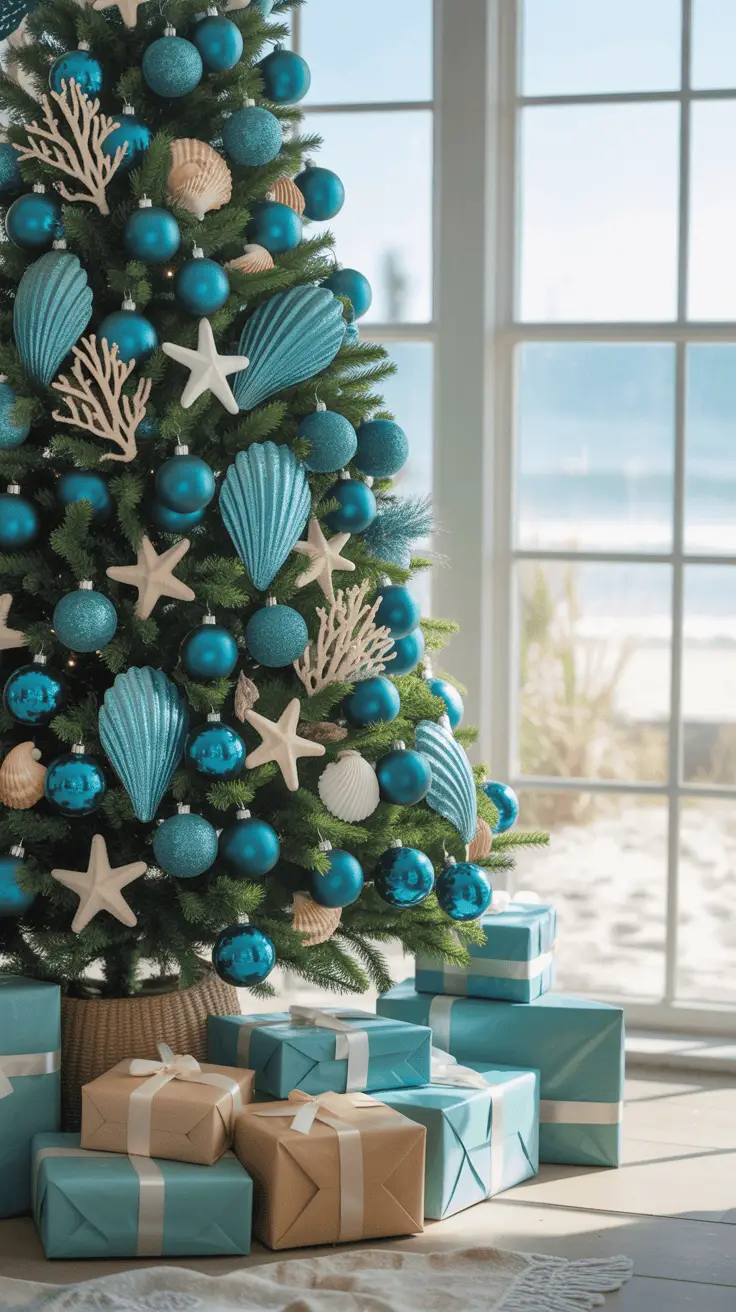
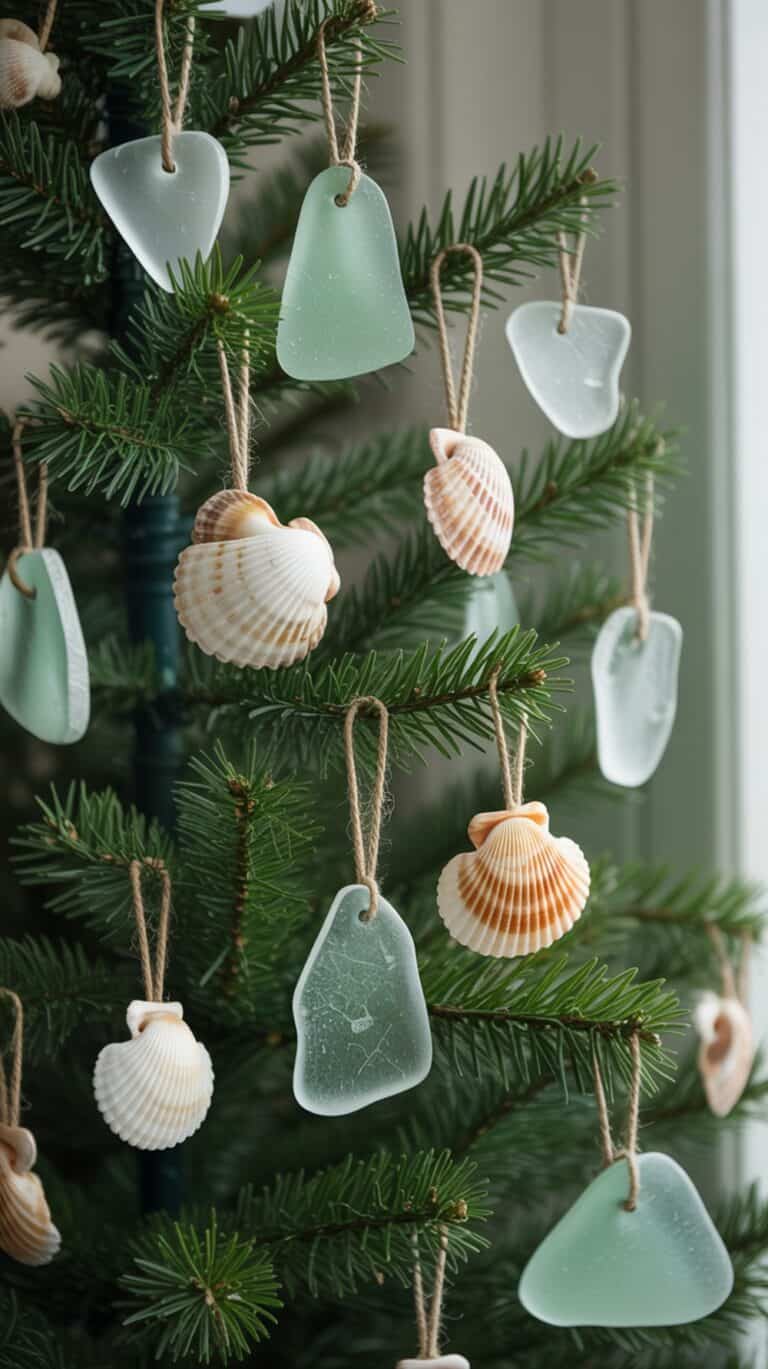
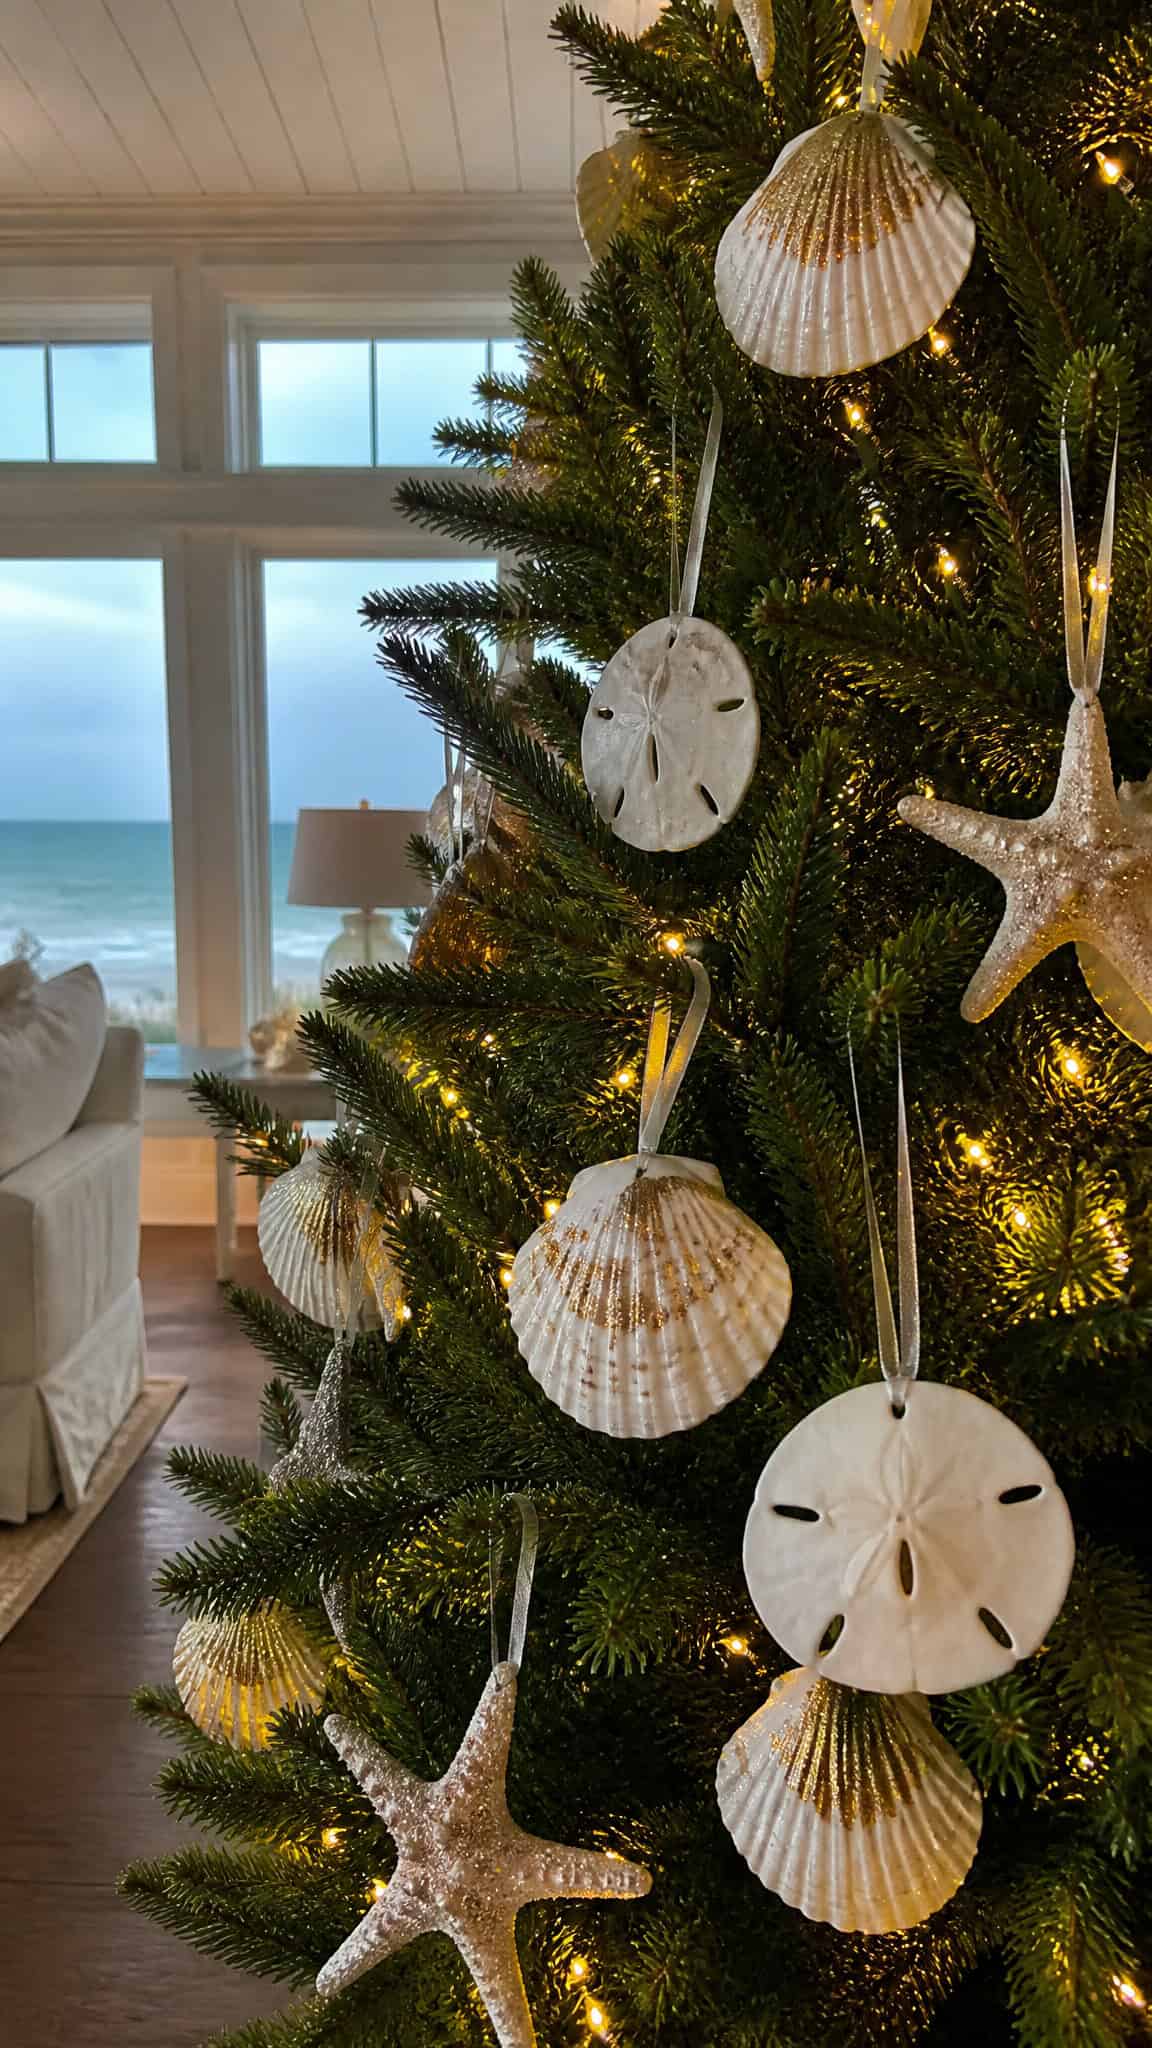
Creating beautiful ornaments from seashells is one of my absolute favorite ways to incorporate diy beach christmas decor into our holiday celebrations! The boys and I have been collecting shells during our beach trips for years, and turning them into Christmas ornaments gives those treasured finds a whole new life. You can use scallop shells, sand dollars, starfish, or any shells you’ve collected to create stunning tree decorations that tell your family’s beach story!
Start by cleaning your shells thoroughly with warm soapy water and letting them dry completely. For a festive touch, you can paint them with metallic gold or silver acrylic paint, or keep them natural for that authentic coastal look. I love adding a touch of glitter along the edges – yes, glitter gets everywhere, but it’s worth it for that extra sparkle! Use a hot glue gun to attach small ribbon loops to the top of each shell for hanging, and consider embellishing with tiny pearls, rhinestones, or even miniature bottle brush trees.
One of our favorite variations is creating nativity scene shells where we paint tiny figures inside larger scallop shells. The boys absolutely love helping with this project, though I’ll admit the younger ones’ painting skills are more abstract than realistic! You can also write the year or family members’ names on shells using a metallic paint pen to create personalized keepsakes. These ornaments also make incredible gifts for grandparents and teachers – everyone loves receiving something handmade with love!
Driftwood Christmas Tree Centerpiece
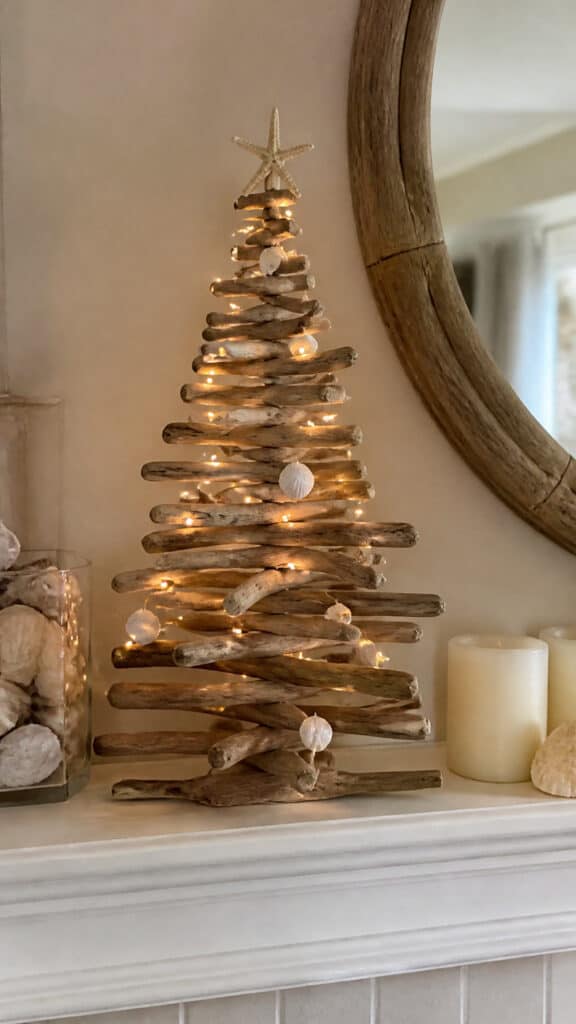
If you’re looking for a show-stopping piece of diy beach christmas decor that’ll have all your guests asking where you bought it, a driftwood Christmas tree is absolutely the way to go! This project looks incredibly impressive but is actually pretty simple to put together. You’ll need several pieces of driftwood in varying lengths, a sturdy base (I used a wooden round from the craft store), and some basic supplies. The natural, weathered look of driftwood brings such beautiful texture and that perfect beachy vibe to your holiday decor!
To create your tree, arrange driftwood pieces from longest to shortest, stacking them to form a tree shape. You can drill a hole through the center of each piece and thread them onto a wooden dowel or metal rod secured in your base, or simply stack and glue them if you prefer. The beauty of this project is that it doesn’t have to be perfect – the irregular, organic shapes of driftwood actually make the finished product more interesting! I love that each tree turns out completely unique based on the driftwood pieces you find.
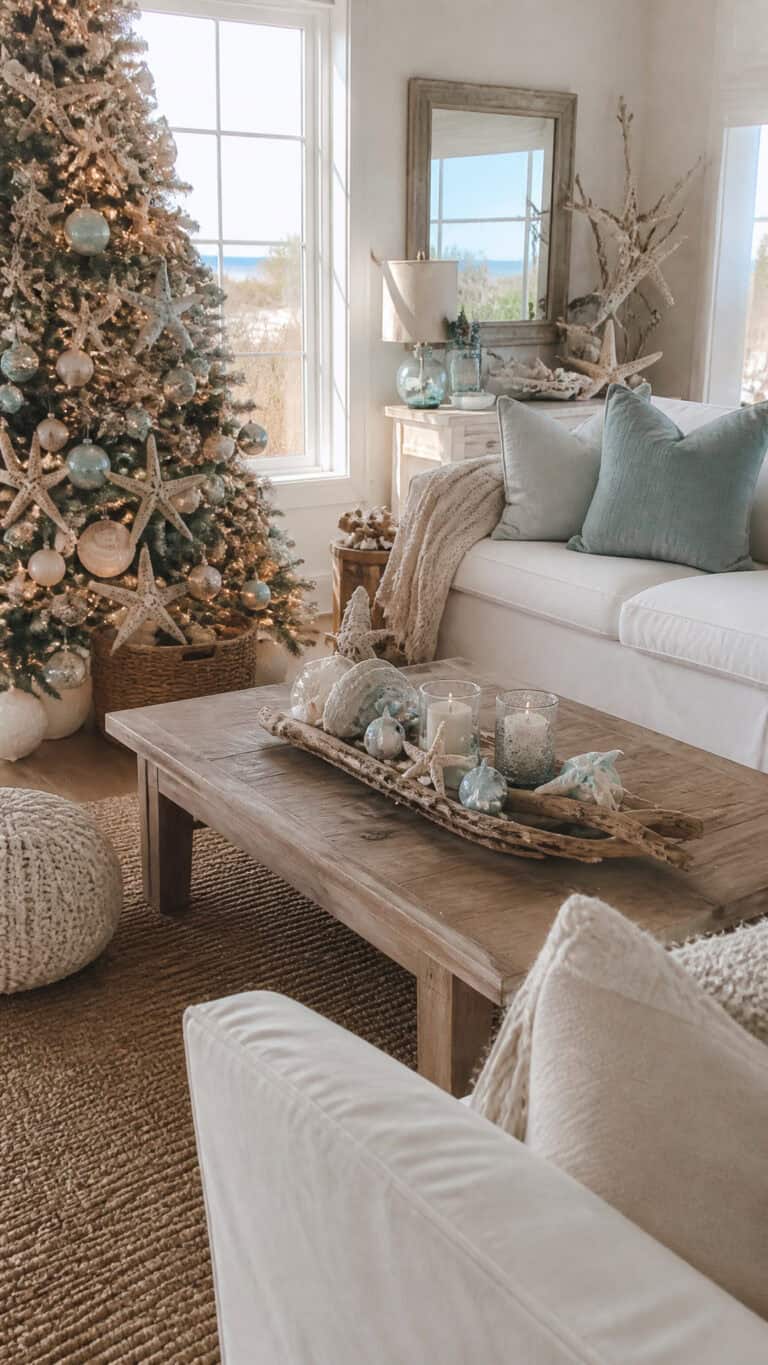
Once your basic tree structure is complete, the decorating possibilities are endless! We’ve wrapped ours with white string lights for a soft glow, hung tiny shells and starfish from fishing line at different heights, and even added small ornaments that complement the coastal theme. A beautiful starfish tree topper is the perfect finishing touch! This centerpiece works wonderfully on a dining table, mantel, or entryway console. Fair warning though – once you make one, you’ll probably want to make several because they’re kind of addictive to create!
Rope-Wrapped Coastal Wreath
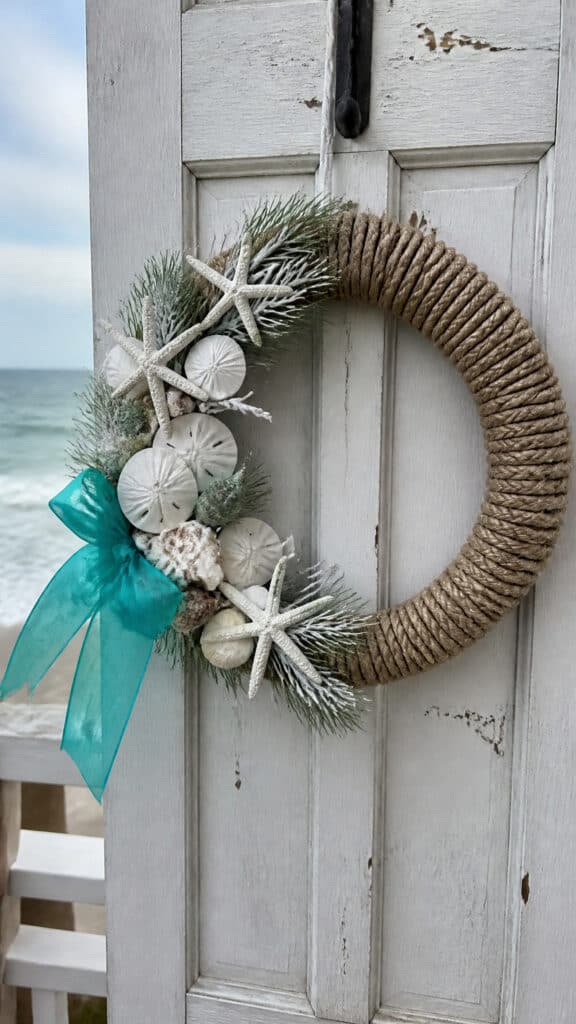
A wreath is such a classic Christmas decoration, and adding that beachy twist makes it so special and different from what everyone else has hanging on their door! This rope-wrapped wreath project is one of those diy beach christmas decor ideas that looks like you spent way more time and money on it than you actually did. I’m all about that! You’ll need a foam or grapevine wreath form, natural rope or jute twine, hot glue, and an assortment of coastal embellishments like shells, starfish, sand dollars, and maybe some faux greenery or berries for that Christmas pop of color.
Start by wrapping your wreath form completely with rope, securing the beginning and end with hot glue. This part is actually pretty therapeutic – I like to do it while the boys are occupied with a movie! Keep the rope tight and close together so no foam shows through. Once your base is complete, it’s time for the fun part – decorating! Arrange your shells and starfish in a cluster on one side of the wreath, playing with the placement until you love how it looks before gluing everything down permanently.
I love adding different textures and elements to create visual interest. Try incorporating some bleached white branches, pearl strands, or even some coastal-colored ribbon in blues and aquas. For an extra festive touch, tuck in some artificial pine sprigs or eucalyptus, and add small ornaments in coastal colors like turquoise, coral, and sandy beige. A beautiful burlap or linen bow at the bottom brings everything together! This wreath transitions beautifully from Christmas through the winter months, which means you get more decorating bang for your buck – and less storage to worry about come January!
Beach Glass Candle Holders
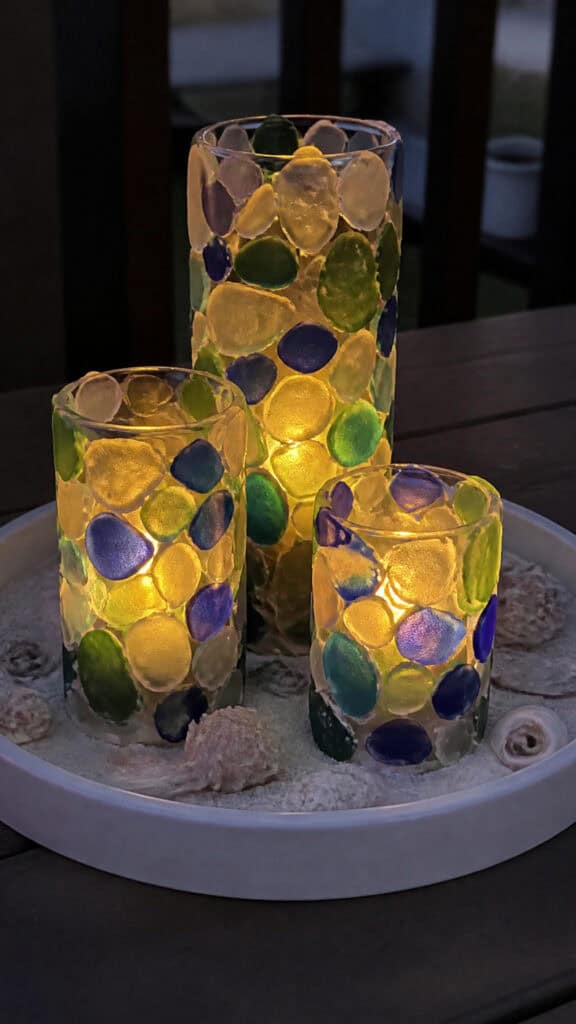
There’s something so peaceful and calming about the soft glow of candlelight during the holidays, and these beach glass candle holders add that perfect coastal touch to your diy beach christmas decor! If you’ve ever walked along the beach and collected those beautiful frosted pieces of sea glass, this is such a wonderful way to display them. Don’t worry if you haven’t collected enough sea glass though – you can buy tumbled glass pieces at craft stores that look just as beautiful, or even use small shells and sand!
For this project, you’ll need clear glass cylinders or vases in various heights (dollar stores are perfect for finding these!), Mod Podge or clear-drying glue, and your beach glass or shells. Simply apply a thin layer of glue to the outside of your glass container and press the beach glass pieces onto it, leaving small gaps between pieces for that mosaic effect. The boys actually really enjoy helping with this part – it’s like a puzzle! Let everything dry completely, then add another layer of Mod Podge over the entire surface to seal and protect your design.
Once dry, place LED candles inside for a safe, beautiful glow that highlights all those gorgeous colors in the glass. Real candles work too if you’re supervising, but with three boys running around, I stick with the battery-operated ones for peace of mind! Group several candle holders of different heights together on a tray with some sand, small shells, and maybe a piece of coral or driftwood for a stunning coastal Christmas tablescape. These also make absolutely gorgeous hostess gifts during the holiday season – just add a pretty ribbon and a flameless candle, and you’re set!
Starfish Garland Banner
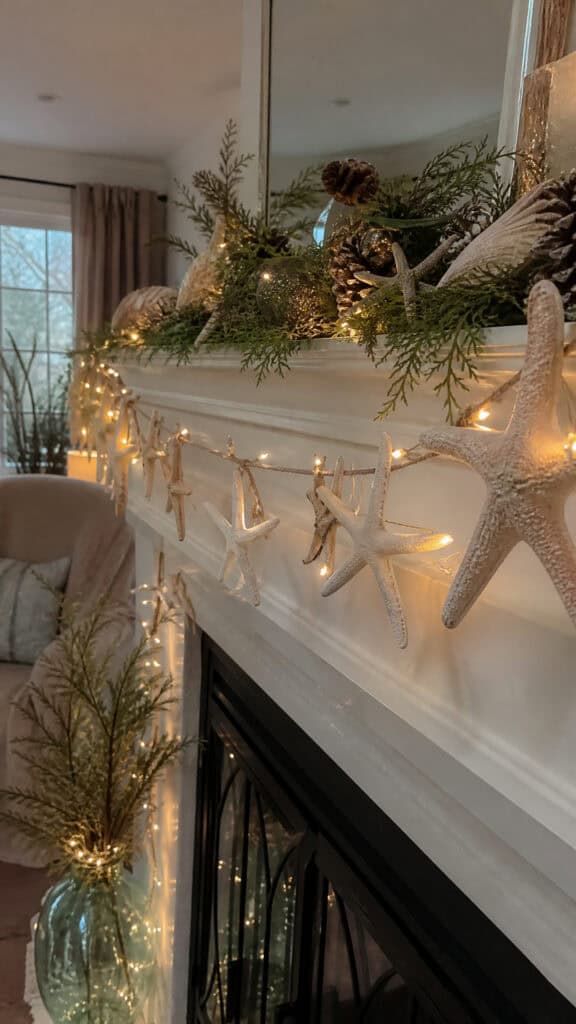
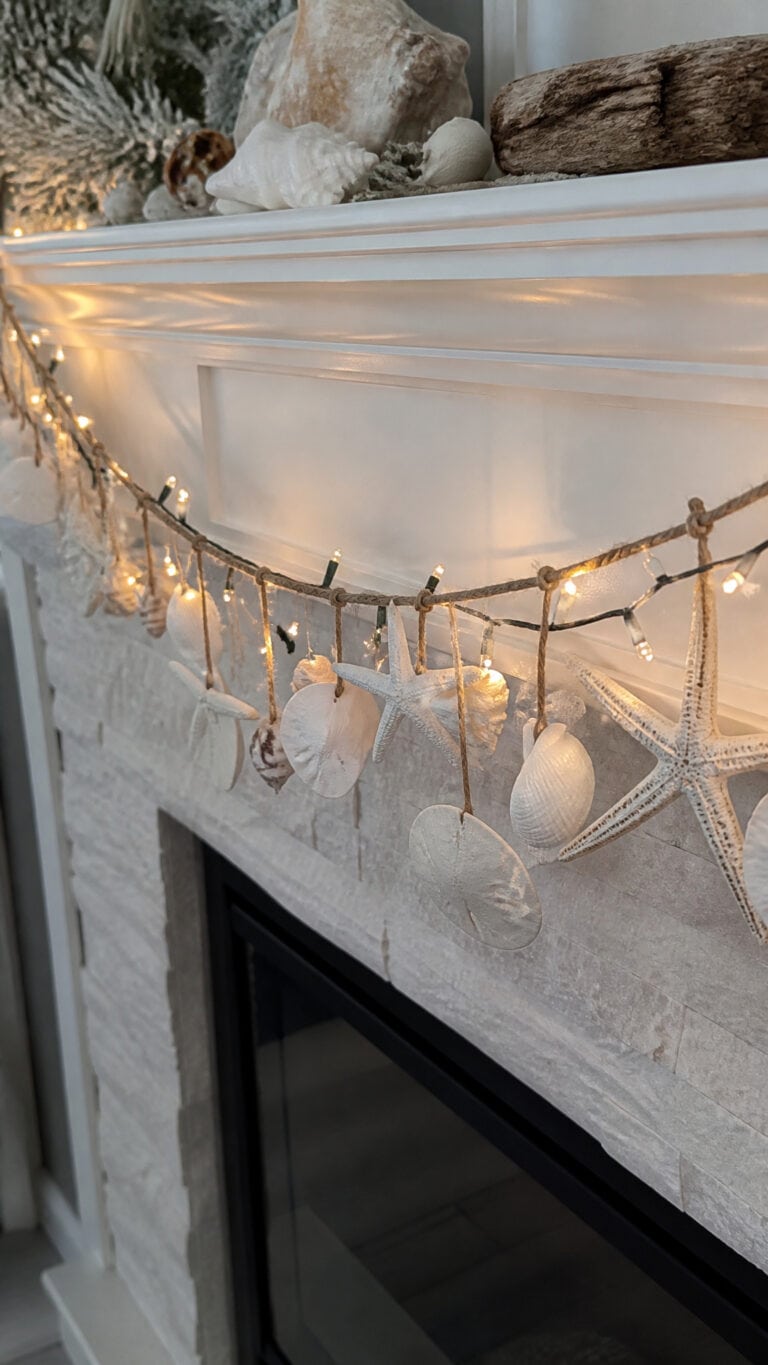
Garlands are such a versatile decoration, and this starfish version brings amazing coastal charm to any space in your home! This diy beach christmas decor project is super kid-friendly, which is a huge win in my book because it keeps all three of my boys entertained and involved. You can drape this garland across a mantel, along a staircase railing, across a doorway, or even use it as a unique tree garland. The best part is that you can customize it to match your exact color scheme and style!
You’ll need several starfish (real or faux – I prefer the resin ones from craft stores because they’re more durable with kids around), twine or ribbon, and optional embellishments like beads, shells, or small ornaments. If you’re using natural starfish, you might want to give them a light coat of clear sealer to help them last longer. To create the garland, simply tie or hot glue each starfish onto your twine at regular intervals. I like to vary the sizes and occasionally add in a sand dollar or large shell for visual interest!
For extra coastal Christmas flair, weave in some white string lights between the starfish, or add sprigs of artificial greenery and small silver or gold jingle bells. You could also spray paint some of the starfish in metallic colors or dust them with glitter for more sparkle – because honestly, can you ever have too much sparkle at Christmas? The answer is no! This garland is lightweight enough that it stays put with just a few command hooks, which is perfect for those of us who don’t want to put a million holes in our walls. Plus, it stores flat and easy for next year!
Sand Dollar Snowflakes
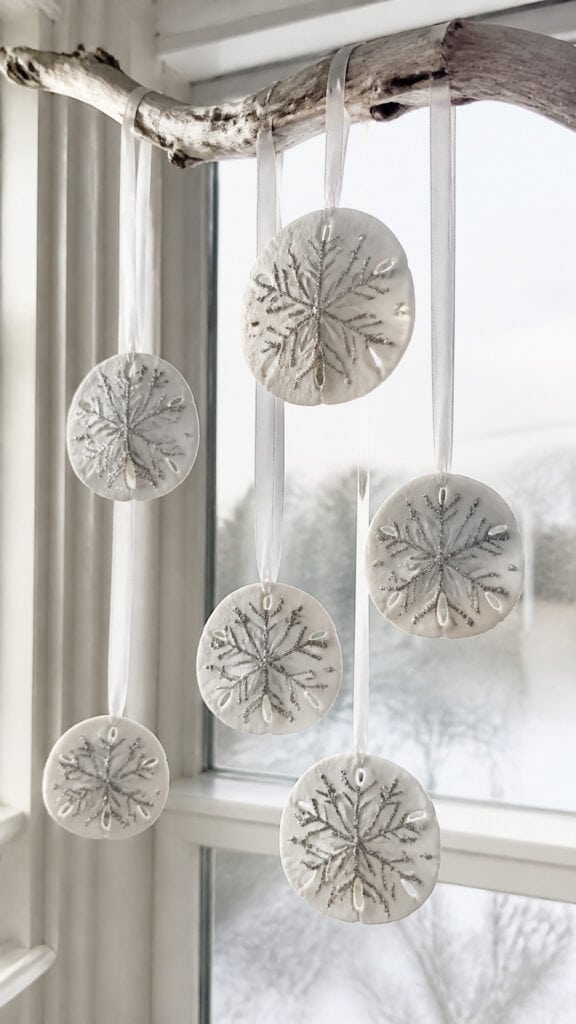
This might be my most clever diy beach christmas decor idea because it perfectly bridges that gap between beach vibes and winter wonderland! Sand dollars naturally look like snowflakes with their beautiful star patterns, so transforming them into Christmas decorations is almost too perfect. The boys think it’s hilarious that we’re bringing “snow” into our beach theme, and honestly, the creativity of combining these two elements makes me so happy!
You’ll need sand dollars (craft stores sell them if you don’t have any from beach trips), white paint or spray paint, glitter, ribbon, and any additional embellishments you’d like. Start by painting your sand dollars white if they aren’t already – this gives them that fresh, snowy appearance. Once dry, you can add glitter along the edges or create patterns with glue and glitter following the natural lines of the sand dollar. Some people like to leave them natural, and that’s beautiful too! The key is making them feel festive and snow-like.
To hang them, attach a ribbon loop to the top with hot glue, and consider adding a small bow or bead for extra detail. These look absolutely stunning hanging in windows where light can shine through them, or clustered together on the Christmas tree. You can also attach them to gift packages instead of traditional bows for a unique coastal touch! I love creating a whole display of them hanging at different lengths from a piece of driftwood – it creates this beautiful mobile effect that catches everyone’s eye. Pro tip: make extras because these are so pretty that friends and family will definitely ask if you can make them some!
Nautical Rope Christmas Stockings
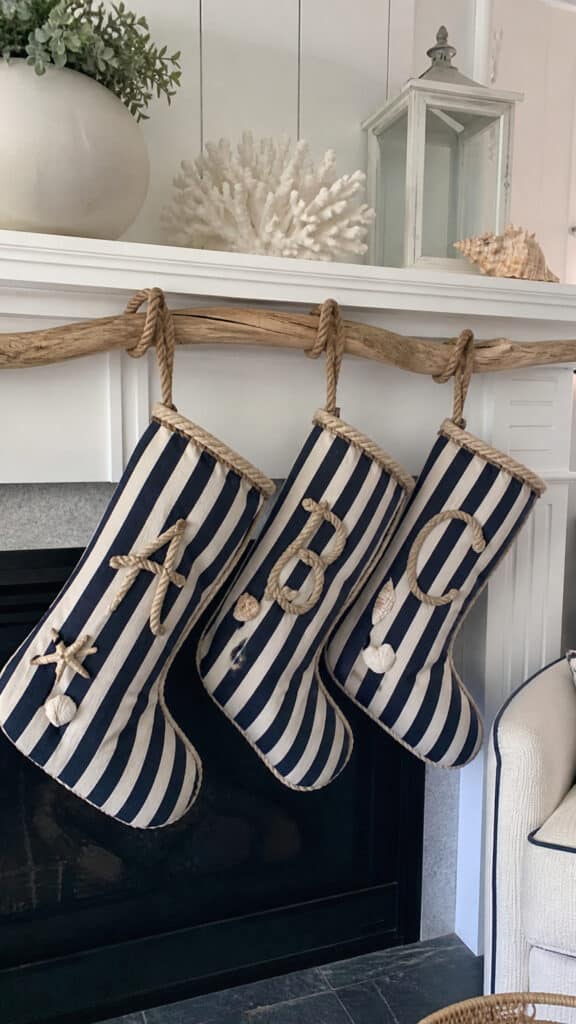
Stockings are such an important part of Christmas tradition, and these nautical rope versions add such unique personality to your diy beach christmas decor! I’ll be honest – when I first thought about making stockings, I was a little intimidated, but this project turned out to be way easier than I expected. Plus, they’re so sturdy and well-made that they’ll last for years, becoming treasured family heirlooms. Each of my boys has their own personalized stocking, and they absolutely love them!
You’ll need fabric in coastal colors (think navy, white, red and white stripes, or even burlap), rope or thick nautical cord for the trim, and basic sewing supplies. If you’re not into sewing, no-sew fabric glue works great too – I won’t tell anyone! Cut out your stocking shape using a template (you can find free ones online), and sew or glue the pieces together, leaving the top open. The rope trim is what really makes these special – hot glue thick rope around the top edge of the stocking and down the sides for a beautiful nautical border.
Personalize each stocking with embellishments that reflect your coastal theme. Add a fabric or felt anchor, ship’s wheel, or lighthouse to the front. You can also use rope to spell out names or initials! I attached small shells and a starfish to each of my boys’ stockings along with their names in rope letters. For the hanging loop, create a sturdy rope loop at the top corner. These stockings look amazing hanging from a driftwood mantel holder or traditional hooks – they bring such a fresh, beachy take on this classic Christmas tradition!
Coastal Christmas Mason Jar Luminaries
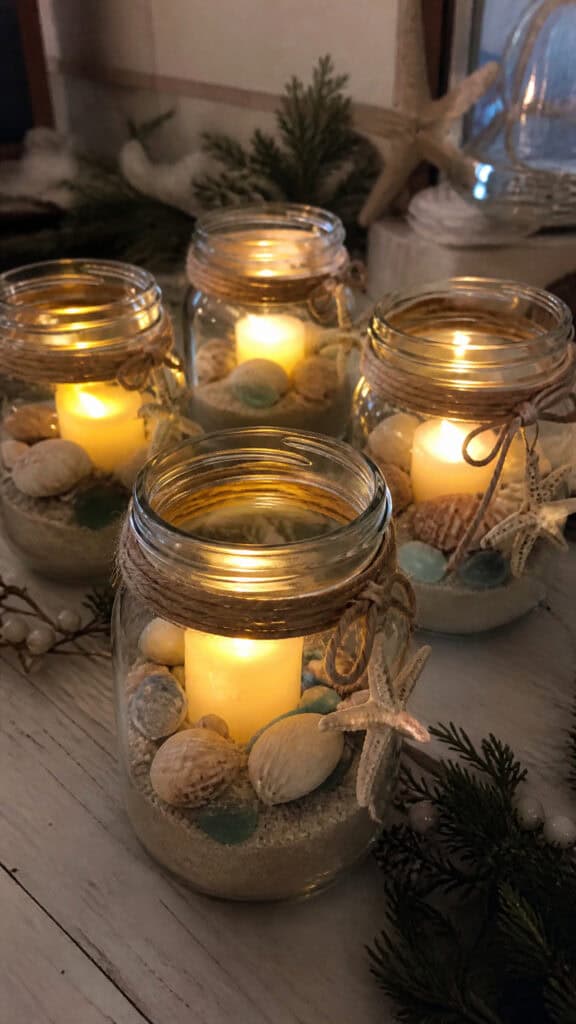
Mason jars are basically the MVP of crafting, and these coastal luminaries are such a simple but stunning addition to your diy beach christmas decor collection! I keep mason jars on hand year-round because they’re perfect for so many projects, and this one is definitely a favorite. These luminaries create the most beautiful ambient lighting for holiday gatherings, and they’re so easy that even my youngest can help with most of the steps. Plus, they cost practically nothing to make, which is music to this mama’s ears!
Start with clean mason jars in whatever sizes you have available – I like using a variety of sizes for visual interest. Fill the bottom of each jar with a layer of sand (about an inch or two), then nestle in small shells, pieces of sea glass, tiny starfish, or other beach treasures. You can also add some Epsom salt mixed with the sand to give it a sparkly, snow-like quality that bridges the beach and winter themes perfectly! The layers you create inside the jar are like little beach scenes, and it’s so fun to arrange them differently in each jar.
Top each jar with a tea light or small LED candle – again, I go with LED because safety first with three boys! You can also tie twine or ribbon around the neck of the jar and attach a small shell or starfish charm for extra coastal flair. Group several luminaries together on a table runner with some driftwood and greenery for a gorgeous centerpiece, or place them along a walkway or porch steps to welcome guests. The soft glow shining through the sand and shells creates such a magical, peaceful atmosphere that perfectly captures that coastal Christmas feeling. These also make wonderful teacher gifts or hostess presents – just add a pretty tag and you’re done!
Bringing Your Coastal Christmas Vision to Life
Creating your own diy beach christmas decor is such a rewarding way to make your holiday season special and uniquely yours! These projects have brought so much joy to our family, and I love that we’re building memories and traditions while crafting together. The best part is that you don’t have to do all eight projects – even choosing one or two will add that beautiful coastal charm to your Christmas celebrations. And honestly, once you start, you’ll probably get hooked like I did and want to make them all!
Remember, the beauty of DIY projects is that they don’t have to be perfect – they just need to be made with love! Your coastal Christmas decorations will be one-of-a-kind treasures that reflect your family’s personality and your love for the beach. So grab those shells you’ve been saving, round up the kids, put on some Christmas music, and start creating your own beachy winter wonderland. Your home will look absolutely amazing, and you’ll have so much fun in the process. Happy crafting, and may your holidays be merry, bright, and beautifully beachy!
This post may contain affiliate links. Read the full disclosure here.