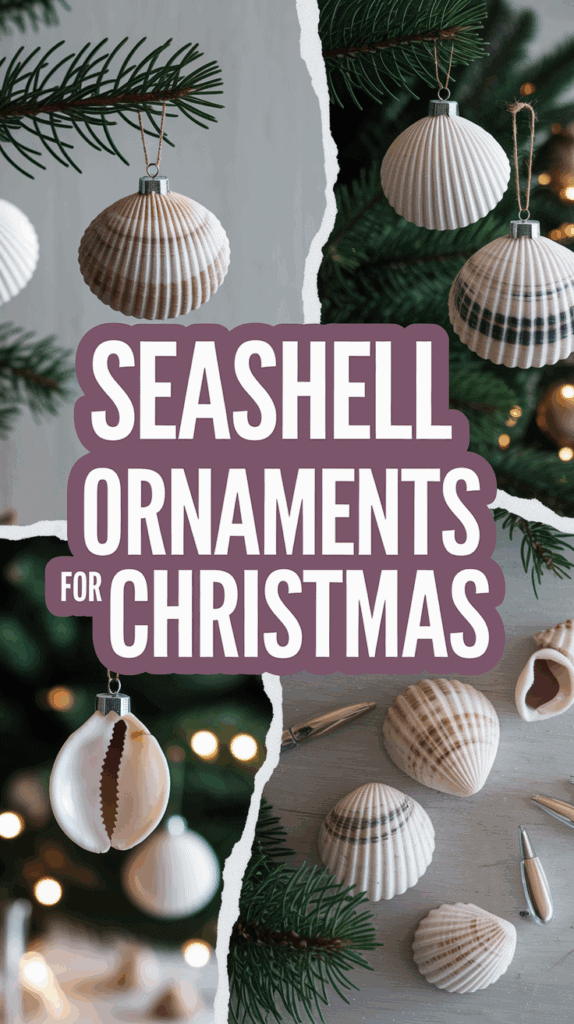
How To Make Christmas Ornaments From Seashells
When the holidays roll around, I love bringing out a bit of summer—especially when things get chilly! Every December, my three boys and I make time to create simple Christmas ornaments from seashells. It always turns our living room into a sandy, giggling mess, but I wouldn’t trade those memories for anything. The best part is, these sweet little ornaments fill our tree with reminders of warm days, sandy toes, and beach adventures.
I started this fun tradition because it’s easy, budget-friendly, and gives each of my boys a chance to show off their own style. Seashells, glue, ribbon, and a whole lot of laughter are all we need. If you’re looking for a family project that keeps little hands busy and brings a piece of the beach into your home, this is it! Get ready for a playful, joy-filled way to decorate the tree that your kids will beg to do every year.
Gathering and Prepping Seashells for Ornaments
Getting started with Christmas ornaments from seashells always means a little adventure! I like to make this feel like the beginning of a treasure hunt for my boys. A good collection of clean, pretty shells sets the stage for the whole project. It’s simple, it’s fun, and honestly, it’s a great way to bring the beach home—especially when the weather outside couldn’t be less “summer.” Here’s how I gather, choose, and prep our seashells so every ornament shines.
Collecting Seashells: At the Beach or At Home

First, you need seashells. Now, if you’re lucky enough to live near the coast, grab your kids and a bag, and hit the sand! We usually choose a sunny weekend and turn shell hunting into a little family outing. If the beach isn’t close, don’t worry! You can easily find bags of seashells at craft stores or online. I look for packs that have a mix of different shapes and sizes, so each ornament feels unique.
A few tips when picking your shells:
- Look for whole shells (no big cracks or chips).
- Pick out shapes with flat backs, so they’re easy to glue and decorate.
- Avoid very thin or delicate shells (they break faster than a gingerbread man).
If you’re new to searching at the beach, I tell my boys to look along the line where the last waves reached. That’s where the good stuff hides! And remember, only take what you’ll use, so nature gets to keep most of her treasures.
Cleaning Seashells for Safe Decorating

Once you’ve got your shells, it’s clean-up time. This step matters way more than the boys expect (which is kind of the story of motherhood!). Beach shells can have sand, salty buildup, or even tiny critters. Store-bought shells usually just have dust. Either way, you want every shell fresh and ready for Christmas magic.
Here’s how I keep things simple:
- Rinse the shells well under warm running water. Let the boys help! Little hands and soft brushes or old toothbrushes work wonders.
- Soak them in a small bucket with a mix of one part white vinegar to three parts water for 10-15 minutes. This gets rid of leftover grime or smells.
- Rinse again with fresh water. Let them dry on a towel for a couple of hours. Don’t rush it—they need to be completely dry before decorating.
If you picked shells at a rocky beach and there’s extra grime, repeat the soak. Sometimes I’ll even let really sandy shells soak overnight in just water and a tiny drop of dish soap, then rinse and dry them again.
Sorting and Prepping for Ornament-Making
After the cleaning, my boys love this next part—sorting! We spread the shells on a tray or the kitchen table and play “shell shop.” The boys decide which shells look the coolest or would make the best ornaments. Flat, medium-sized shells are always a big hit for snowmen, while spiral shells turn into festive angels.
When we’re ready to start, I give each boy a small pile of shells plus a few extras (just in case those little hands get too wild). Sometimes, we organize by:
- Size (small, medium, large)
- Shape (round, oval, spiral)
- Color (white, tan, striped, even purple!)
Here’s a quick table that helps us sort and choose shells for our favorite Christmas decorations:
| Ornament Type | Best Shell Shape | Good Size |
|---|---|---|
| Angel | Spiral or Cone | Medium-Large |
| Snowman | Flat & Round | Medium |
| Star | Five-Pointed | Any |
| Santa Face | Oval | Medium |
I keep the extras in a basket for other projects or “just in case.” When each shell is clean, dry, and chosen, it feels like we’re ready for the best part—turning these little bits of the ocean into keepsakes for our tree!
Essential Supplies and Creative Ideas for Seashell Ornaments

Before you jump into gluing, painting, and tying bows, it really helps to put together all the supplies you’ll want for your christmas ornaments from seashells. I can’t tell you how many times my boys and I start in on a project, only to pause because we’re hunting for glitter or ribbon scraps. A little prep goes a long way! Here’s a look at my go-to supply list plus some creative ideas that always get my boys excited and keep our ornaments looking fresh year after year.
Must-Have Supplies for Seashell Ornaments
When I first started making seashell ornaments, I kept it super simple. But quickly, I realized a few extra supplies make the process smoother (and the ornaments cuter). Here’s what I keep on hand:
- Seashells (clean, dry, and sorted by size/shape)
- Glue — I reach for strong craft glue or hot glue (hot glue only if you’re working solo or with older kids)
- Paint and Brushes — Acrylic paint works best; watercolors can be fun for a lighter look
- Ribbons or Twine for hanging
- Glitter, Sequins, or Beads for extra sparkle
- Fine-tip Markers or Paint Pens for little details and faces
- Miniature accessories (think tiny pompoms, googly eyes, felt for scarves)
- Small Drill or Awl if you want to make a hole for hanging (totally optional—gluing ribbon works, too)
- Clear Sealant Spray if you want your creation to last for years
Want to keep things extra organized? Here’s the basic kit I stash in a box labeled “Christmas Shell Ornaments,” so I never have to hunt down supplies:
| Supply | Purpose/Note |
|---|---|
| Strong craft glue | For sticking shells and decor |
| Paint (variety) | Makes ornaments pop |
| Ribbon/twine | Easy and classic for hanging |
| Glitter/sequins | Adds sparkle, kids love them |
| Paint pens/markers | Detail work and faces |
| Mini decor items | Scarves, hats, noses, etc. |
| Clear sealer spray | Lasting shine and protection |
This mix keeps the mess under control and gives everyone creative options. I set out everything ahead of time, usually in muffin tins or little bowls, so the boys can grab what they need and stay focused.
Creative Ornament Ideas That Kids Love
Making something out of nothing is pure magic, especially for little hands and big imaginations! If you’ve got your supplies ready, the next step is picking ornament styles. Some shells look like snowmen, others become angels or Santa faces in a snap. Here are some of our favorites, perfect for boys and girls of all ages (and even you):
Snowman Seashell Ornaments
These are always a hit! Pick two or three round shells, glue them in a line, and let the kids paint faces, scarves, and buttons. Use a scrap of yarn for a scarf or a tiny felt triangle for a carrot nose. A sprinkle of glitter turns your snowman into a snowy masterpiece.
Seashell Angels
Spiral or cone-shaped shells make sweet angel bodies. I use pipe cleaners for halos and little white feathers or felt for wings. The boys love gluing on wooden beads or painted peas for heads, then adding faces with a marker.
Santa and Elf Faces
Flat oval shells work great for these. Paint the top third red for a hat, add a white fuzzy pompom at the corner, and decorate a beard with white paint or mini pompom balls. Add a cheeky smile with a marker! Elf faces need a little green felt hat and some freckles for extra fun.
Beachy Stars
If you’re lucky enough to have star-shaped shells, use them as tree toppers or as special keepsake ornaments. Let the kids cover them in gold or silver paint, or add self-adhesive rhinestones.
Animal Friends
Sometimes my boys get super creative and turn shells into turtles, owls, or even penguins. Add googly eyes, felt flippers or wings, and whatever wacky details your kids dream up. Anything goes!
Fun Twists and Decorating Extras

If you want your ornaments to stand out, sprinkle in a few fun extras. There’s no wrong way to decorate these—personal touches make them so special!
- Add names and years with a paint marker so you remember who made what (and when). These make sweet keepsakes or gifts for grandparents.
- Layer with paint and glitter by painting a base color, letting it dry, then brushing on glue and dusting with glitter.
- DIY wrapping station: Set out little gift bags and tissue so kids can wrap their own ornaments and “deliver” them on Christmas morning.
Getting creative with seashell ornaments brings a little bit of summer magic to chilly winter days. The supplies are simple, but the possibilities really are endless. One of the best feelings is watching your tree fill up with memories, each one decorated exactly how your little artist imagined it.
Step-by-Step Guide: Making Beautiful Christmas Ornaments from Seashells
I absolutely love when it’s finally time to turn those clean, shiny seashells into Christmas ornaments from seashells. With my boys full of excitement, our kitchen table becomes an art zone in no time! Follow along and you’ll see how simple, fun, and mess-friendly this project really is, even if you’re not a “DIY mom.” Every ornament is a burst of color, creativity, and family joy. Here’s my favorite way to break it down so even the wildest little helpers can join in (and actually help).
Step 1: Set Up Your Ornament Station
Before we get our hands covered in glue and glitter, I set up a “workshop” right at the kitchen table. This keeps mess under control and makes it easy for everyone to see what they’re working with.
- I lay out a plastic tablecloth or old newspaper (it catches drips and spilled glitter).
- Bowls or muffin tins hold beads, ribbons, glue, and paint, so nothing rolls away during excited decorating.
- Everyone gets their own small tray with shells and supplies—kids do not like sharing glitter, trust me!
- Wet wipes and a trash can nearby save the day when sticky disasters happen.
Step 2: Attach Ribbons or Hooks for Hanging
Every ornament needs a way to hang on the tree! There are a couple of ways I like to do this, depending on the shells I have and how much time we have:
- Glue Method: Squeeze a small dot of strong glue on the back top edge of the shell. Press the ends of a looped ribbon (or twine) into the glue. Hold for a few seconds, then lay flat to dry.
- Drill Method: For thicker shells, I use a small hand drill or awl to gently make a hole at the top. Loop a ribbon or hook through. This works best when I’m working quietly (read: without boys running at full speed).
If you use glue, let the shells dry for 20-30 minutes before adding heavy decorations. My guys love using colorful ribbons so their ornaments really pop on the tree.
Step 3: Paint and Decorate the Seashells
Here’s where the real magic starts! Each shell becomes a little canvas. I like to keep this stage simple, especially with younger kids, but the options are endless:
- Use acrylic paint for bold color. Have the kids paint snowmen, Santas, angels, or just splash them with cheerful colors!
- Add a base coat, let it dry, and then use fine brushes or paint pens for details like faces or patterns.
- For extra sparkle, brush on glue and sprinkle glitter. Sequins and rhinestones stick well too.
Sometimes we use stickers, tiny felt scarves, or pom-poms as hats. The trick is to let each child decide how “fancy” or “silly” they want their seashells to be—their joy is always the best part!
Step 4: Add Extra Details
Once the main paint is dry (which in my house, usually means after snack time), it’s time for finishing touches. This really makes each ornament stand out:
- Draw faces using thin paint pens or markers. This is perfect for snowman, angel, or Santa shells.
- Glue on googly eyes, beads for noses, or even tiny bows.
- For angel wings, use felt or feathers. Santa hats get fuzzy pom-poms glued on top—my boys’ favorite!
- Write names and the year on the back so you’ll always remember who made each one, and when.
I use a bit of patience here because drying times vary, especially with extra glue or puffy paint. But honestly, seeing each ornament’s personality shine through makes the small wait totally worth it.
Step 5: Seal and Let Dry
If you want these ornaments to last year after year, a quick spray with clear sealant really helps. I bring the finished shells outside, lay them on an old cardboard box, and do a light even spray. Let them dry completely, and you’re done!
- Tip: If you don’t have spray sealant, a clear craft varnish brushed on also works.
Patience pays off here. If your family is anything like mine, you’ll probably have a parade of eager hands coming to check if their masterpiece is ready for the tree!
Quick Checklist: Ornament Steps for Busy Moms
Sometimes, in the middle of all the holiday craziness, I just need a quick roadmap. Here’s a handy checklist I use so nothing gets forgotten:
- Cover workspace and set up trays.
- Prep ribbon hooks on clean, dry shells.
- Paint (base coats then details).
- Glue on fun extras (glitter, eyes, hats).
- Add names/year to the back.
- Finish with sealant if you want them to last.
- Dry completely before hanging.
I keep this checklist taped inside our ornament supply box so I can hand it off to grandparents, cousins, or friends who want to join in on the fun.
Making Christmas ornaments from seashells with my boys is a chaos-filled, laughter-packed adventure. Every year, we look at our tree and see not just decorations, but a whole story of family fun.
Displaying and Gifting Your Seashell Ornaments

Once your Christmas ornaments from seashells are dry and full of personality, you’ll want to show them off to the world—or at least to every visitor who walks through your door! This is always one of my favorite parts. The boys get so proud seeing their salty, sparkly creations hanging all over the house. Each ornament has a story, and honestly, our home feels warmer and happier with them around. I have a few simple methods to display these treasures, plus some tried-and-true ways to wrap them up as thoughtful, homemade gifts for friends and family.
Creative Ways to Display Seashell Ornaments
There’s no right or wrong way to let these little beachy ornaments shine. Over the years, I’ve tried everything from simple to quirky. Here’s a quick rundown of our favorites:
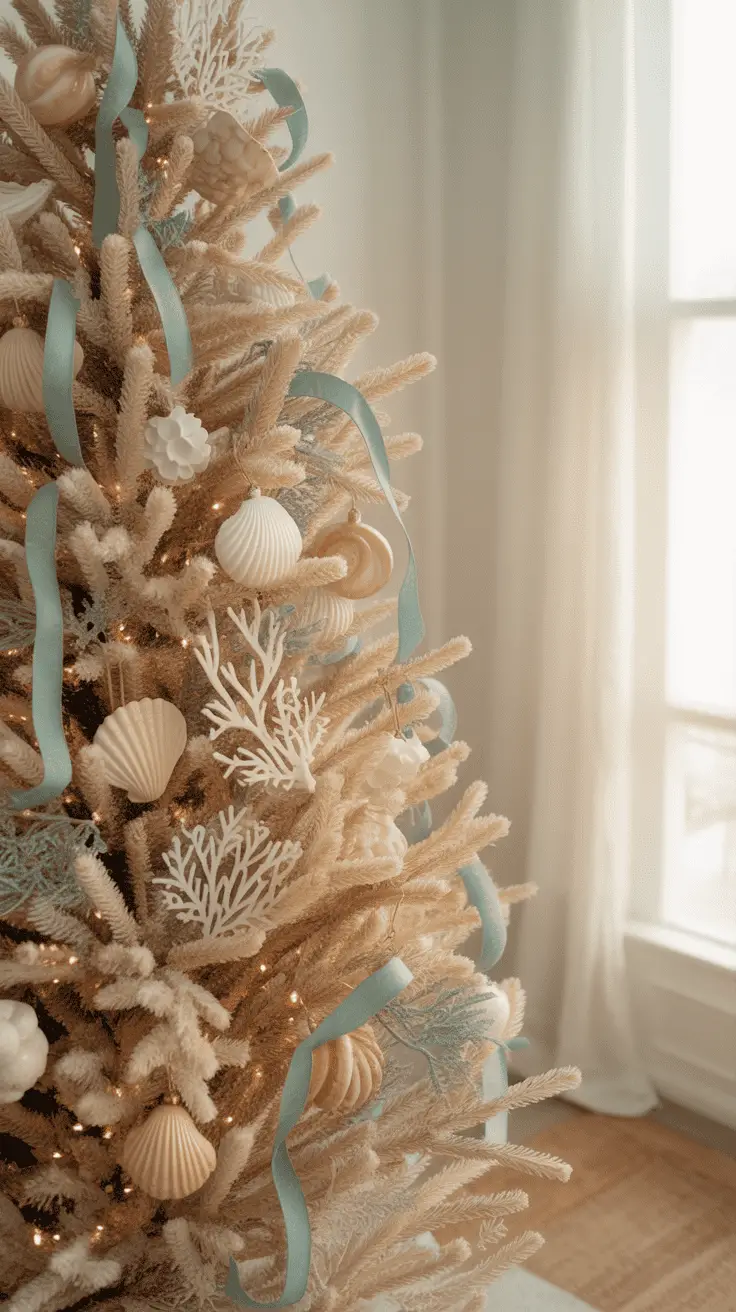
- Front and Center on the Christmas Tree: This spot is always in high demand at our house! Each boy gets to pick a branch, usually right at their eye level.
- Garland Accents: String a long ribbon and clip shells along it with tiny clothespins or twist ties. Drape it over the fireplace, along a bannister, or even across the kitchen window for a festive touch.
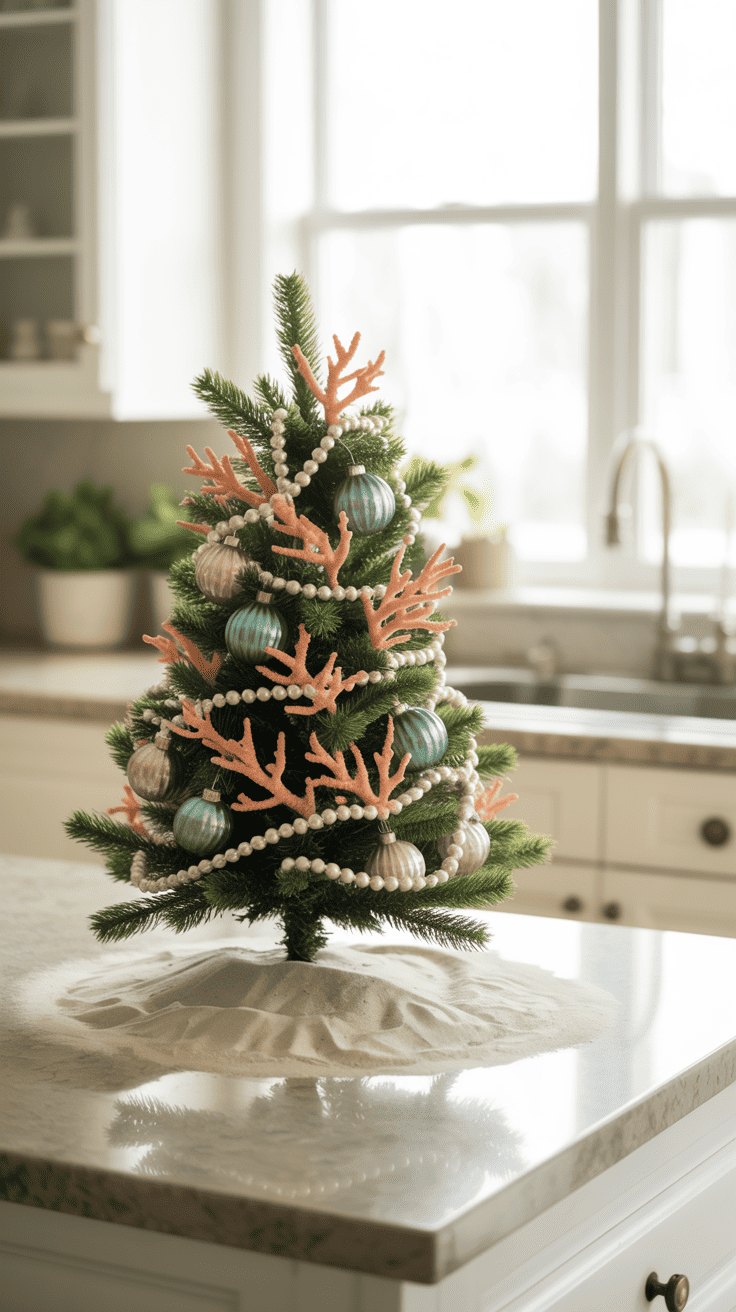
- Miniature Tree Showcase: If you have a small tabletop tree, fill it with seashell ornaments for a fun “beach vacation” tree. It makes a sweet display in the entryway or even the kids’ rooms.
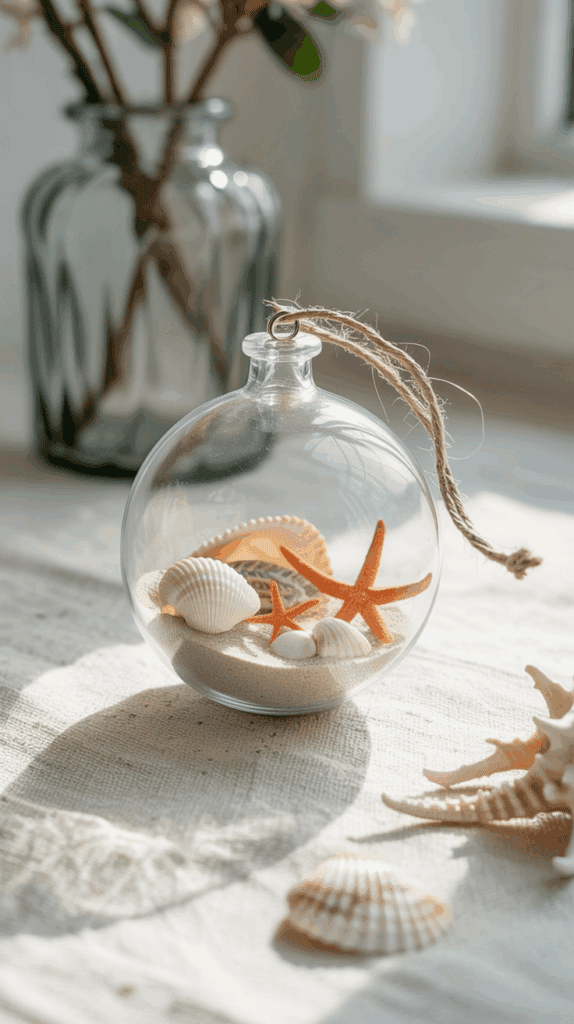
- Shadow Boxes or Memory Frames: Mount your favorite seashell ornaments inside deep frames. Add a bit of sand, a note with the year, or a tiny photo of your kids making them.
- Gift Topper Magic: I love tying a seashell ornament to the top of wrapped presents. It turns regular gift wrap into something special, and the recipient gets an extra keepsake.
Little hands can help pick the spots and even move ornaments around throughout the season. Our tree sometimes looks like organized chaos, but every shell finds its own perfect place.
Tips for Hanging and Arranging
Even the sturdiest ornament needs a good hook or ribbon to stay put! I’ve learned a few lessons about making ornaments look their best and stay safe from tumbling to the floor.
- Use sturdy ribbons or twine: Shells aren’t too heavy, but a strong loop truly helps, especially if little ones rearrange them often.
- Balance big and small pieces: Mix your bigger shells with smaller ones so branches don’t droop or get crowded.
- Double up for drama: On wider branches, hang two or three ornaments (different heights and colors) together for a fuller look.
- Keep precious ones out of reach: If you’ve got a fragile beauty or one made with extra-special care, place it a little higher on the tree. Keeps it safe from pets and younger siblings!
Here’s a quick table to help you choose what works best for your home:
| Display Spot | Ideal Shell Ornament Size | Suggested Ribbon/Hook |
|---|---|---|
| Tree branches | Any | Ribbon, wire hook |
| Garland | Small-Medium | Clothespins, twist ties |
| Shadow box/frame | Special keepsakes | None needed (mounted) |
| Gift toppers | Small | Thin twine or ribbon |
| Mini tree | Small-Medium | Ribbon, mini hooks |
With these ideas, your home can sparkle with memories and creativity all season long.
Making Seashell Ornaments Into Meaningful Gifts

Seashell ornaments make charming gifts, especially when they’re decorated by loving little hands. I always try to wrap up a few to give away to teachers, grandparents, or neighbors. It’s a sweet way to share our holiday spirit (and to remind everyone of sunny days in the middle of winter).
Here’s how I like to turn our ornaments into thoughtful gifts:
- Personalize each ornament: A name and year written on the back with a paint pen adds instant nostalgia. A short message from your kid—like “Merry Christmas Grandma!”—makes it priceless.
- Simple, festive packaging: Slip each ornament into a small drawstring bag or wrap it in tissue paper. Sometimes we pop them in mini gift boxes with a sprinkle of fake snow or a tiny shell.
- Add a handwritten tag: A quick note, maybe a little drawing or a doodle, goes a long way. Kids love writing their own names and “Merry Christmas!” on the tag.
If you want a little more structure, here’s what I keep handy for easy gifting:
- Mini gift bags
- Bright tissue paper
- Spare ribbon for bows
- Blank tags or cards
- Stickers for extra cheer
Gifting these handmade ornaments feels extra special for the boys, and the smiles from family and friends tell me it’s a win every year.
Getting Kids Involved in Gifting
Little ones love delivering their creations! This is another spot where the whole family gets involved. My boys always line up their ornaments, pick which goes to which teacher or friend, and argue (very nicely, somehow) about which wrapping paper is the “luckiest.” It’s a wild, warmhearted mess—just how I like it.
I encourage the boys to sign their names, add their own drawings to tags, or even take a photo with each ornament before we give them away. It keeps the memory alive and makes gift-giving a big, happy event at our house.
Letting kids help from start to finish really makes the tradition stick. These Christmas ornaments from seashells end up being more than just decorations—they’re pieces of laughter, sunshine, and family you can share with the people you love.

Conclusion
Making Christmas ornaments from seashells with my boys fills our home with laughter, messes, and heaps of happy memories. These homemade treasures bring out the best kind of creativity—imperfect, joyful, and totally unique to each person at the table. Every year, I see how much my kids look forward to this tradition. Their eyes sparkle with pride each time they spot their handiwork on the tree.
I believe these little projects turn ordinary moments into lasting traditions. It’s not about perfect ornaments, but about the stories and giggles we share while making them. If you’ve ever wished for a simple, heartfelt way to celebrate the season with your family, you can absolutely make your own Christmas ornaments from seashells! Grab some shells, rally the kids, and jump in. You’ll feel the sunshine in every ornament, even on the coldest winter day.
Thank you for sharing these moments with me. I’d love to hear about your favorite holiday traditions or see your beachy creations. Let’s keep the magic going, mom to mom!
This post may contain affiliate links. Read the full disclosure here.