Coastal Christmas DIY Projects for a Beautiful Handmade Home
There’s something magical about combining the cozy warmth of Christmas with the breezy, relaxed vibes of coastal living! As a mom of three energetic boys, I’ve learned that the best holiday decorations are the ones we make together… even if there’s glitter everywhere and glue on the kitchen table for days afterward!
Coastal Christmas DIY projects have become our favorite tradition because they’re beautiful, budget-friendly, and so much fun to create as a family!
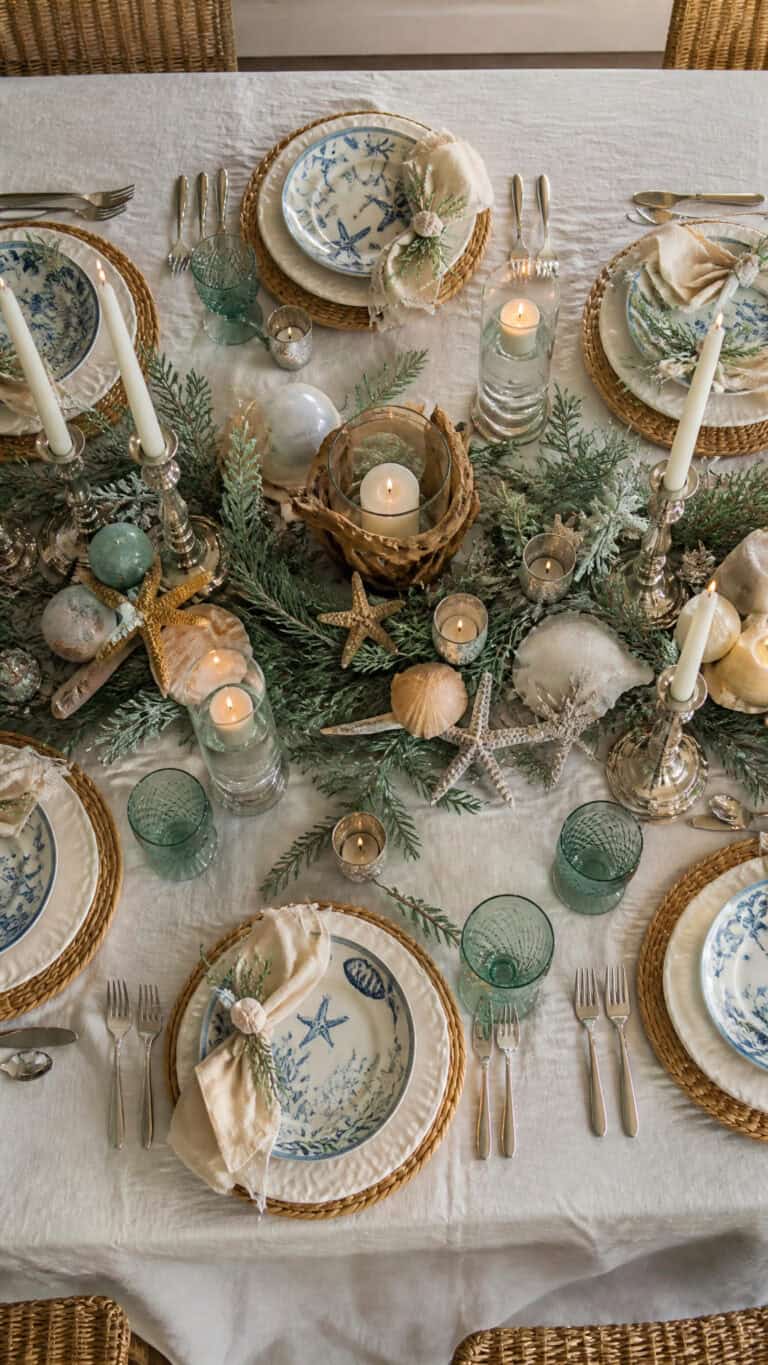
Find even more ways to decorate by hand with these coastal Christmas decor projects for a relaxed seaside home!!
Whether you live by the ocean or just dream of sandy beaches during the winter months, bringing coastal elements into your Christmas decor creates such a unique and peaceful atmosphere. These projects use natural materials like seashells, driftwood, and rope to give your home that beautiful beachy-meets-festive feel that’s absolutely stunning! Let’s dive into some of my favorite coastal Christmas DIY ideas that will transform your home into a handmade coastal wonderland!
Driftwood Christmas Tree Centerpiece
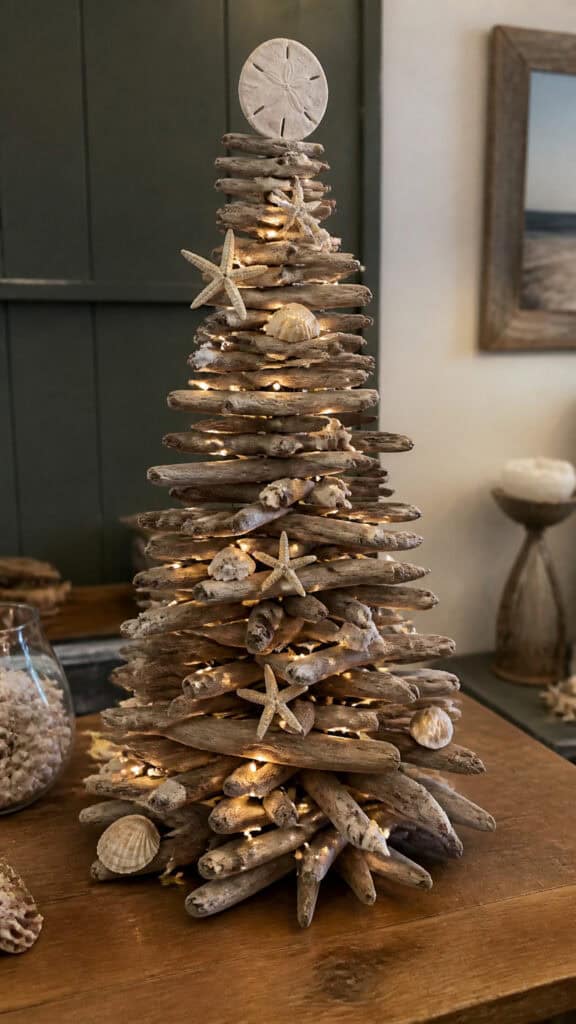

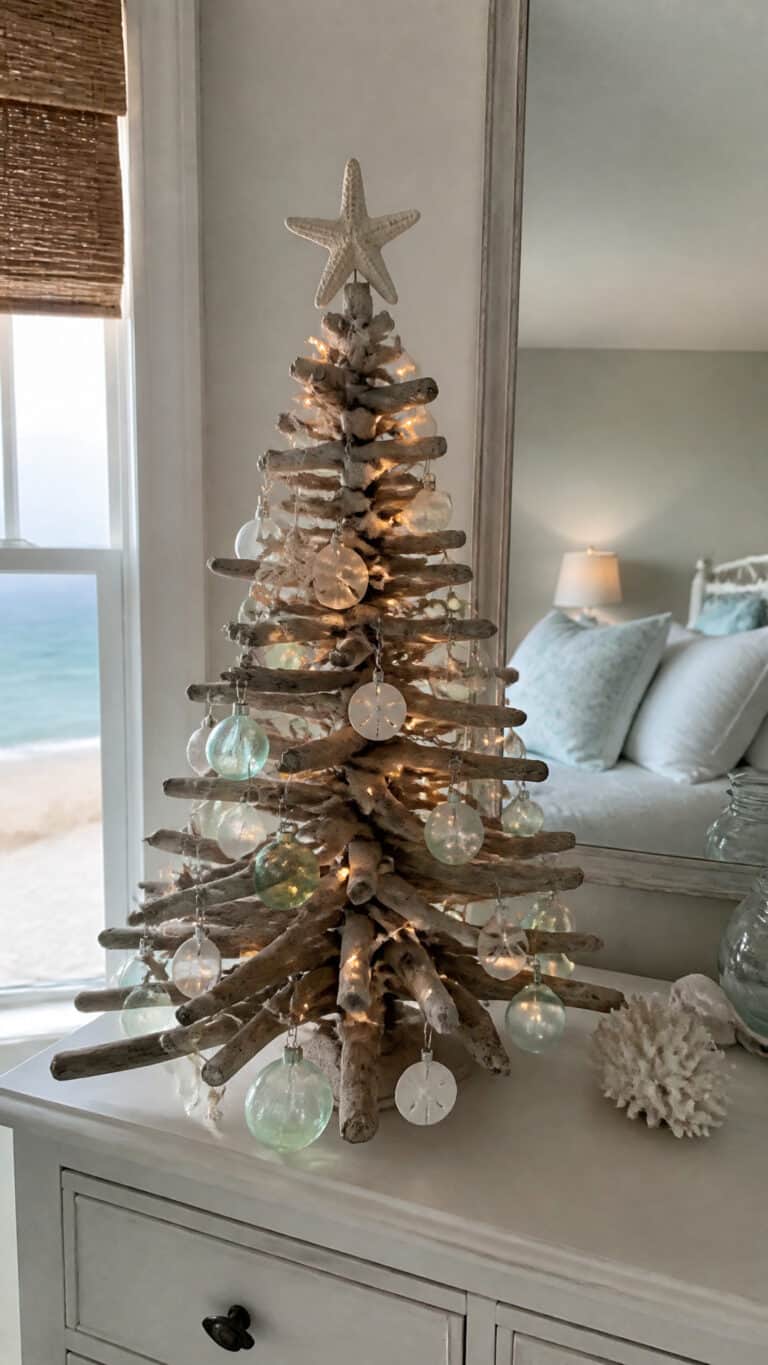
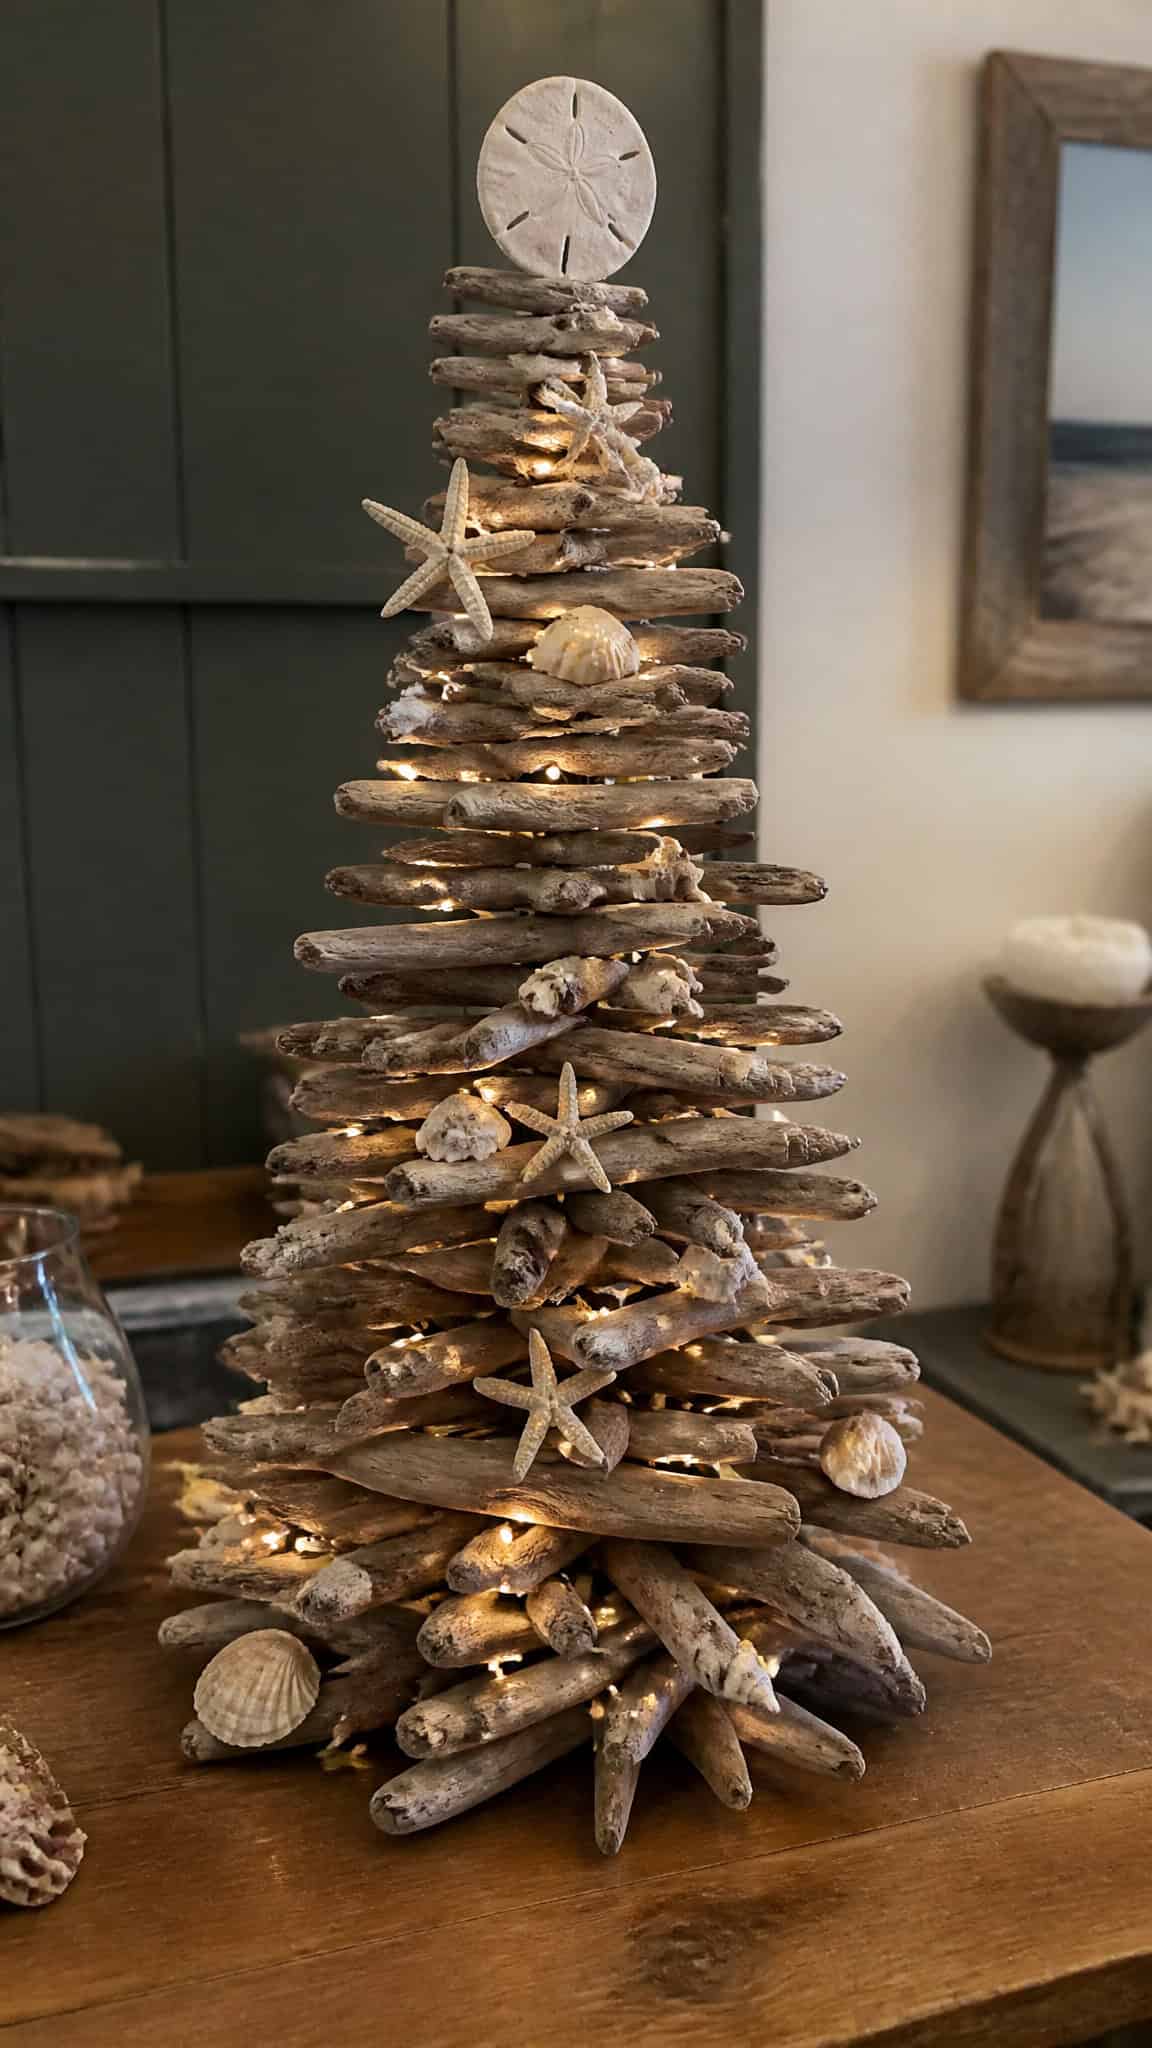
This has to be one of my absolute favorite coastal Christmas DIY projects because it’s so versatile and the boys love hunting for the perfect pieces of driftwood! You can make these in any size—from tiny tabletop versions to large statement pieces for your entryway. The natural, weathered look of driftwood brings such organic beauty to your holiday decor!
To create your driftwood tree, you’ll need several pieces of driftwood in varying lengths (you can find these at craft stores if you’re not near a beach), a sturdy base like a wooden round or pot filled with sand, and a strong adhesive or drill to secure everything. Start with your longest piece as the base and work your way up, stacking progressively shorter pieces to create that classic tree shape!
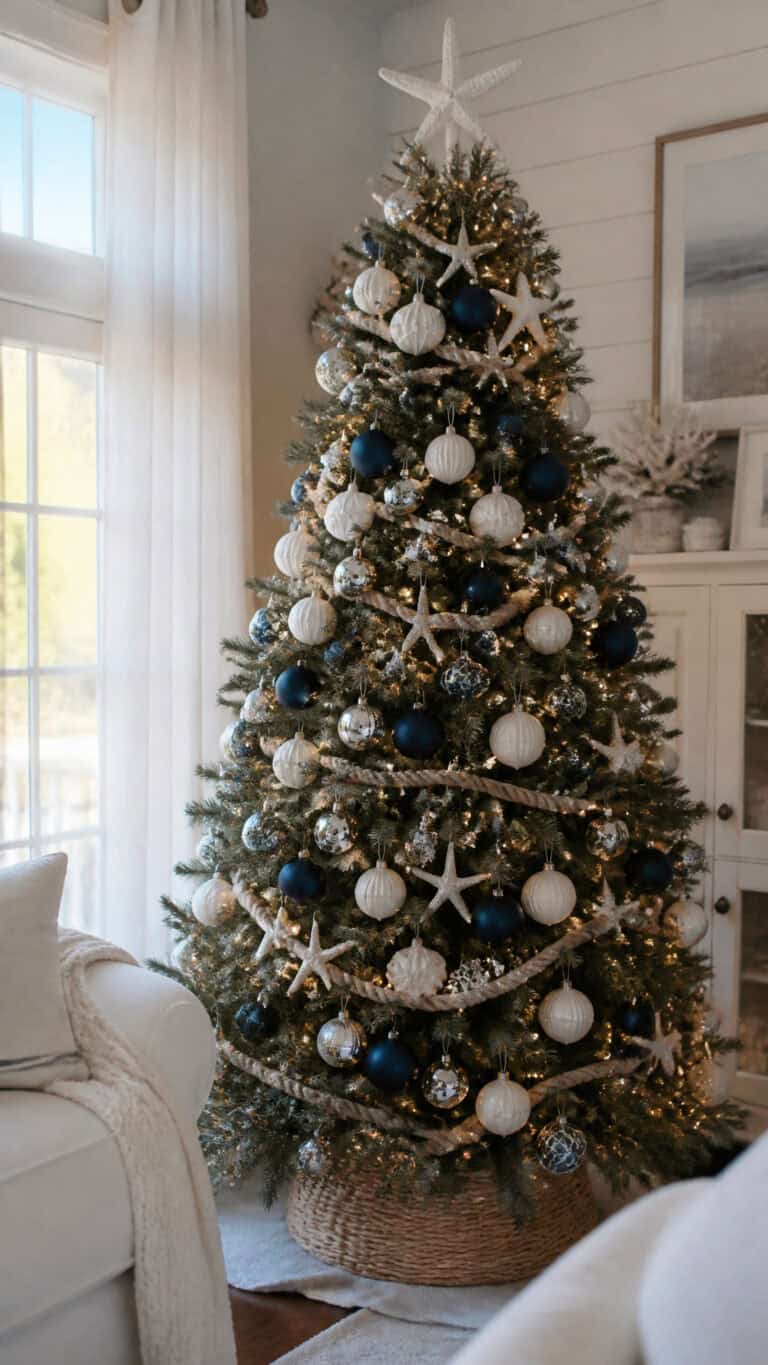
The best part is decorating it! We love wrapping ours with tiny white lights and hanging miniature starfish ornaments and small shells from fishing line. You can also add a rope garland, mini buoys, or even small coastal-themed ornaments. My middle son insists on putting a sand dollar on top instead of a traditional star, and honestly, it looks amazing! This project usually takes us an afternoon, and it becomes such a conversation piece when guests come over!
Materials you’ll need:
- Driftwood pieces in graduated sizes
- Wooden base or pot with sand
- Hot glue gun or drill with screws
- String lights (battery-operated work great)
- Small coastal ornaments and shells
- Rope or twine for garland
Seashell and Starfish Ornaments
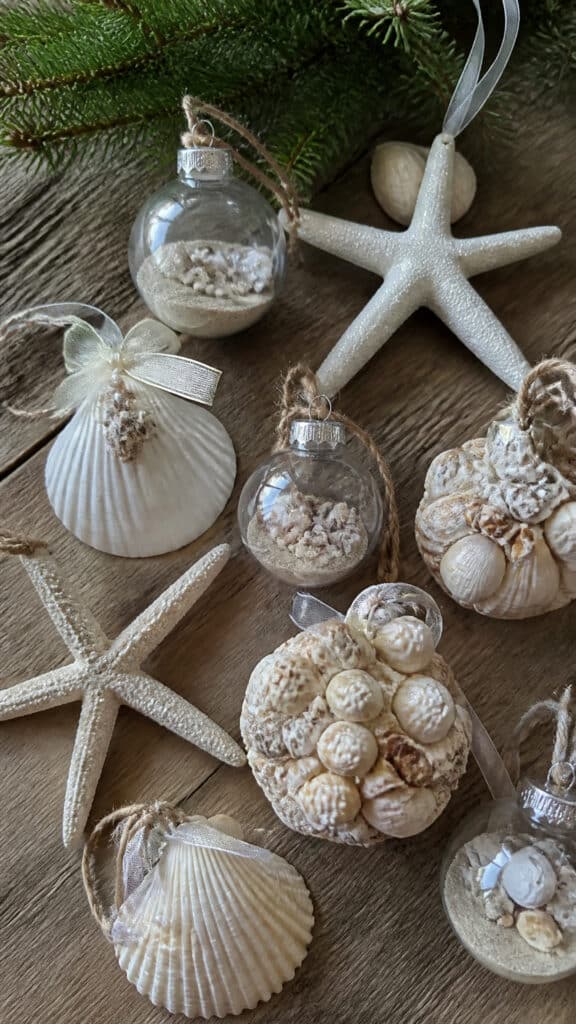
Making seashell ornaments is probably the easiest coastal Christmas DIY project to do with kids, and trust me, with three boys under my roof, easy is always a win! These gorgeous ornaments cost next to nothing if you’ve collected shells from beach trips, and they add such a personal, handmade touch to your tree. Plus, each one becomes a little memory of summer adventures!
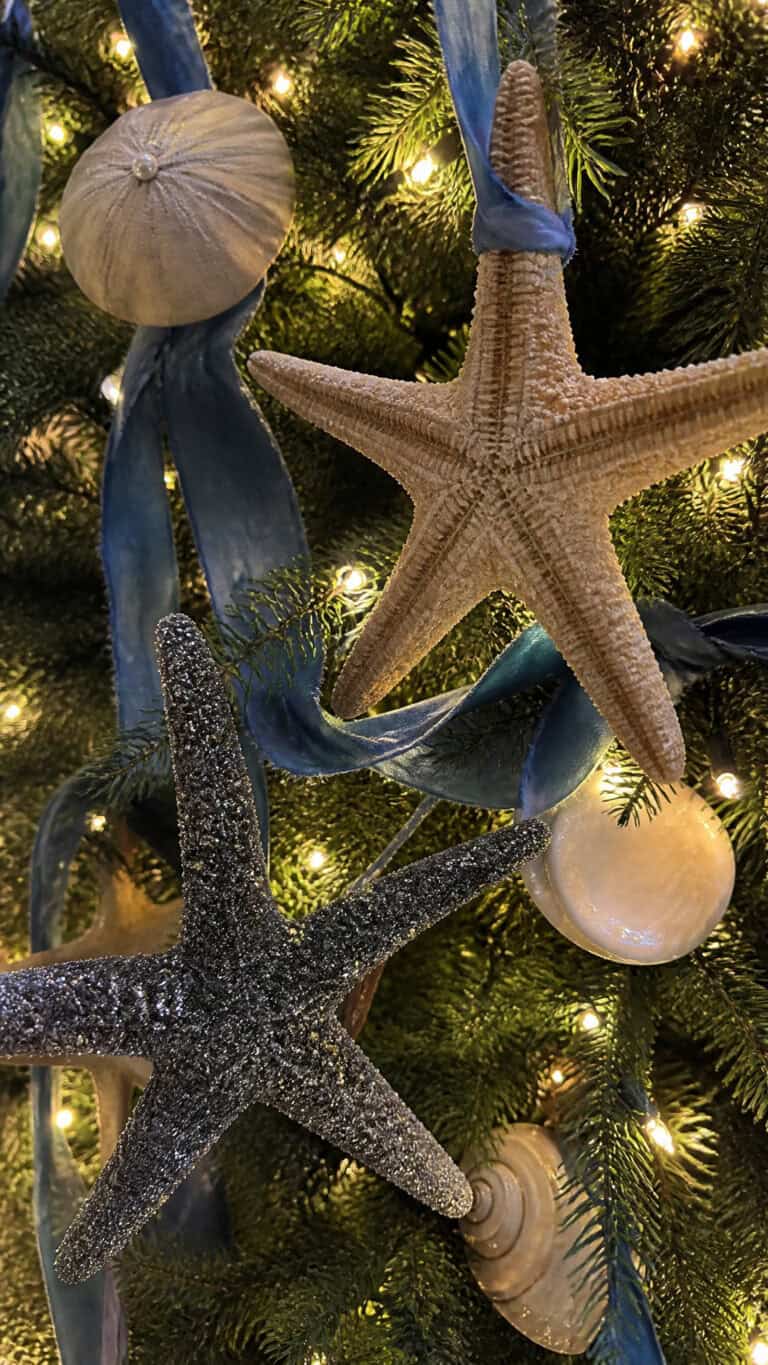
The simplest version involves just drilling a small hole in larger shells, threading ribbon through them, and hanging them directly on your tree. But we also love getting creative with combinations! Glue small shells onto clear glass ball ornaments, create starfish clusters tied with twine, or fill clear ornaments with sand and tiny shells for a beach-in-a-ball effect. My youngest loves the glitter—we brush Mod Podge on white shells and sprinkle them with iridescent glitter for a frosty, coastal look!
For a more polished look, you can create ornament clusters by hot-gluing several small shells and starfish onto a round piece of cardboard or a wooden disc, then attaching a ribbon hanger. These look absolutely beautiful mixed in with traditional ornaments on your tree! We made about twenty of these last year during naptime (well, the older two helped while the baby napped), and they’ve become treasured keepsakes!
Easy ornament ideas:
- Single large shells with ribbon hangers
- Clear balls filled with sand and tiny shells
- Starfish painted white or silver with glitter accents
- Shell clusters glued to wooden rounds
- Sand dollars with painted designs or left natural
- Scallop shells with coastal scenes painted inside
Rope-Wrapped Coastal Wreath
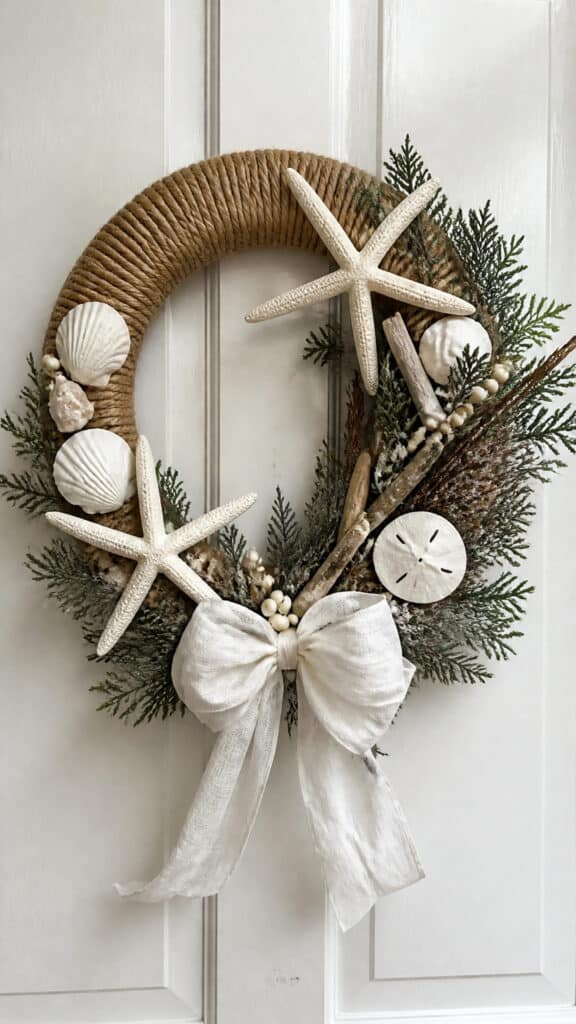
A gorgeous coastal wreath for your front door is such a welcoming way to share your beachy Christmas style with the neighborhood! I made my first rope-wrapped wreath three years ago, and it’s still going strong—these beauties are durable and get better with age. The combination of natural rope, shells, and greenery creates the perfect blend of nautical and festive!
Start with a basic grapevine or foam wreath form from the craft store. Wrap the entire wreath with natural jute rope or sisal rope, securing the ends with hot glue. This creates that beautiful textured base that screams coastal! Then comes the fun part—decorating! We attach large white starfish, scallop shells, sand dollars, and small pieces of driftwood using hot glue or floral wire.
For the Christmas element, I like to tuck in some artificial evergreen sprigs, white berries, or even small pinecones that have been whitewashed. A big burlap or white ribbon bow at the bottom pulls everything together beautifully! My boys helped me make smaller versions to hang on interior doors throughout our house, and they add such a cohesive coastal Christmas vibe to every room. The whole project takes about two hours, but it’s so worth it!
Wreath-making tips:
- Use a 14-16 inch wreath form for standard doors
- Secure rope every few inches with hot glue as you wrap
- Layer shells and starfish in odd numbers for visual appeal
- Add waterproof elements if hanging outdoors
- Spray with clear sealant to protect from weather
- Attach a jute rope hanger instead of wire for extra coastal charm
Mason Jar Coastal Luminaries
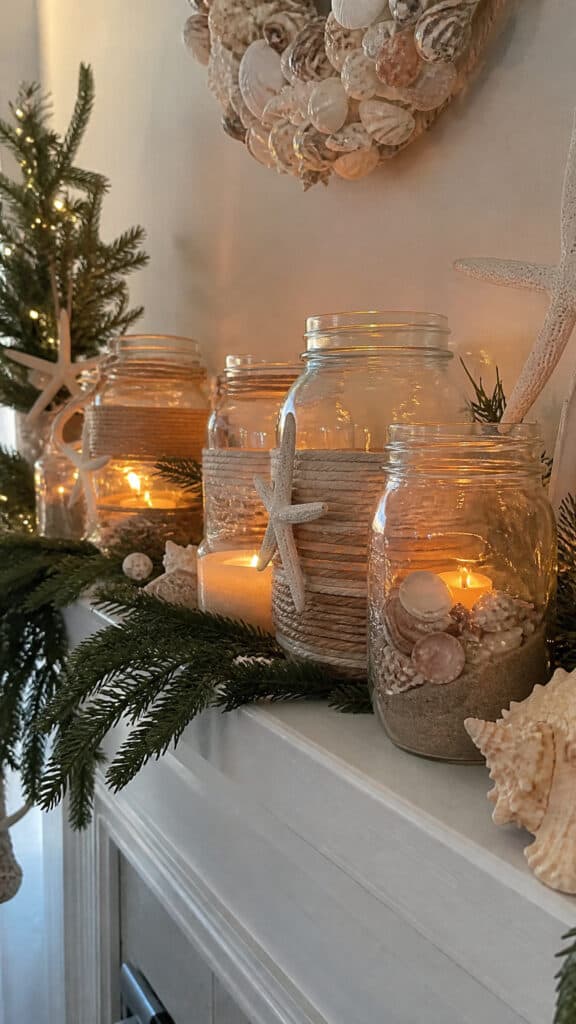
These luminaries are absolutely magical when lit up in the evening, and they’re so simple that even my most rambunctious son can help without too much chaos! Mason jar coastal luminaries bring such a warm, beachy glow to your holiday decor, and they’re perfect for lining your mantel, creating a centerpiece, or lighting up your porch. They’re also fantastic teacher gifts or hostess presents!
The basic concept is simple: take clean mason jars and create coastal scenes inside or around them. One of our favorite methods is to fill the bottom inch or two with sand, nestle in a battery-operated tea light, and then glue shells and small starfish around the outside of the jar. You can also wrap the jar with rope or burlap ribbon for extra texture! For a frosted beach glass look, we paint the outside with Mod Podge mixed with Epsom salt—it dries with this gorgeous crystallized texture that looks like sea spray!
Another variation we love is creating a “snow globe” effect by filling jars with Epsom salt “snow,” adding small bottle brush trees, and gluing shells to the outside. The boys think these are actual snow globes and shake them constantly! These luminaries look stunning grouped together in varying heights, and the flickering candlelight through the glass creates such a cozy atmosphere. We usually make a dozen or so in an afternoon assembly-line style!
Luminary variations to try:
- Sand-filled jars with shells glued on exterior
- Rope-wrapped jars with starfish accents
- Frosted glass effect using Epsom salt mixture
- Painted jars in coastal blues and whites
- Layered sand and shells visible through clear glass
- Hanging jars with wire handles and tea lights
Driftwood and Burlap Garland
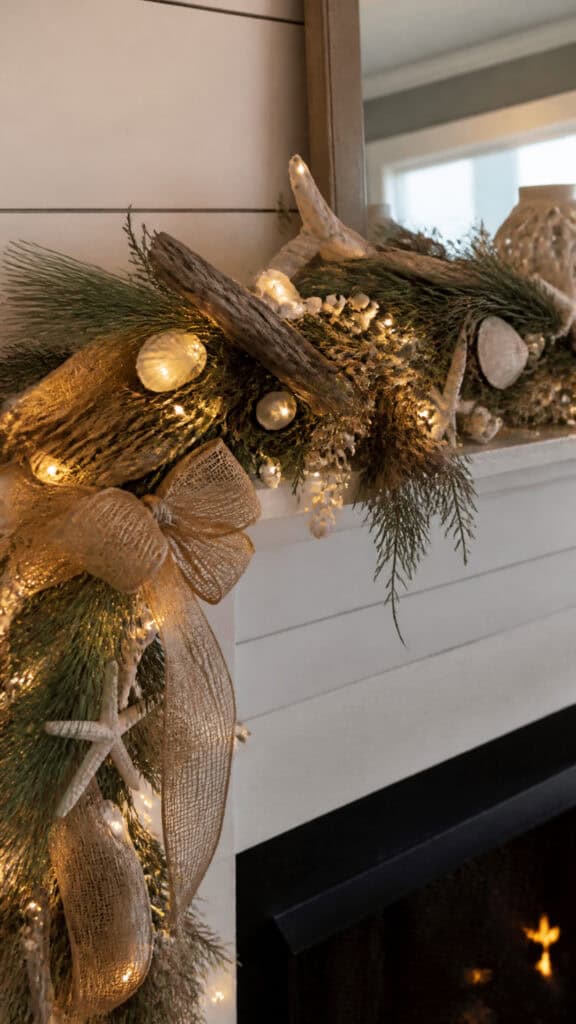
Garland is such an essential part of Christmas decorating, and making your own coastal version is easier than you might think! This coastal Christmas DIY project is perfect for draping across your mantel, winding up your staircase railing, or framing doorways throughout your home. The natural elements bring such beautiful texture and that relaxed beach house feel to your holiday decor!
To create this garland, you’ll need a long piece of thick jute rope or twine as your base—I usually make mine about eight to ten feet long for the mantel. Then gather your materials: small pieces of driftwood with holes drilled through them, burlap ribbon cut into strips, white or cream fabric scraps, shells with holes, and starfish. Thread these elements onto your rope base, spacing them out naturally and tying burlap strips into little bows between the wooden pieces!
We also like to add some traditional Christmas elements to make it more festive—white berry sprigs, small pinecones, and even some faux eucalyptus or evergreen pieces tucked in with floral wire. The combination of rustic coastal materials with holiday greenery is just stunning! My boys’ favorite part is helping tie the burlap bows (even though they’re usually crooked, which somehow makes them more charming). This project takes a couple of hours but lasts for years if you store it carefully!
Garland assembly tips:
- Pre-drill holes in driftwood pieces before starting
- Alternate textures for visual interest
- Tie elements loosely so they can be adjusted
- Add battery-operated fairy lights for extra magic
- Create matching smaller garlands for windows
- Store carefully wrapped in tissue paper for next year
Painted Sand Dollar Christmas Decor
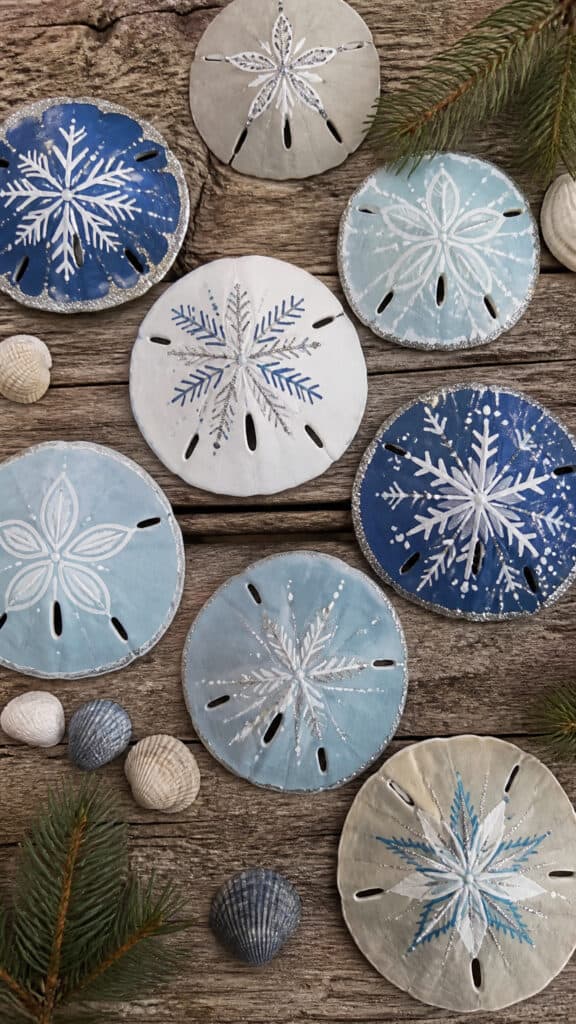
Sand dollars are like the perfect canvas for coastal Christmas DIY projects! These flat, delicate treasures from the sea can be transformed into so many beautiful decorations, and painting them has become one of our favorite rainy afternoon activities. The boys love getting creative with designs, and even the wonky ones turn out adorable!
The simplest approach is painting sand dollars pure white or cream and adding simple designs with paint pens—snowflakes, Christmas trees, coastal patterns, or even just elegant dots and lines. You can also leave them natural and add just a touch of sparkle with glitter paint or Mod Podge and iridescent glitter. For a more elaborate look, we paint entire Christmas scenes on larger sand dollars—tiny lighthouses, beach Santas, or simple coastal landscapes!
These painted sand dollars are incredibly versatile! String them together to create a garland, attach ribbon hangers to use as ornaments, glue them to wrapped presents as unique gift toppers, or arrange them in a decorative bowl as a centerpiece. We also made place card holders last year by gluing painted sand dollars to small pieces of driftwood and tucking name cards into the slots—our Christmas dinner table looked so beautiful! Just be gentle with them since they’re fragile, but that delicate quality is part of their charm!
Painting ideas and techniques:
- White base coat with metallic gold or silver accents
- Coastal blue ombre effect fading to white
- Simple snowflake designs with white paint pens
- Natural sand dollars with just glitter edges
- Tiny Christmas trees or beach scenes
- Seal finished pieces with clear acrylic spray
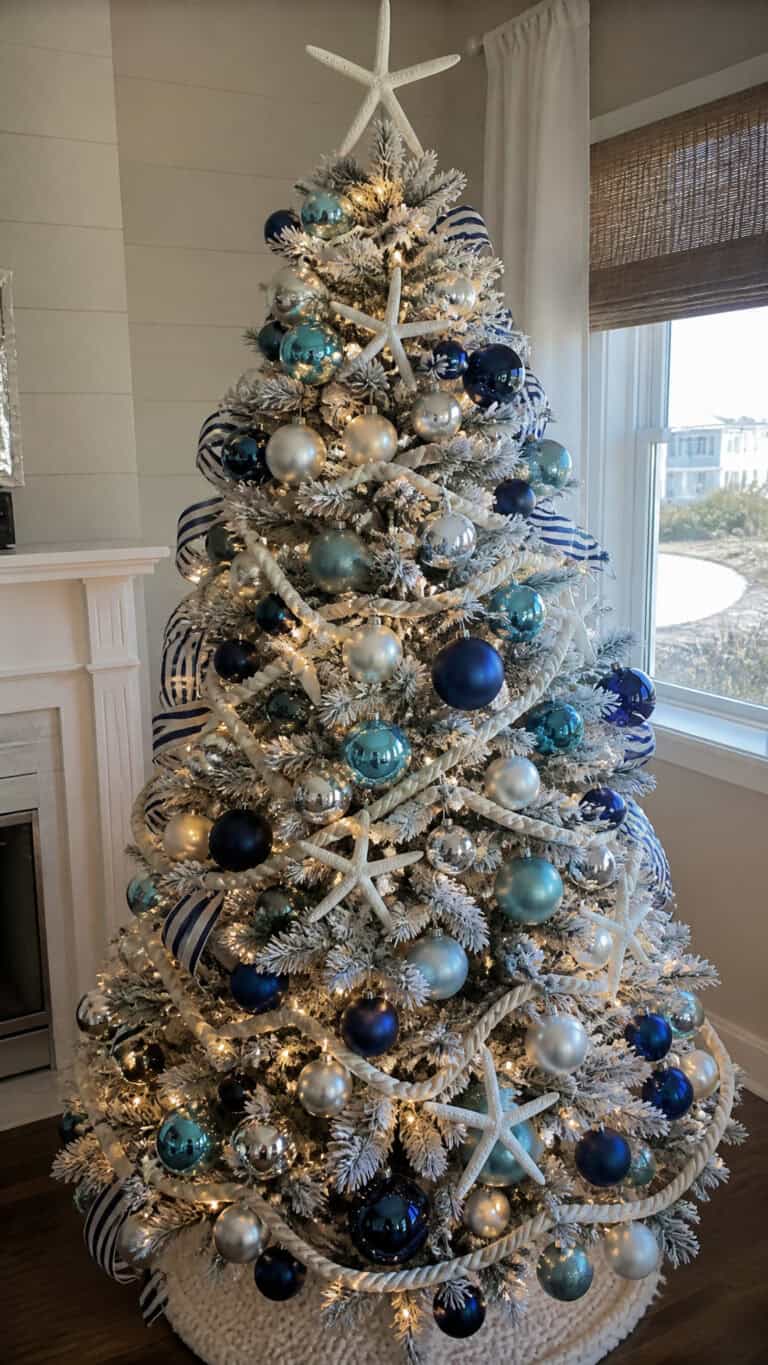
Nautical Rope Christmas Tree Skirt
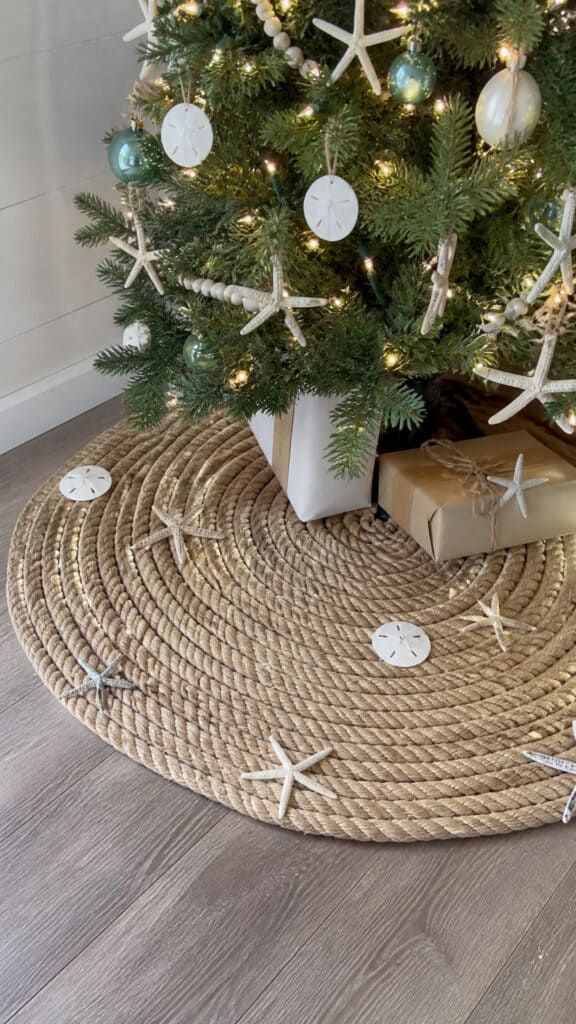
This project is definitely more involved than some of the others, but the result is absolutely stunning and so unique! A rope Christmas tree skirt adds such incredible coastal texture under your tree, and it’s surprisingly durable. I made ours two Christmases ago, and it still looks brand new! Plus, it’s way easier to clean than fabric tree skirts—just shake off any fallen needles and you’re done!
You’ll need about 100-150 feet of thick natural rope (depending on your tree size), a large piece of burlap or canvas as a base, and a strong fabric adhesive or hot glue gun with lots of glue sticks. Start by cutting your base fabric into a circle with a hole in the center and a slit for wrapping around the tree trunk. Then, beginning at the outer edge, glue your rope in a spiral pattern working toward the center, keeping the coils tight together so no base fabric shows through!
The process is time-consuming—I worked on mine during several naptime sessions—but it’s actually quite meditative! Once your rope spiral is complete, you can leave it natural or add coastal embellishments. We glued large starfish and sand dollars at intervals around the edge, and I added some white berries tucked between the rope coils. The texture under our tree is just gorgeous, and it complements all our other coastal Christmas DIY decorations perfectly! Fair warning though—this project uses a LOT of hot glue, so stock up!
Tree skirt construction steps:
- Measure your tree stand to determine center hole size
- Cut burlap base larger than desired finished size
- Work in sections, gluing rope firmly as you spiral
- Use heavy books to weight down sections as glue dries
- Add decorative elements after rope is completely secured
- Consider adding ties or velcro for closure at the back slit
Bringing Coastal Christmas Magic Home
Creating these coastal Christmas DIY projects has brought so much joy to our family over the years! There’s something really special about decorating your home with items you’ve made with your own hands (and with your kids’ enthusiastic help). These projects transform your space into a beautiful coastal winter wonderland that feels both festive and relaxed, and honestly, that’s exactly the vibe I want during the busy holiday season!
The best part about coastal Christmas DIY decorating is that there are no strict rules—you can mix and match these projects, use whatever shells and driftwood you have available, and make each piece uniquely yours! Whether you tackle all of these projects or just choose one or two favorites, you’ll end up with a gorgeous handmade home that celebrates both the magic of Christmas and the beauty of coastal living. Now grab those glue guns and get creating—your beautiful beachy Christmas awaits!
This post may contain affiliate links. Read the full disclosure here.