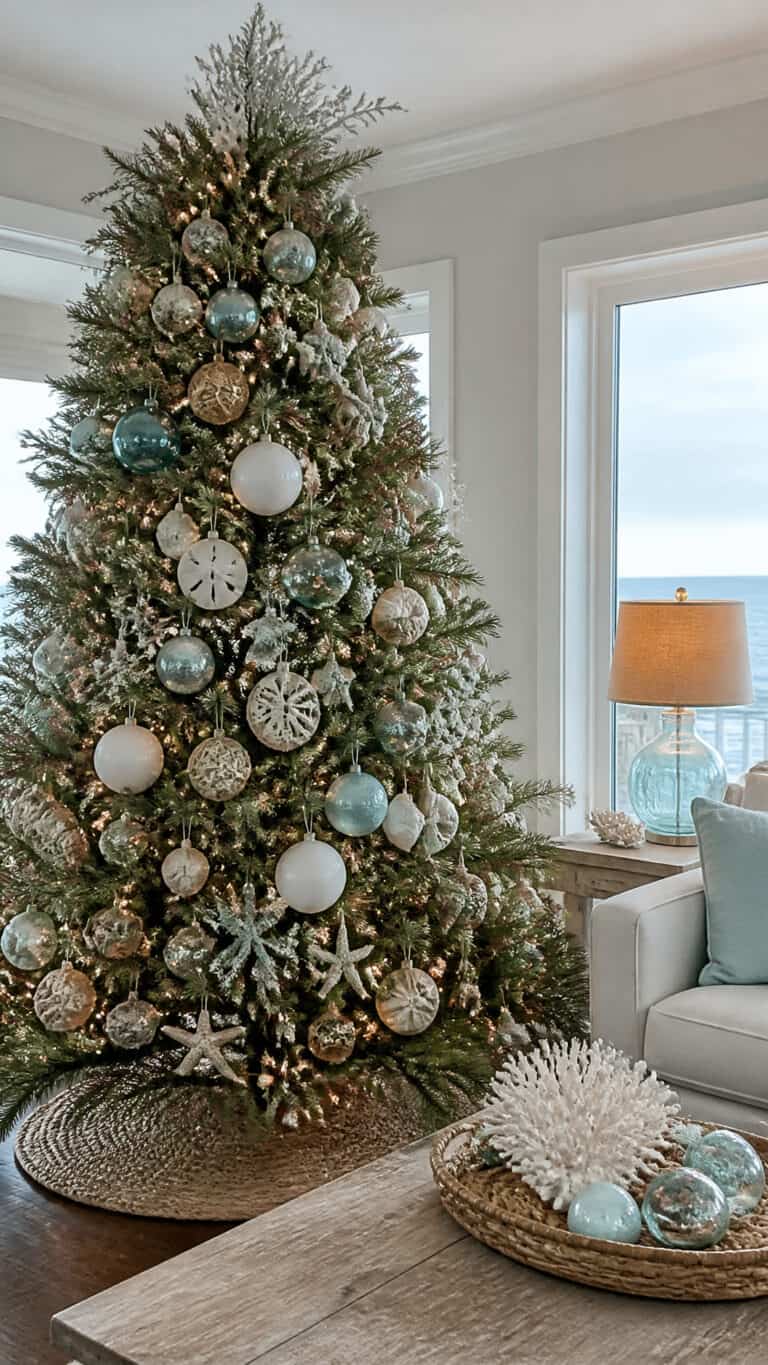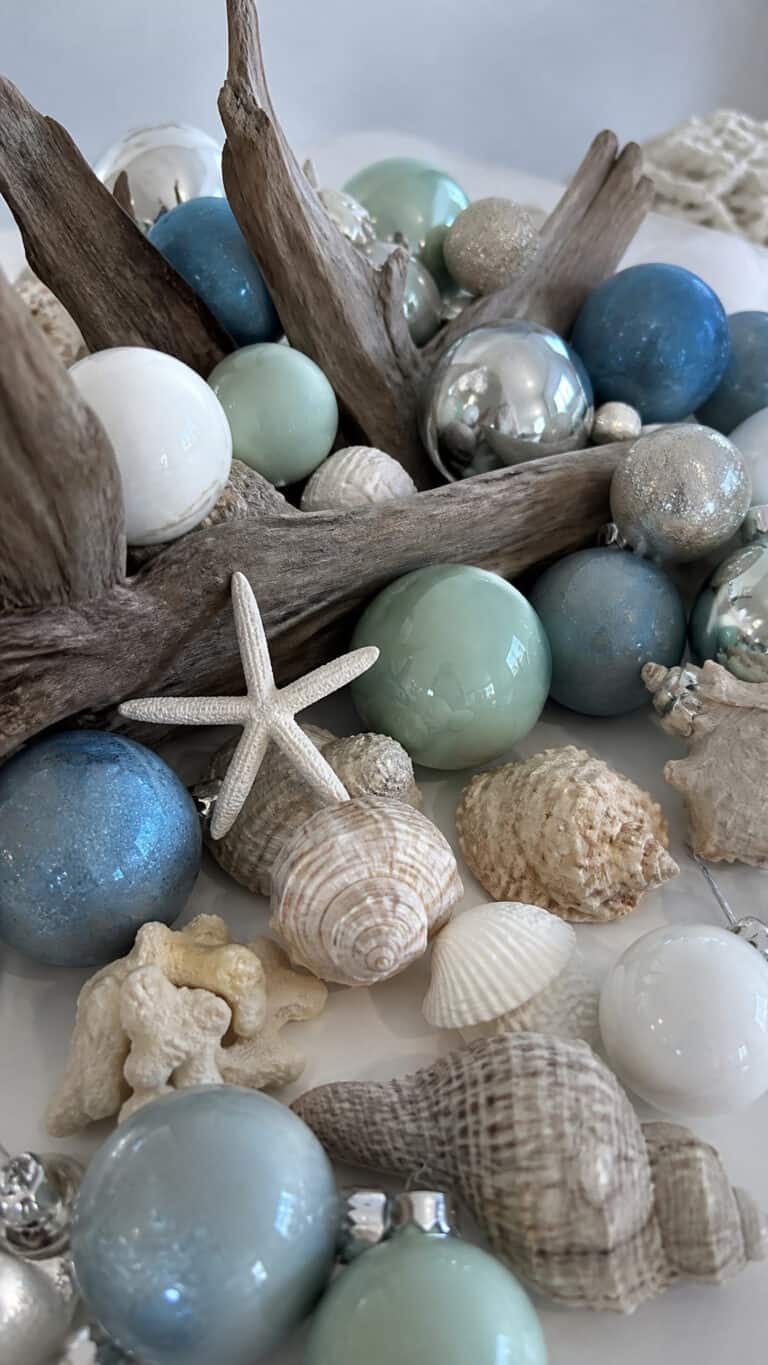
9 DIY Nautical Christmas Ornaments for a Coastal Holiday Tree
There’s something magical about combining the cozy warmth of Christmas with the breezy charm of coastal living! As a mom of three energetic boys who are absolutely obsessed with everything ocean-related, I’ve discovered that creating DIY nautical christmas ornaments is the perfect way to keep little hands busy during the holiday season while decorating our tree with meaningful, handmade treasures.
Plus, these ornaments are so much more special than anything you can buy at the store!
After decorating the tree, add handmade charm to the rest of your space with these coastal Christmas decor ideas!!
Whether you live by the sea or just dream of sandy beaches year-round, these nautical ornament ideas will transform your Christmas tree into a coastal paradise. The best part? Most of these projects use simple materials you probably already have at home, and they’re easy enough that even young kids can help. Let’s dive into these fun and festive coastal creations that’ll make your tree the talk of the neighborhood!
Rope-Wrapped Anchor Ornaments
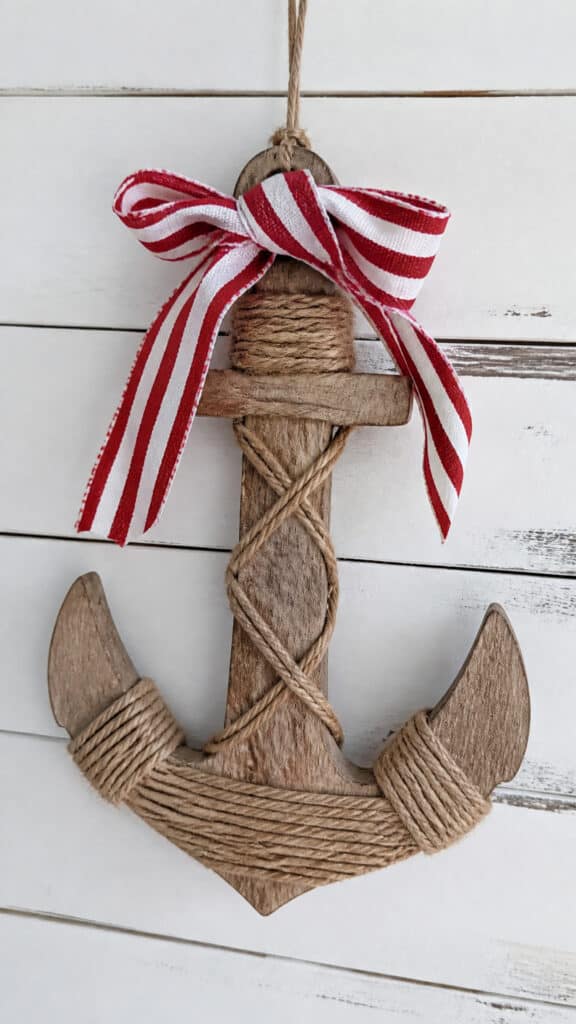

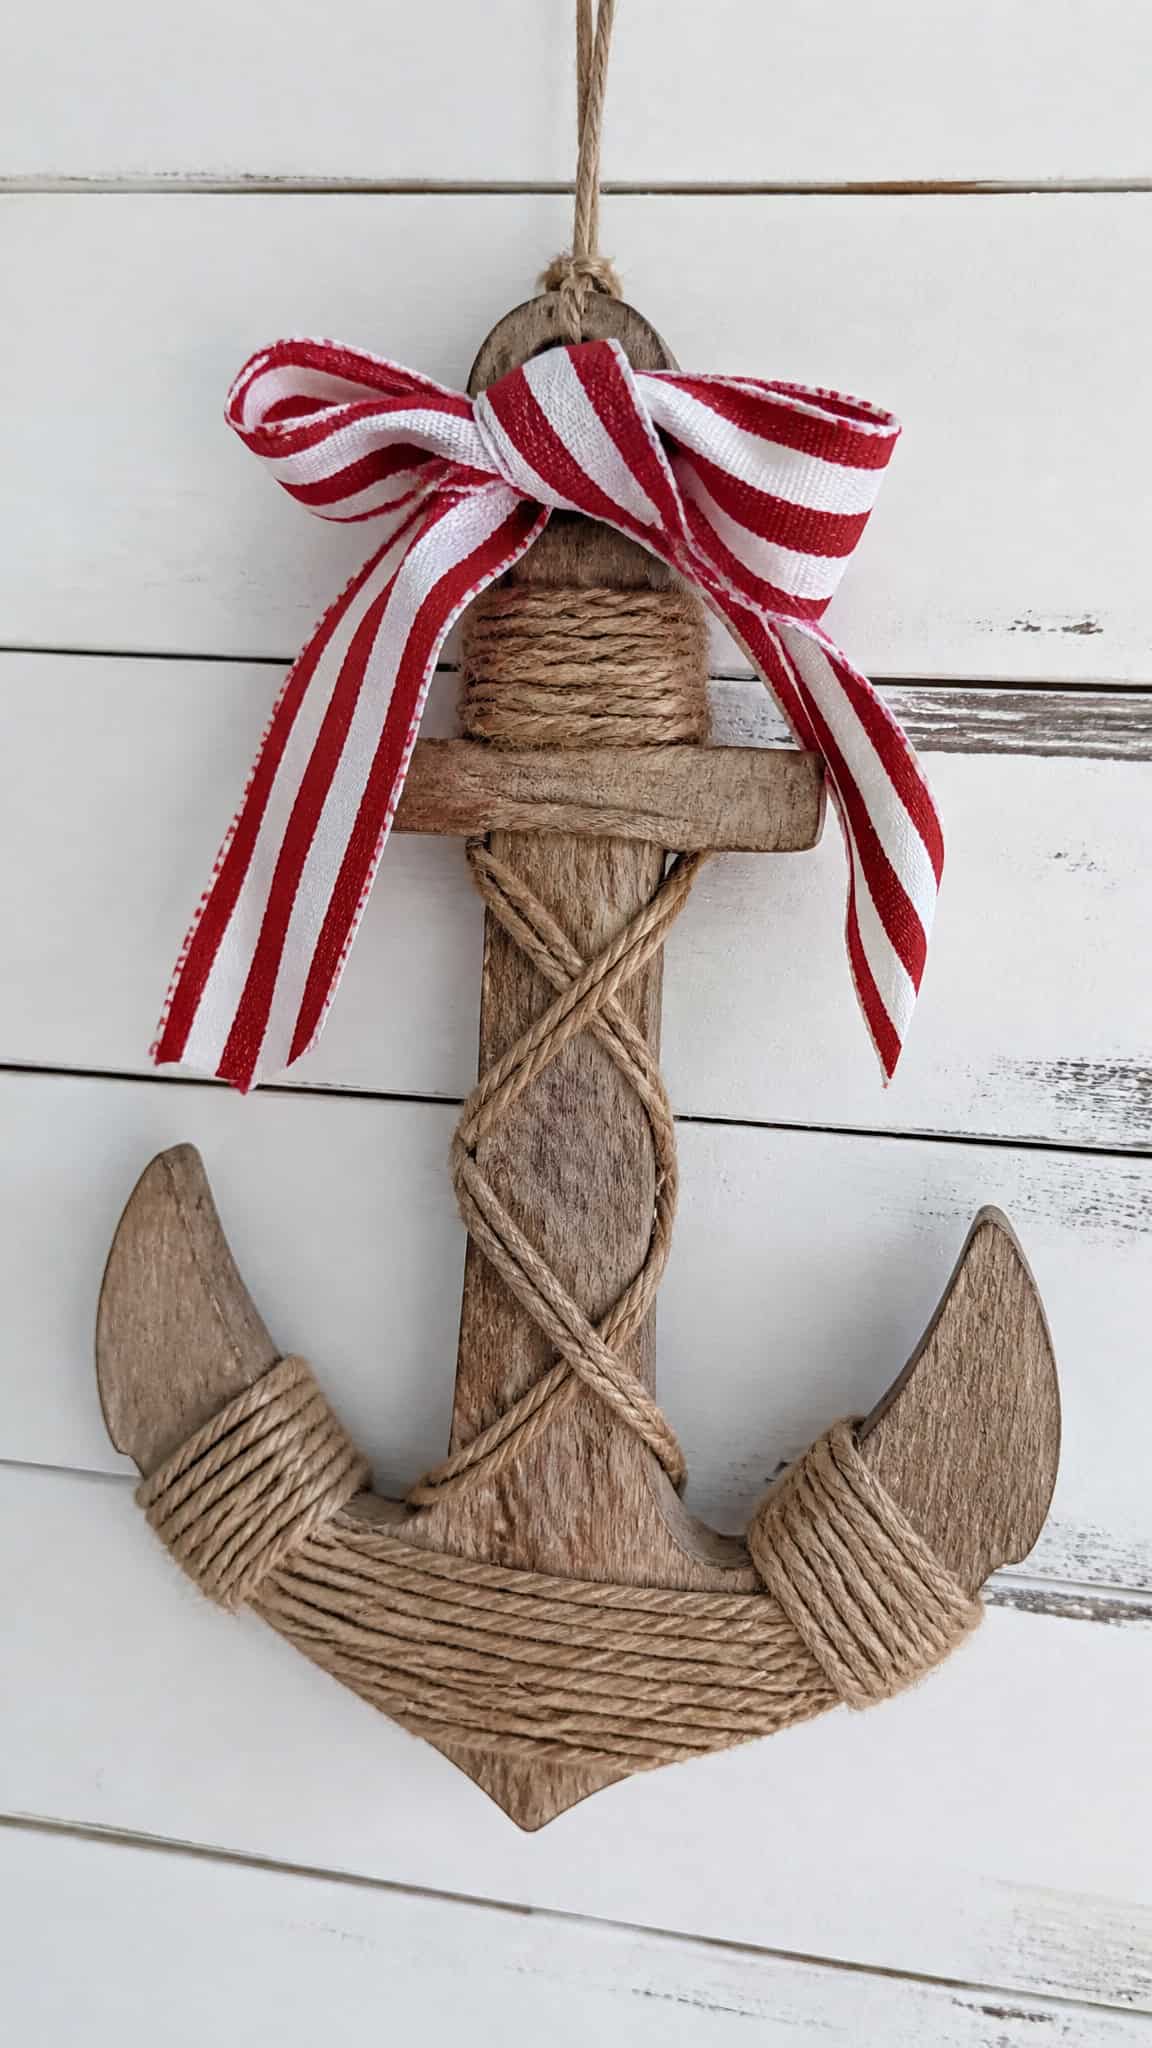
These adorable anchor ornaments are seriously one of my favorites because they look so professional but are actually super simple to make! My boys love anything that looks “tough” and nautical, so these anchors were an instant hit in our house. You’ll need small wooden anchor cutouts (available at any craft store), thin jute rope or twine, hot glue, and some white or navy paint if you want to add extra detail.
Start by painting your wooden anchors if desired and letting them dry completely. Then, beginning at the top of the anchor, apply a thin line of hot glue and carefully wrap the rope around the anchor in a spiral pattern, pressing firmly as you go. The key is to keep the rope tight and close together so no wood shows through! Once you’ve covered the entire anchor, secure the end with another dab of hot glue and trim any excess rope.
To finish these beauties, attach a loop of ribbon or twine to the top for hanging. I love using red and white striped ribbon for an extra pop of Christmas color! You can also add small embellishments like tiny shells, starfish, or even a miniature ship’s wheel. My middle son insisted on adding glitter to his, and honestly, it turned out adorable! These DIY nautical christmas ornaments are perfect for anyone who loves that classic maritime look.
Seashell Starfish Creations
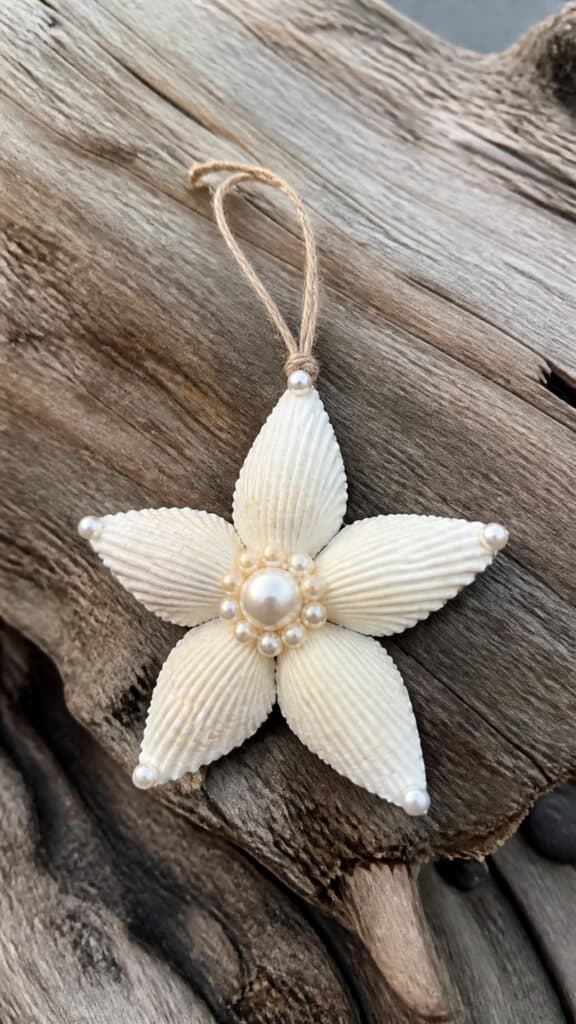
If you’ve been collecting seashells from beach vacations like I have (I literally have bags of them in our garage!), this is the perfect project to put them to use! Creating starfish ornaments from natural shells is not only beautiful but also a wonderful way to preserve vacation memories. You’ll need various sizes of shells, a hot glue gun, twine or fishing line for hanging, and optional embellishments like small pearls or glitter.
To create each starfish, select five shells of similar size and shape. Arrange them in a star pattern with the pointed ends facing outward and the wider ends meeting in the center. Once you’re happy with the arrangement, carefully hot glue the shells together where they meet in the middle. For extra stability, I always add a small circle of cardboard to the back and glue all the shells to it!
Let your starfish dry completely, then add a loop of twine to the back of one arm for hanging. The fun part is decorating! My youngest loves painting the shells with white or silver paint for a frosted look, while my oldest prefers keeping them natural. You can also add tiny dots of glue and sprinkle with fine glitter, attach small pearl beads to the center, or even tie a small piece of red ribbon around one arm. These DIY nautical christmas ornaments bring such a personal touch to the tree because each one is totally unique!
Lighthouse Painted Bulb Ornaments
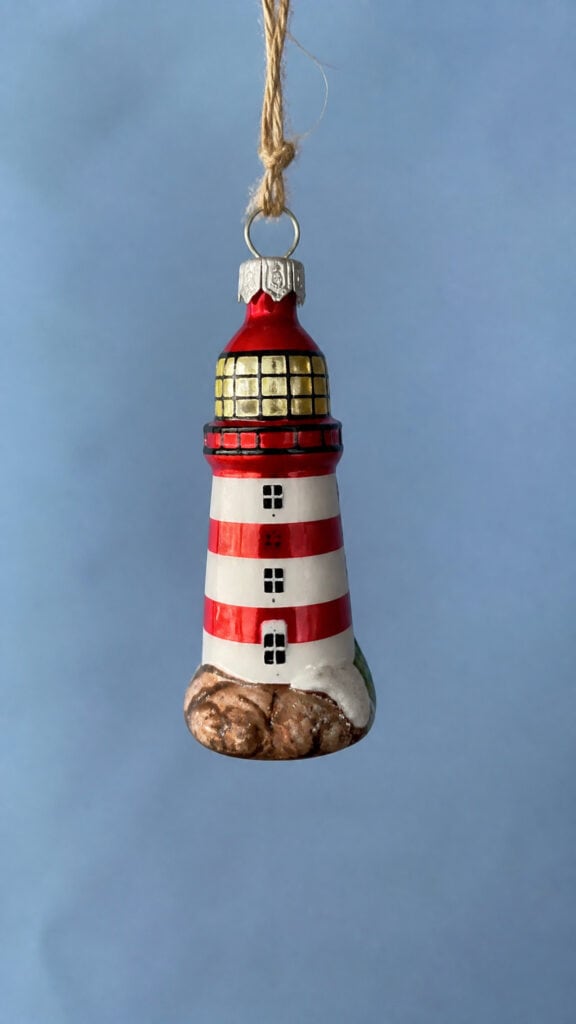
Clear glass ornaments are like blank canvases just waiting to be transformed into something amazing! Turning them into miniature lighthouses is easier than you might think, and the results are absolutely stunning. You’ll need clear glass ball ornaments, acrylic paints in red, white, and black, small paintbrushes, and a steady hand (or at least a patient attitude when your kids want to help!).
Start by removing the ornament cap and using a funnel to pour white acrylic paint inside the bulb. Swirl it around until the entire inside is coated, then pour out the excess and let it dry upside down. Once dry, use a pencil to lightly sketch horizontal stripes around the outside of the bulb to create the lighthouse pattern. Paint alternating red and white stripes, working carefully to keep the lines straight!
After the stripes dry, add details like tiny windows using black paint and a very fine brush or even a toothpick. At the top of the ornament where the cap sits, paint a small section yellow or gold to represent the lighthouse beacon. Replace the cap and add a twine or ribbon hanger. For extra coastal charm, you can tie a small piece of netting or attach a miniature ship’s wheel charm to the top! These DIY nautical christmas ornaments look so impressive that people always ask where I bought them, and I love saying my boys and I made them together!
Sailboat Cork Ornaments
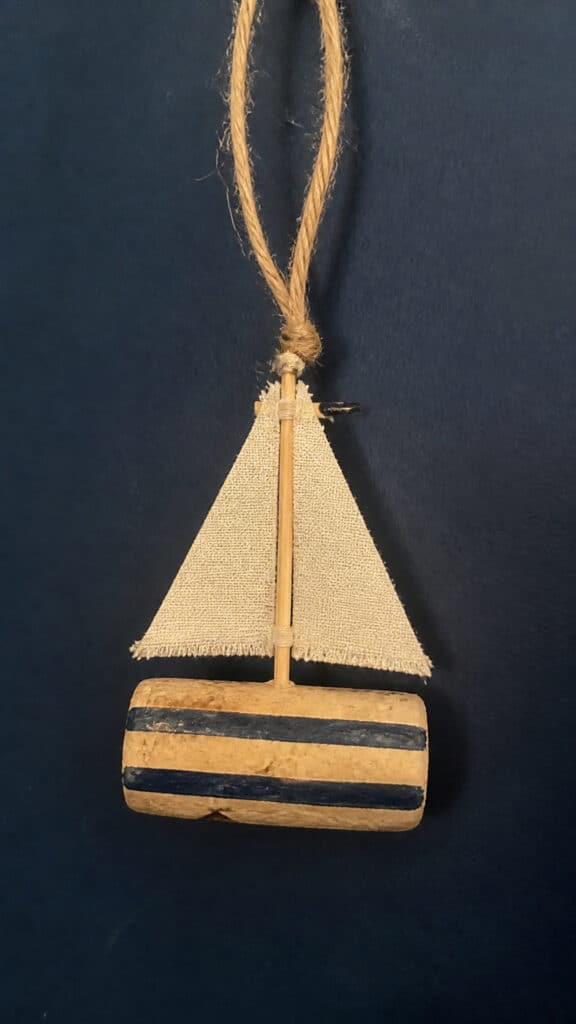
Wine corks are craft gold, and I’m always saving them for projects! These tiny sailboat ornaments are ridiculously cute and perfect for using up those corks you’ve been hoarding. You’ll need wine corks, toothpicks, small triangular pieces of fabric or paper for sails, hot glue, twine, and markers or paint for decorating.
Each cork becomes the hull of your sailboat. Start by decorating the cork with paint or markers if desired – my boys love drawing little portholes and waves on theirs! Cut small triangles from fabric, scrapbook paper, or even old nautical-themed napkins to create the sails. I usually make two sails per boat in different sizes for a more authentic look. Thread the sails onto a toothpick by poking the toothpick through the top and bottom of each triangle.
Use hot glue to secure the toothpick mast into one end of the cork, making sure it stands up straight. Let it dry completely. To create the hanger, wrap twine around the cork and tie it in a loop at the top, or glue a loop of twine directly to the top of the mast. These little boats are so charming hanging on the tree! You can make an entire fleet with different colored sails. My boys even named each of their boats and insist on hanging them together on the same branch. These DIY nautical christmas ornaments are perfect for anyone who loves sailing or just appreciates the simplicity of coastal style!
Driftwood and Twine Wrapped Ornaments
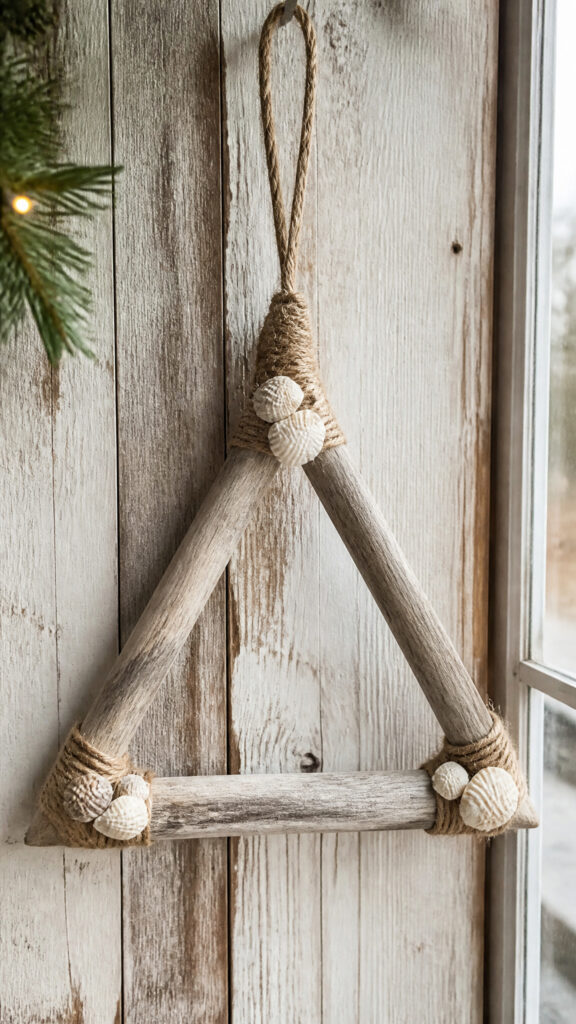
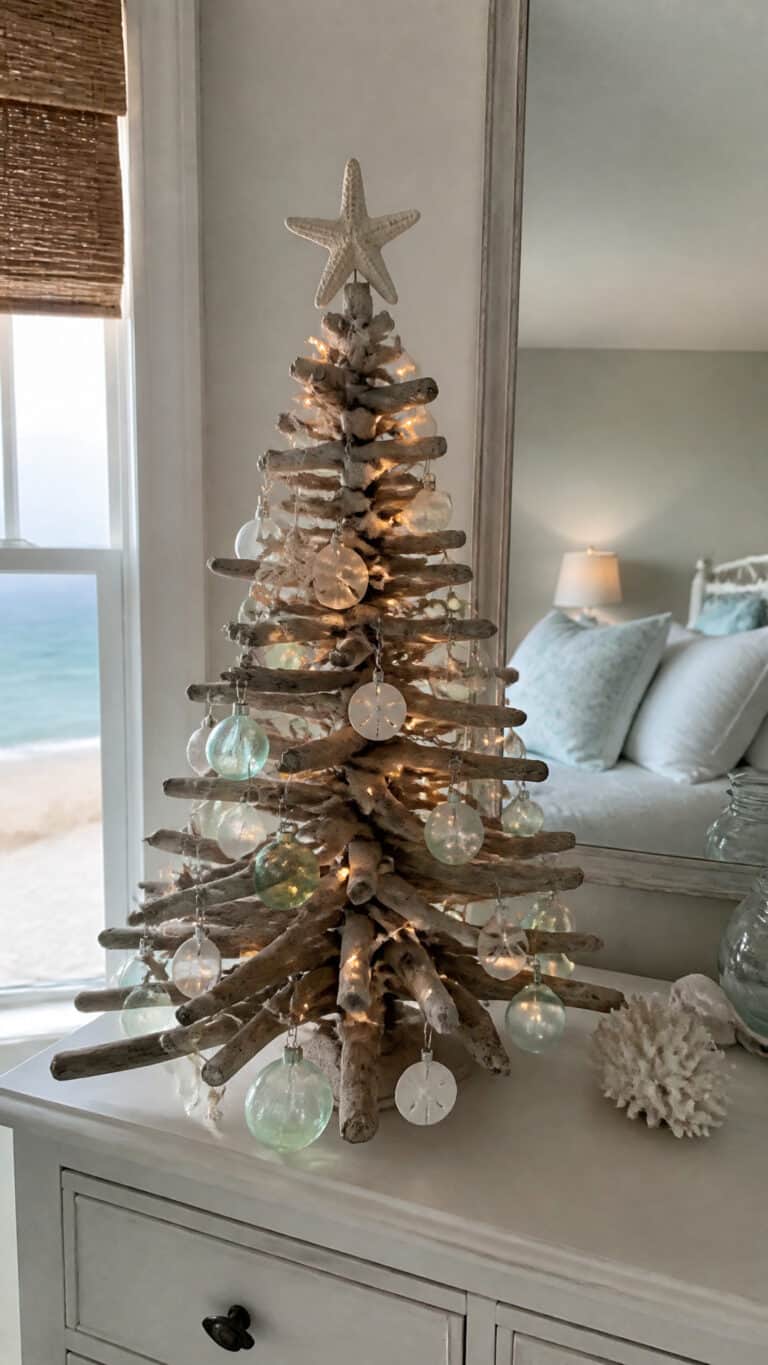
There’s something so beautifully organic about driftwood, and incorporating it into Christmas ornaments creates such a unique coastal vibe! These ornaments are wonderfully rustic and bring that authentic beachy feel to your tree. You’ll need small pieces of driftwood (or regular sticks if you don’t have beach access), twine or jute rope, hot glue, and optional decorations like small shells, beads, or bells.
Select pieces of driftwood that are roughly 3-4 inches long and relatively straight. If you’re using regular sticks, you can weather them by soaking in salt water and letting them dry in the sun for that authentic driftwood look! Arrange three pieces of driftwood in a triangle shape, overlapping at the corners. Use hot glue to secure each connection point, holding them firmly until the glue sets.
Once your triangle frame is secure, wrap twine around each corner joint in a crisscross pattern for extra stability and decoration. This also covers up any visible glue, which is always a bonus! Create a hanging loop at the top corner with more twine. Now comes the fun decorating part! Glue small shells to the corners, wrap sections of the driftwood with colored twine, add small jingle bells for a festive sound, or tie on tiny starfish charms. My boys love making these because they get to go on “stick hunting adventures” in our backyard first! These DIY nautical christmas ornaments are perfect for that natural, beachy aesthetic.
Navy and White Striped Fabric Ball Ornaments
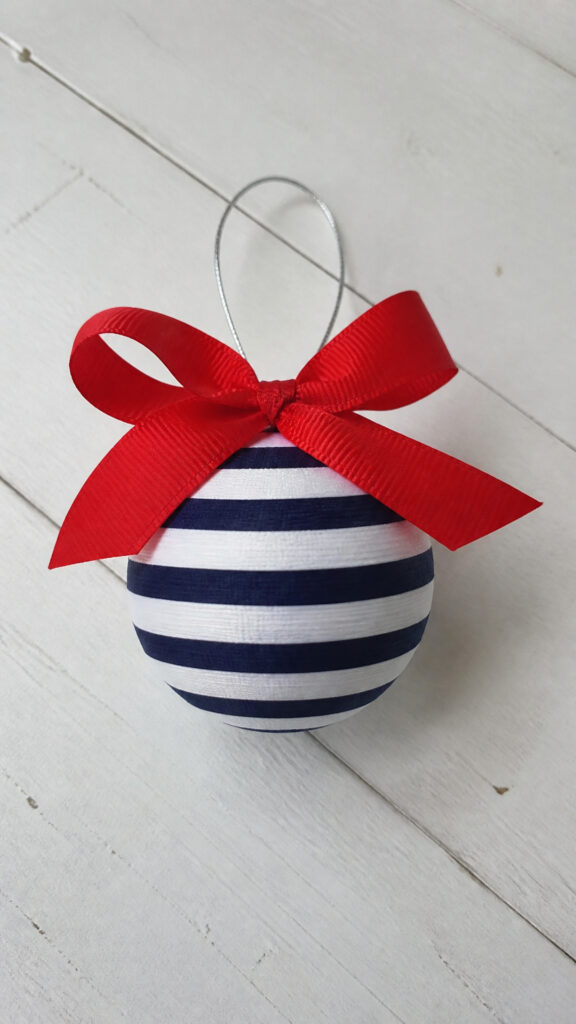
Fabric-covered ornaments are so elegant and surprisingly easy to make! The classic navy and white stripe pattern is quintessentially nautical and looks absolutely gorgeous on a coastal Christmas tree. You’ll need foam or styrofoam balls in various sizes, navy and white striped fabric, Mod Podge or fabric glue, scissors, pins, and ribbon for hanging.
Cut your striped fabric into strips about 1-2 inches wide and long enough to wrap around your foam ball with some overlap. The trick to getting smooth coverage is to work in sections! Apply a thin layer of Mod Podge to a section of the ball, then carefully press a fabric strip onto it, smoothing out any wrinkles or bubbles. Use pins to temporarily hold the fabric in place while it dries if needed.
Continue adding fabric strips, slightly overlapping each one, until the entire ball is covered. Make sure your stripes are all going in the same direction for a cohesive look! Once completely covered and dry, seal the entire ornament with another coat of Mod Podge for durability. Attach a ribbon loop to the top using hot glue or by inserting a small eye hook. For extra flair, tie a bow of red grosgrain ribbon at the top or add a small anchor charm! These ornaments look so professional that guests always think I bought them from an expensive boutique. These DIY nautical christmas ornaments add such a sophisticated coastal touch to any tree!
Miniature Life Preserver Ring Ornaments
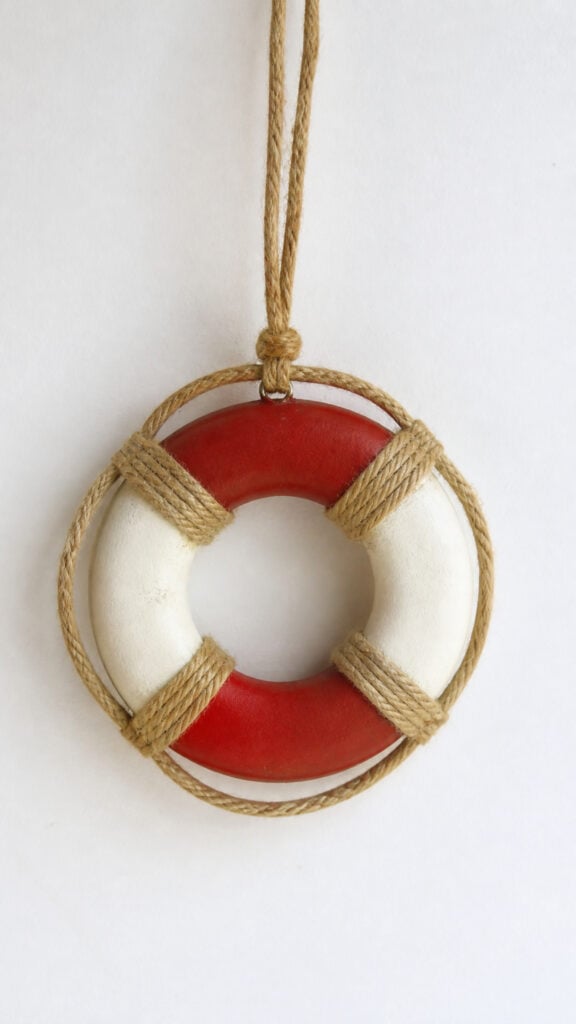
Life preserver rings are such an iconic nautical symbol, and miniaturizing them for Christmas ornaments is just adorable! These are probably the most recognizable DIY nautical christmas ornaments you can make, and they’re always a conversation starter. You’ll need small wooden or foam rings (curtain rings work great!), red and white paint, thin rope or twine, and hot glue.
Start by painting your rings with a base coat of white paint and letting them dry completely. Once dry, use painter’s tape to mask off four evenly spaced sections around the ring – these will stay white while you paint the other sections red. Paint the exposed sections red and let dry, then carefully remove the tape to reveal your classic life preserver pattern!
Now for the rope details that really make these look authentic! Cut four small pieces of rope, each about 2 inches long. Glue one piece of rope across each of the four sections where red meets white, creating the characteristic rope details of a real life preserver. These little rope pieces should extend slightly beyond the ring on both sides. Create a hanging loop at the top with twine or ribbon. My boys love personalizing theirs by writing their names on the white sections with a fine-point marker or adding small anchor stickers! You can also tie small pieces of netting or attach miniature flags to make each one unique. These are so fun and festive!
Glass Jar Beach Scene Ornaments
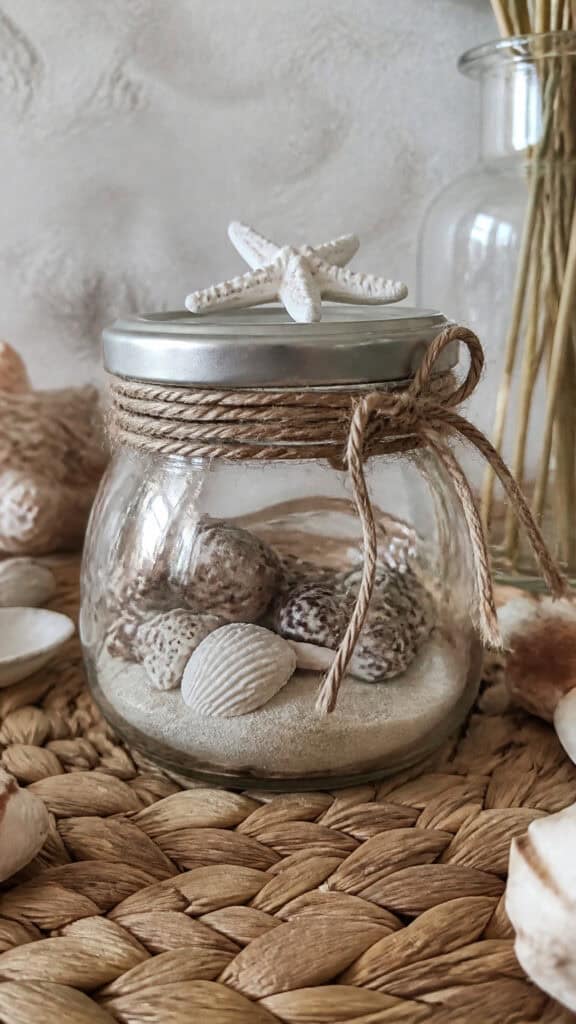
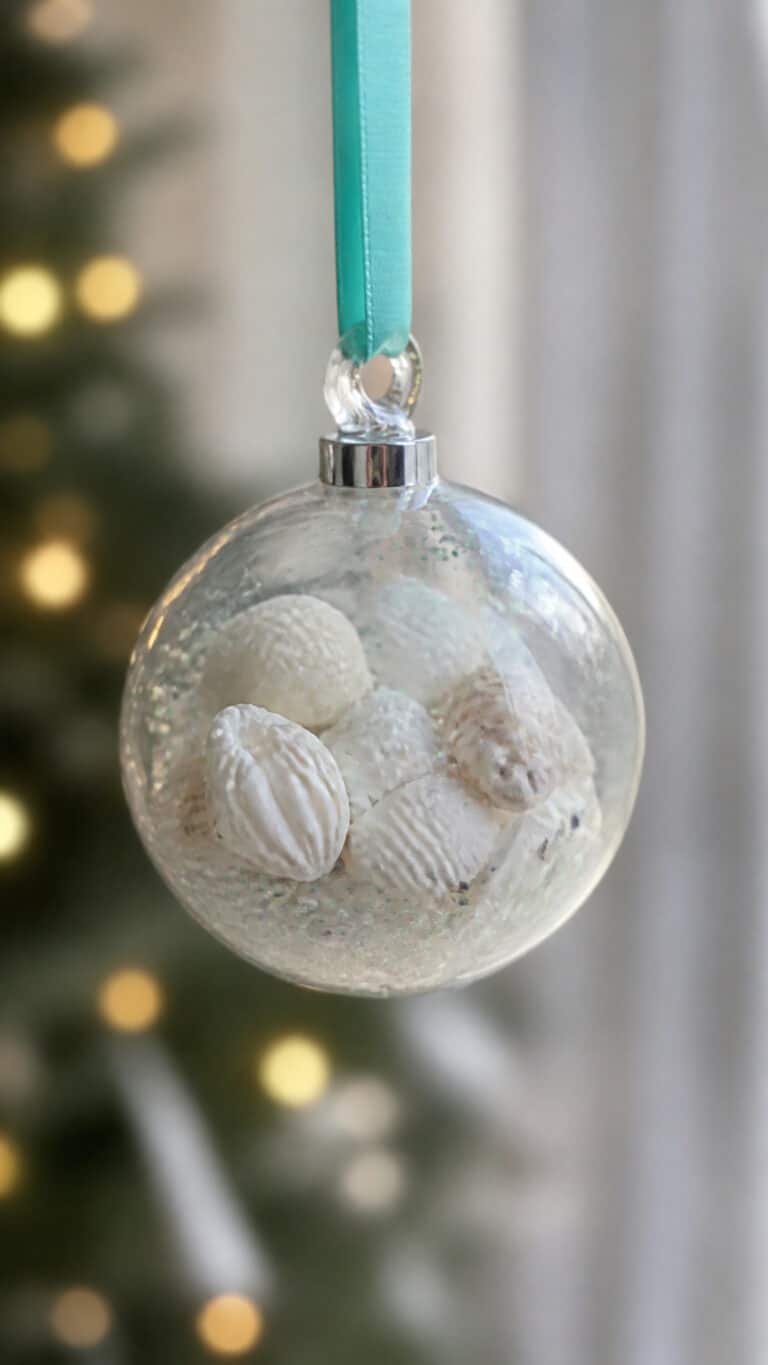
These might be my absolute favorite because they’re like tiny beach vacation memories hanging on your tree! Creating miniature beach scenes inside small glass jars or clear ornaments is so much fun, and each one becomes a little work of art. You’ll need small glass jars with lids or large clear ornaments, fine sand, tiny shells, miniature starfish, small pieces of sea glass, and twine or ribbon for decorating the top.
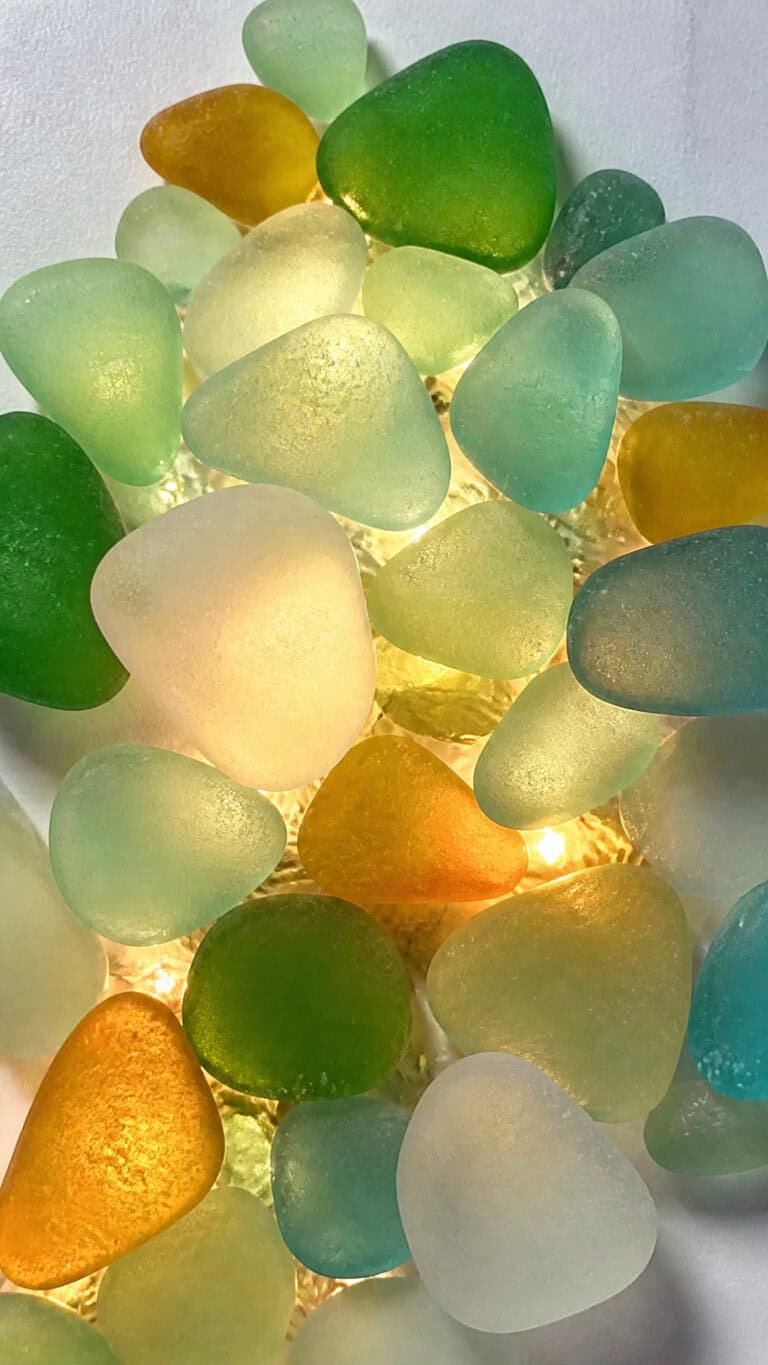
If you’re using jars, make sure they’re clean and dry inside. Start by adding a layer of fine sand to the bottom – just enough to create a little beach base, maybe a quarter inch or so. Then comes the fun part: arranging your tiny treasures! Add small shells, miniature starfish, bits of sea glass, or even tiny pieces of coral. The key is not to overfill – you want to be able to see each element clearly through the glass!
For an extra special touch, you can add a tiny drop of blue food coloring to create a “water” effect, or include a small piece of driftwood standing upright like a tiny tree. Seal your jar tightly or replace the ornament cap. Decorate the lid or top with twine wrapped around it, maybe add a small shell or starfish glued to the top, and attach your hanging ribbon. My boys each made their own with shells they collected from different beach trips, and they love pointing out which beach each ornament represents! These DIY nautical christmas ornaments are perfect for preserving special memories while creating beautiful tree decorations.
Rope Knot Ball Ornaments
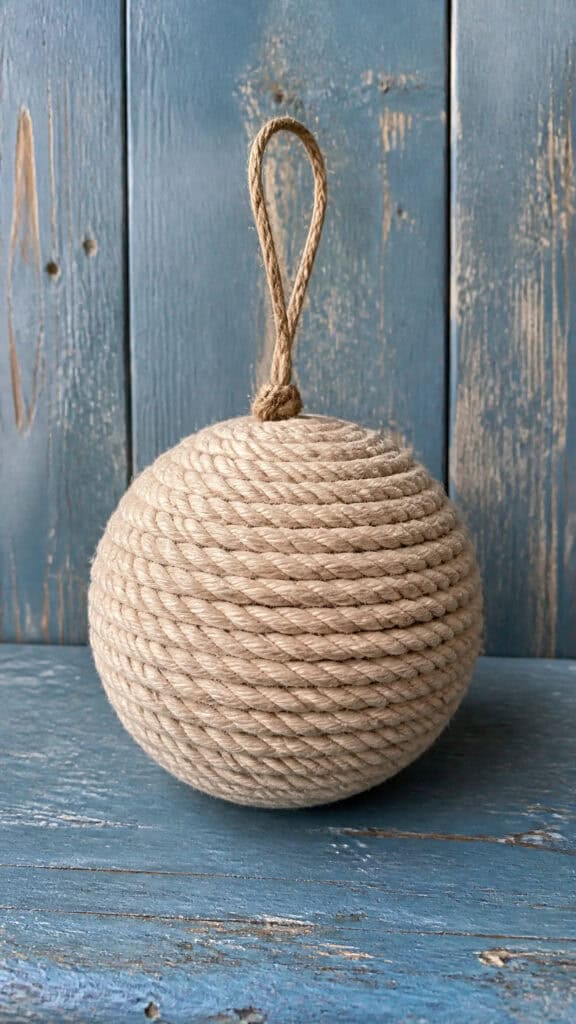
If you want something that looks really impressive but is actually pretty simple, these rope knot ball ornaments are it! They have such a classic nautical feel and add beautiful texture to your tree. You’ll need cotton rope (about 1/4 to 1/2 inch thick works best), styrofoam balls, hot glue, scissors, and ribbon or twine for hanging. Fair warning: your hands will get a workout, but it’s totally worth it!
Cut a long piece of rope – you’ll need quite a bit depending on your ball size, so I usually start with about 3-4 feet and cut more if needed. Apply hot glue to the top of your styrofoam ball and press the end of your rope firmly into it. Then, working in a spiral pattern, wrap the rope around the ball while applying small dots of hot glue every few inches to keep it secure. The goal is to cover the entire ball with rope wrapped tightly together with no gaps showing!
Keep wrapping and gluing until you reach the bottom of the ball, then secure the end with a generous amount of hot glue and trim any excess rope. Let it dry completely. To create the hanger, either glue a loop of ribbon to the top or tie a piece of twine around the ornament horizontally and create a loop at the top. For variety, you can use different thicknesses of rope or even colored rope! Some people like to leave them natural, while others spray paint them white or navy for a different look. My boys think these look like “real sailor knots” and they’re surprisingly sturdy. These DIY nautical christmas ornaments bring such wonderful texture and dimension to the tree!
Set Sail on Your Coastal Christmas Journey
Creating these DIY nautical christmas ornaments with my boys has become one of our favorite holiday traditions! There’s something so special about handmade decorations, especially when they reflect your family’s love for the ocean and coastal living. Each ornament tells a story and adds personality to your tree in a way that store-bought decorations just can’t match. Plus, the time spent crafting together creates memories that last way longer than the holiday season!
Whether you make all nine of these ornament styles or just pick your favorites, your coastal Christmas tree is going to be absolutely stunning! Don’t be afraid to get creative, let your kids add their own personal touches, and most importantly, have fun with the process. The beauty of handmade ornaments is that they don’t have to be perfect – they just have to be made with love! Happy crafting, and may your holiday season be merry, bright, and beautifully nautical!
This post may contain affiliate links. Read the full disclosure here.