Beach Glass Christmas Tree DIY Ideas for a Sparkling Handmade Holiday
There’s something absolutely magical about beach glass that makes my heart skip a beat every single time I spot a piece glinting in the sand! After years of collecting these smooth, frosted treasures during family beach trips with my three boys, I’ve accumulated quite the stash.
This year, I decided it was finally time to transform our collection into something truly special for the holidays, and let me tell you, beach glass Christmas tree DIY projects have completely stolen my heart!
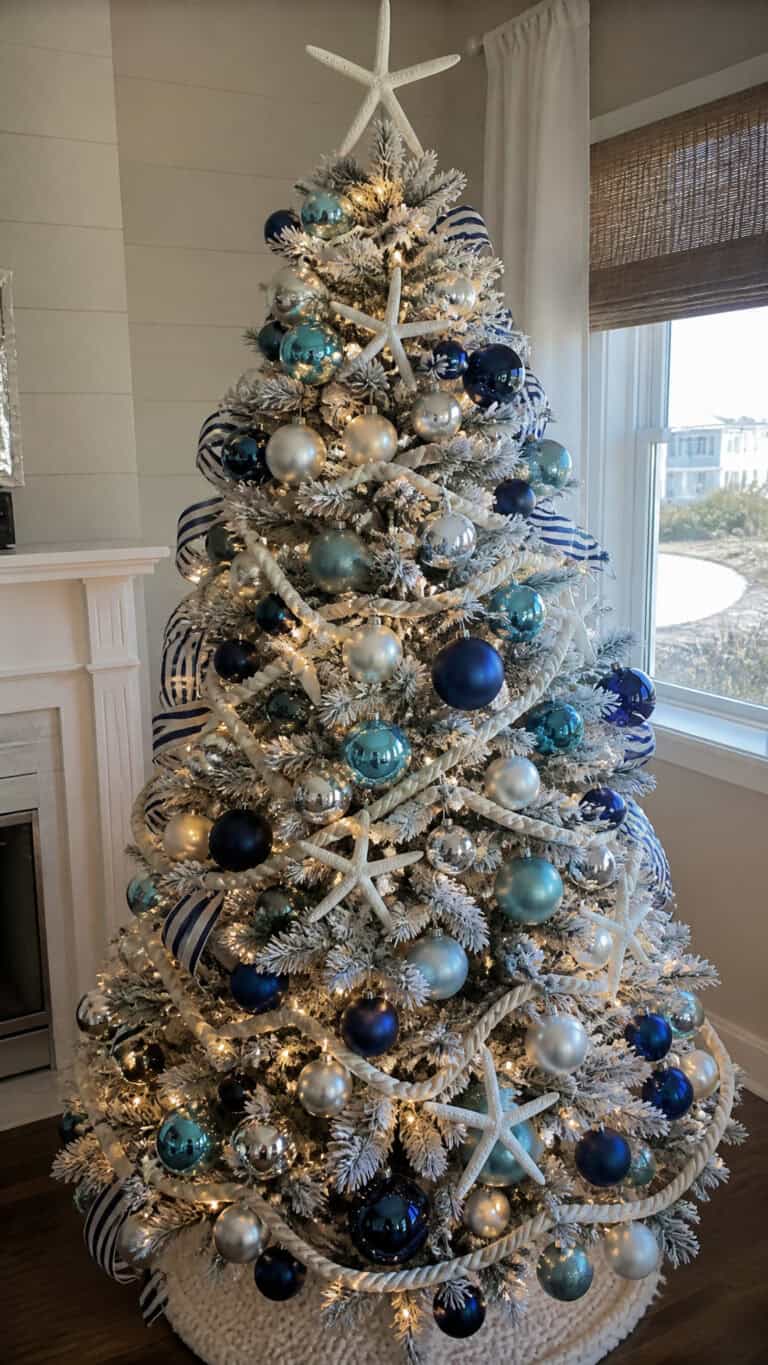
If you enjoy creating your own decorations, explore more handmade coastal Christmas tree ideas for a personal seaside touch.
The beauty of working with sea glass is that each piece tells its own story, weathered by waves and time into something uniquely beautiful. Whether you’ve been collecting for years or you’re just starting out (or even buying some from craft stores, no judgment here!), creating a beach glass Christmas tree is the perfect way to bring coastal charm into your holiday decor. These projects are surprisingly easy, absolutely gorgeous, and they make me feel connected to those sunny beach days even when it’s cold and snowy outside!
Why Beach Glass Makes Perfect Christmas Decor
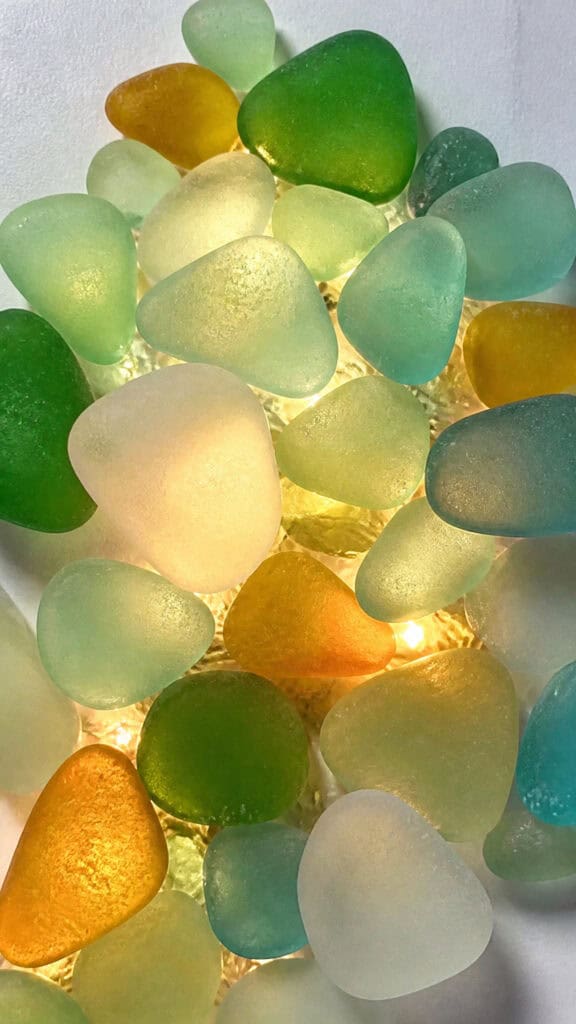


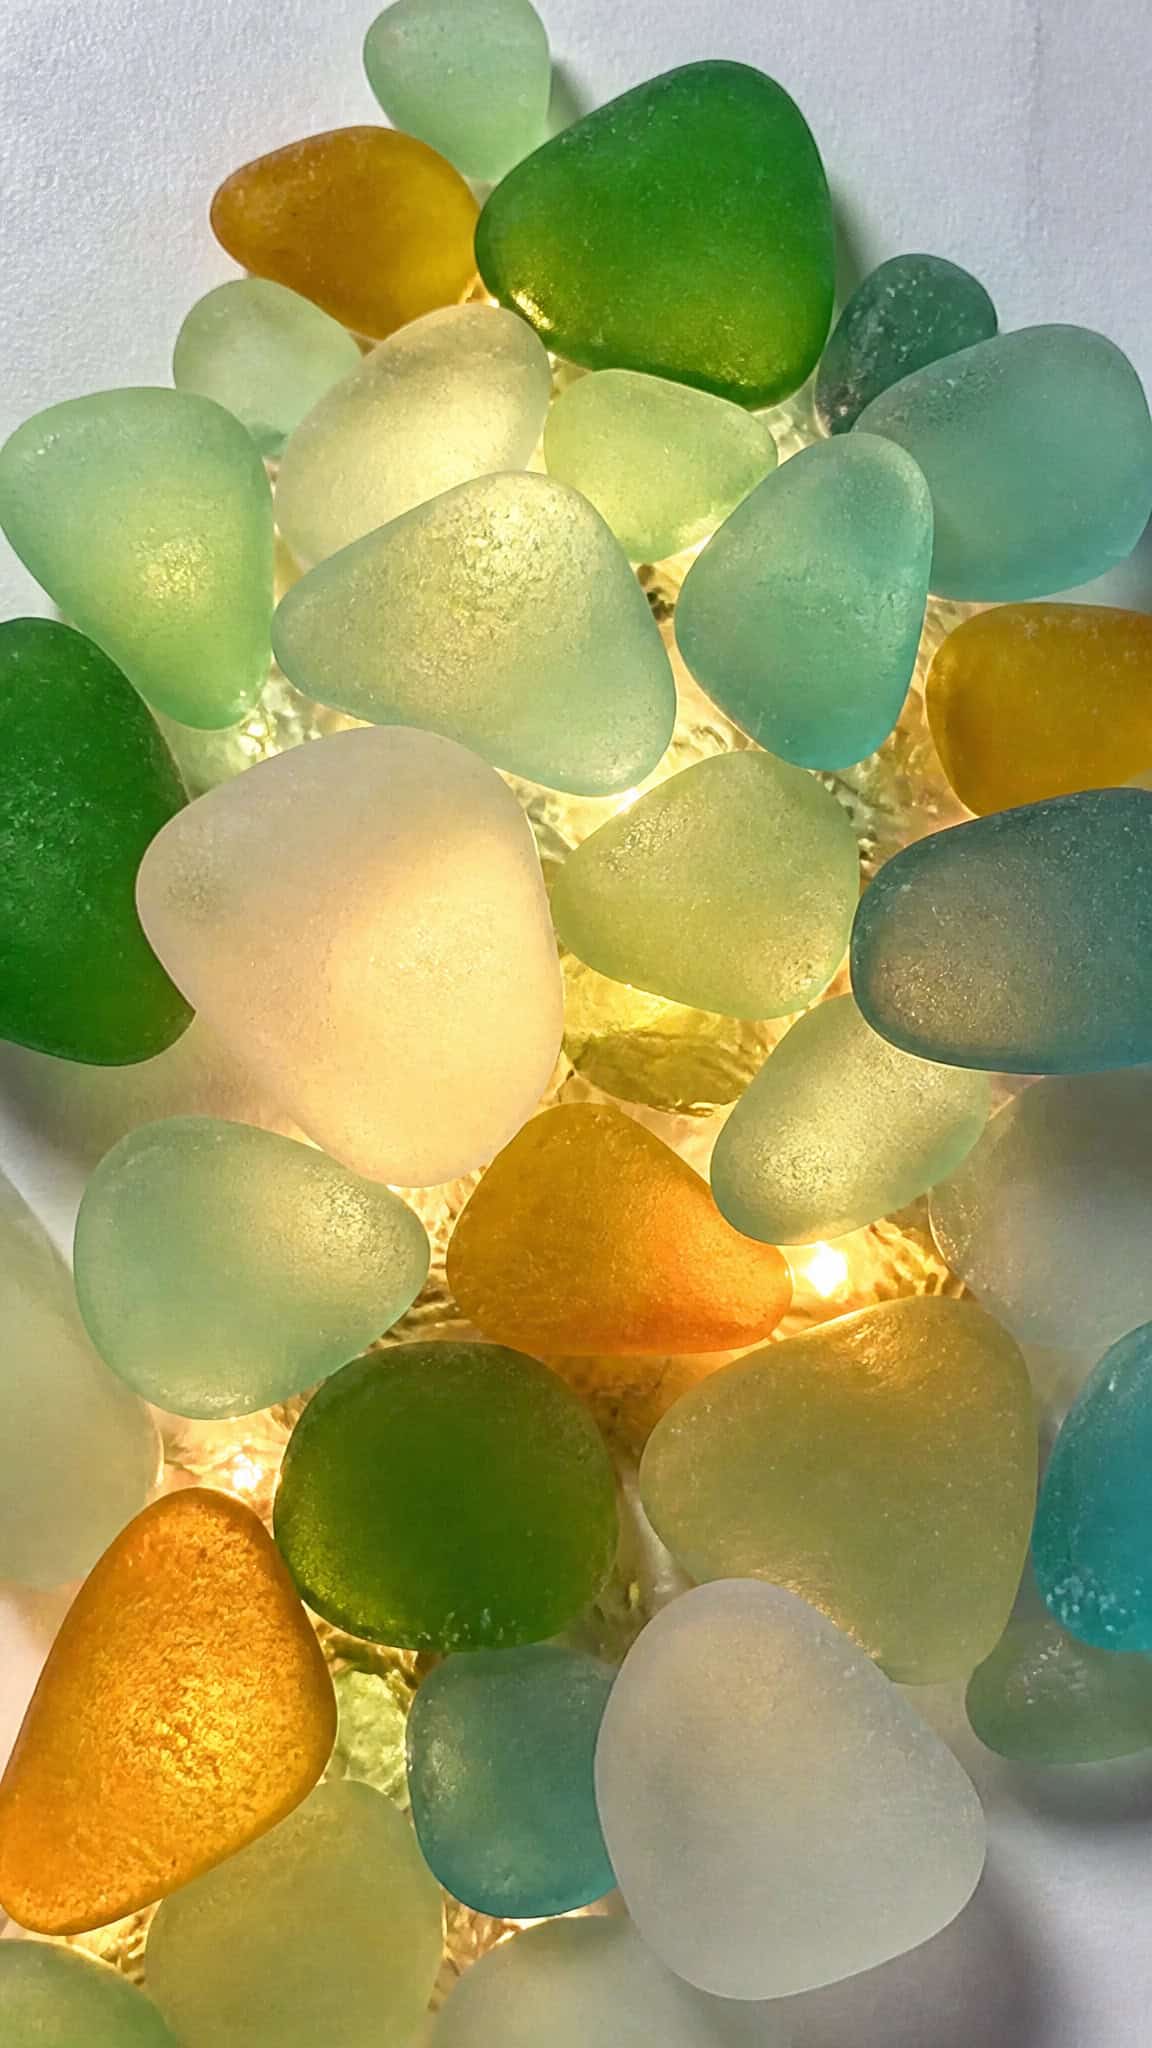
I’ll be honest, when I first thought about combining my beach glass collection with Christmas decorations, I wondered if it would actually work! But the moment I started playing around with different arrangements, I was completely blown away by how naturally these two things complement each other. The frosted, translucent quality of sea glass mimics the sparkle of ice and snow in the most beautiful way, creating that winter wonderland vibe we all love during the holidays!
What really makes beach glass special for Christmas crafting is its incredible variety of colors. Those soft greens and blues remind me of peaceful winter seas, while the rare amber and cobalt pieces add unexpected pops of color that catch the light beautifully. My boys love hunting for specific colors in our collection, and they get so excited when we find the perfect piece for our projects!
Another reason I’m obsessed with beach glass Christmas tree DIY projects is their sustainability factor. We’re literally taking something that would otherwise be trash in the ocean and turning it into gorgeous holiday decor! It feels good to teach my kids about repurposing and creating beauty from unexpected materials. Plus, these decorations are practically indestructible (a major bonus when you have three energetic boys running around!), and they’ll last for years and years, becoming treasured family heirlooms that remind us of special beach memories.
Creating a Tabletop Beach Glass Christmas Tree
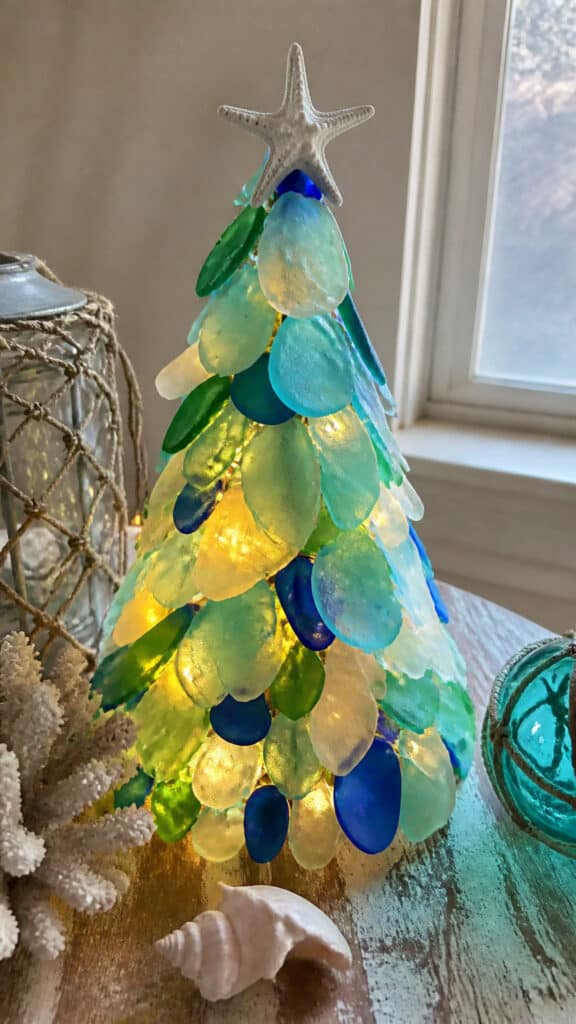
This is hands-down my favorite beach glass Christmas tree DIY project because it’s so versatile and looks absolutely stunning as a centerpiece! I made mine for our dining room table, and every time I walk past it, I can’t help but smile. The best part is that you can customize it to any size depending on how much beach glass you have and where you want to display it.
To create your tabletop tree, you’ll need a foam cone (available at any craft store), a hot glue gun, your collection of beach glass, and optionally some decorative moss or sand for the base. I found that a 12-inch cone works perfectly for a dining table, but you can go smaller for side tables or larger for a dramatic floor display! Start by deciding whether you want to cover your cone with burlap or leave it white. I wrapped mine in natural burlap because it gave that beachy, coastal feel.
Now comes the fun part that my boys absolutely loved helping with! Begin at the bottom of the cone and work your way up, hot gluing each piece of beach glass onto the form. I like to use larger pieces at the bottom and gradually transition to smaller pieces as I move toward the top. Don’t worry about making it perfect – the beauty is in the organic, natural look! Leave small gaps between pieces to let light filter through if you’re planning to add lights (which I highly recommend!).
For an extra magical touch, I wrapped a strand of thin battery-operated fairy lights around the cone before adding the beach glass. The light shining through the translucent glass creates the most gorgeous glow, especially in the evening! Top your tree with a special piece – I used a beautiful star-shaped piece of white sea glass that I’d been saving for years. You can also add a small starfish or sand dollar for that perfect coastal touch!
Beach Glass Ornament Ideas for Your Traditional Tree
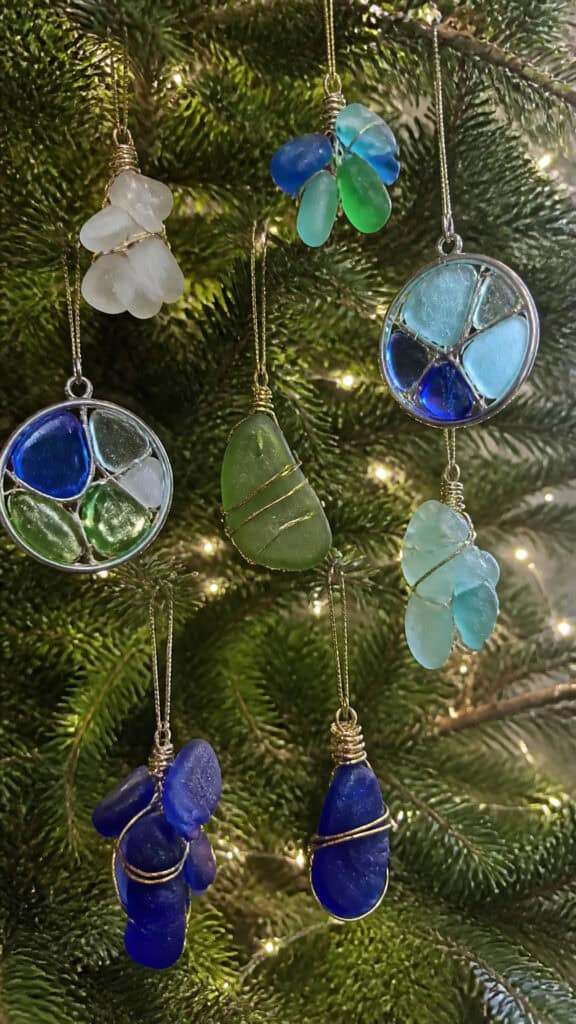
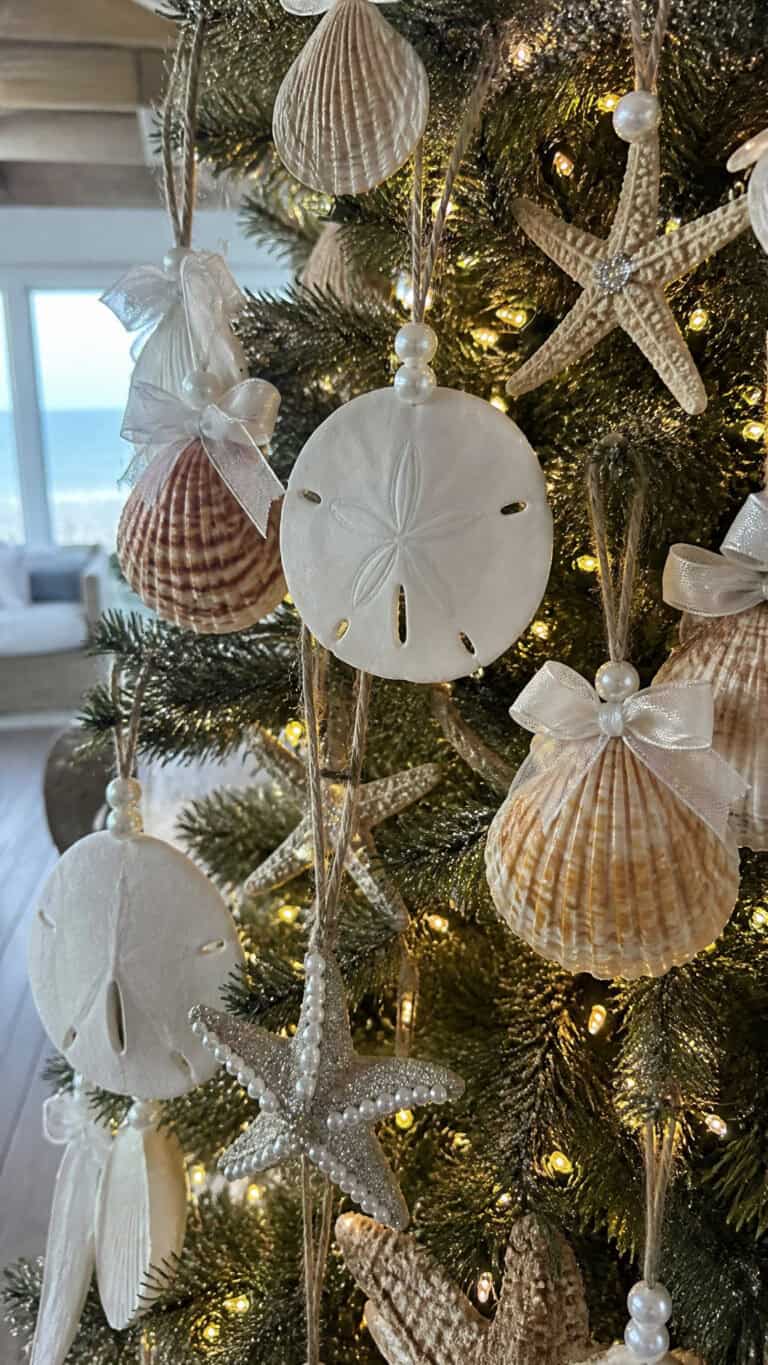
If you’re not ready to commit to a full beach glass tree, ornaments are the perfect way to incorporate your sea glass collection into your existing holiday decor! I started making these last year, and now they’re some of our most treasured ornaments. Every time we hang them on our traditional tree, we remember the beach trips where we found each special piece!
The simplest beach glass ornament involves drilling a small hole through a piece of glass (use a diamond drill bit and go slowly with water to prevent cracking – trust me on this one!) and threading it with wire or ribbon. I like to create little clusters by connecting three to five pieces together with thin silver wire, then adding a loop at the top for hanging. These look so elegant and catch the tree lights beautifully!
Another idea that turned out absolutely adorable is creating wire-wrapped beach glass ornaments. You don’t need to drill holes for this method, which makes it much easier! Simply wrap jewelry wire around each piece of glass in a decorative pattern, leaving a loop at the top for hanging. My middle son got really into this technique and made ornaments for all his teachers – they were such a hit!
For a more elaborate project, try making beach glass sun catchers that double as ornaments. Use a small embroidery hoop (the 3-inch size works great!), and create a design by gluing beach glass pieces onto clear fishing line stretched across the hoop. When these hang on the tree near the window, they create the most beautiful rainbow reflections around the room! You can arrange the glass in patterns like snowflakes, stars, or just random artistic designs – there’s no wrong way to do it!
Beach Glass Garland and String Decorations
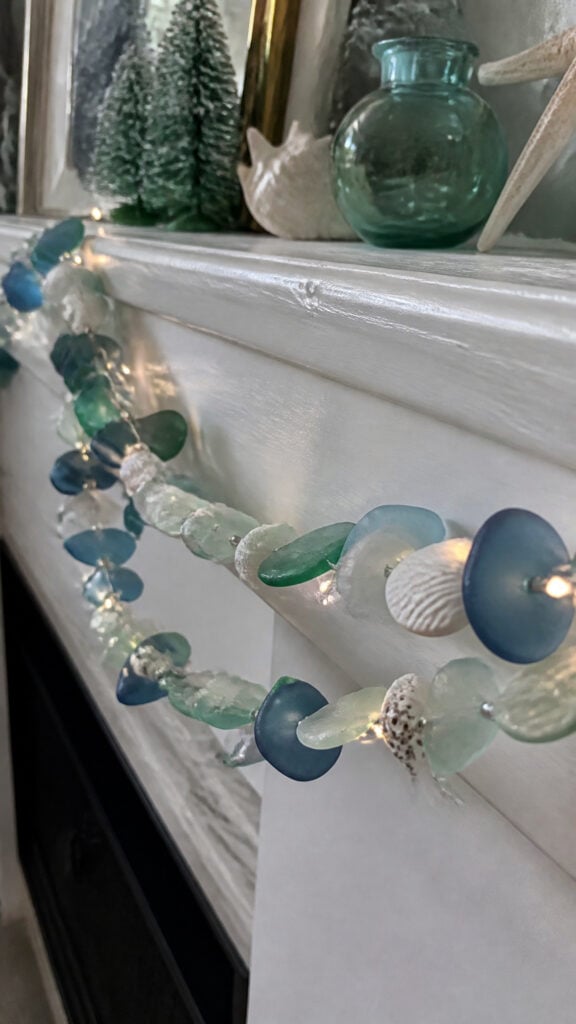
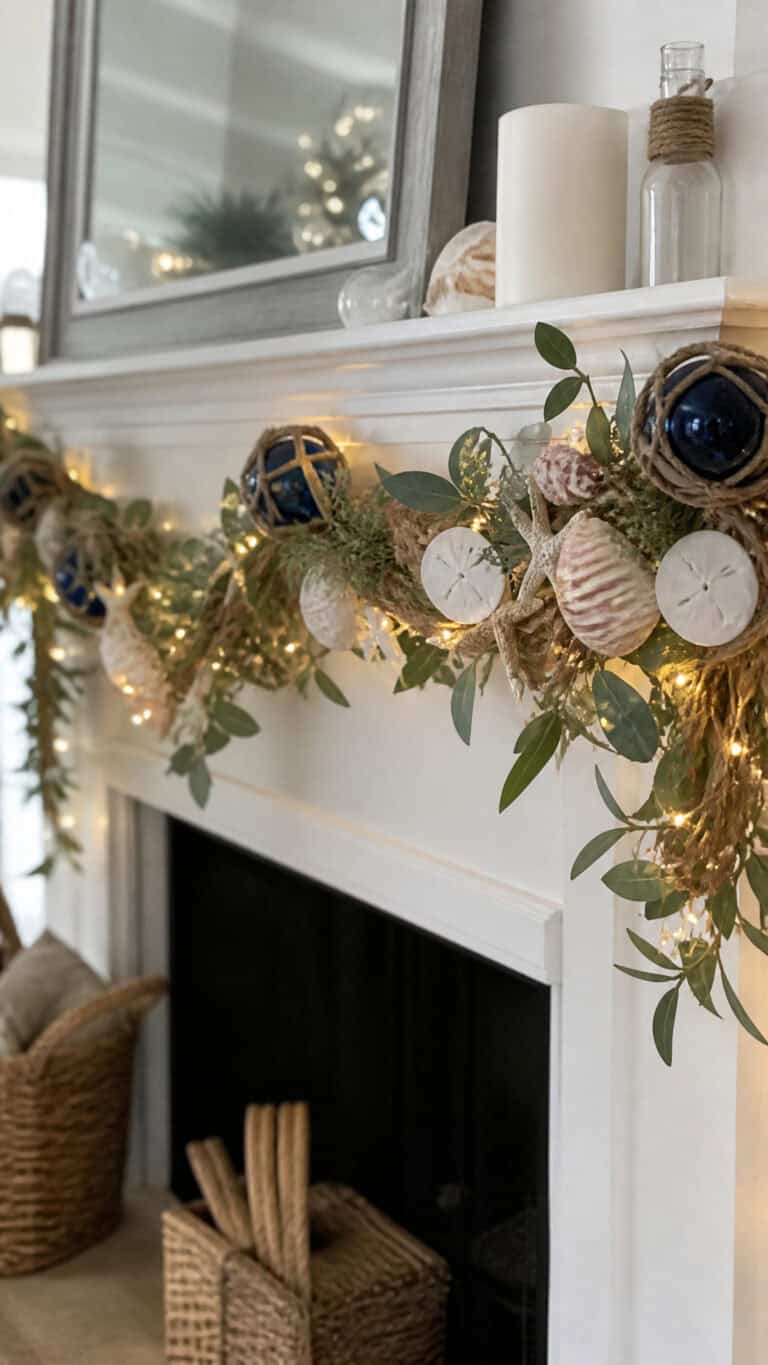
Garlands are such a versatile way to use beach glass throughout your home during the holidays, and they’re surprisingly easy to make! I have one draped across our fireplace mantel, another along our staircase railing, and a smaller one decorating our kitchen window. The way they catch the light throughout the day is just mesmerizing!
To make a basic beach glass garland, you’ll need strong fishing line or thin wire, and you’ll want to drill small holes through your glass pieces. I know drilling sounds intimidating, but with the right diamond bit and a little patience, it’s totally doable! Make sure to work slowly and keep the glass wet while drilling to prevent cracking. If drilling isn’t your thing, you can also use the wire-wrapping technique I mentioned earlier and attach each wrapped piece to a length of twine or ribbon.
I love mixing different sizes and colors of beach glass throughout my garlands for a natural, beachy look. Space them about an inch or two apart, and consider adding other coastal elements like small shells, starfish, or even jingle bells for that Christmas touch! One of my favorite combinations is alternating blue and green sea glass with white shells and silver bells – it’s coastal Christmas perfection!
For a really stunning effect, try creating a vertical string decoration by hanging multiple strands of beach glass at varying lengths from a piece of driftwood. This creates a beautiful window decoration that moves gently with any breeze and creates the most gorgeous light patterns! My boys call it our “ocean wind chime” even though it doesn’t make noise. Hang it in a sunny window and prepare to be amazed by the light show!
Mini Beach Glass Trees for Gift Giving
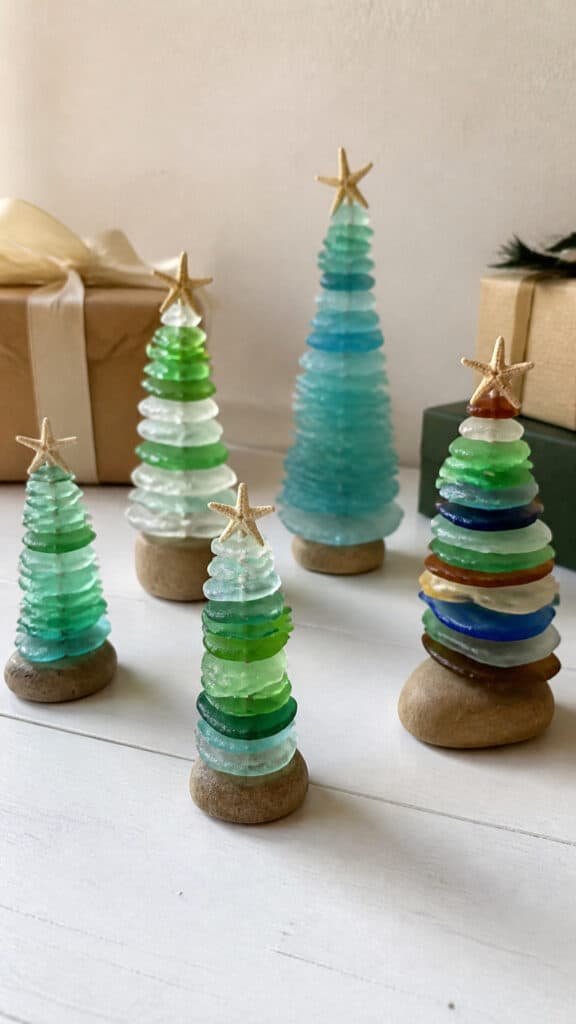
These adorable mini versions make the absolute best gifts for teachers, neighbors, friends, and family members! I made about fifteen of them last year, and people are still telling me how much they love them. They’re small enough to fit on a desk or bookshelf but special enough that they feel really meaningful and personal!
For mini beach glass Christmas tree DIY projects, grab some small foam cones (I use the 4 to 6-inch sizes), and follow the same basic technique as the larger tabletop version. The smaller scale means you’ll need less beach glass, which is perfect if you’re working with a limited collection or want to make multiple trees! I like to use mostly smaller pieces for these, and they come together surprisingly quickly once you get into a rhythm.
One fun variation is to create themed mini trees using specific color schemes. I made all-blue trees for my beach-loving friends, seafoam green ones for my sister who loves that color, and mixed color ones for everyone else! You can even create a whole forest of mini trees in different colors for your own home – I have a collection of five on our entryway table, and they look absolutely magical all grouped together!
Package these little beauties in clear boxes or wrap them carefully in tissue paper for gifting. I like to include a little note about how beach glass is formed and the symbolism of transformation and beauty that comes from weathering life’s storms. It adds such a meaningful touch to an already special gift! Trust me, these will be the gifts people remember and treasure for years to come. Several of my friends have told me they bring their mini trees out every single year and think of our friendship when they do!
Beach Glass Tree Topper and Accent Pieces
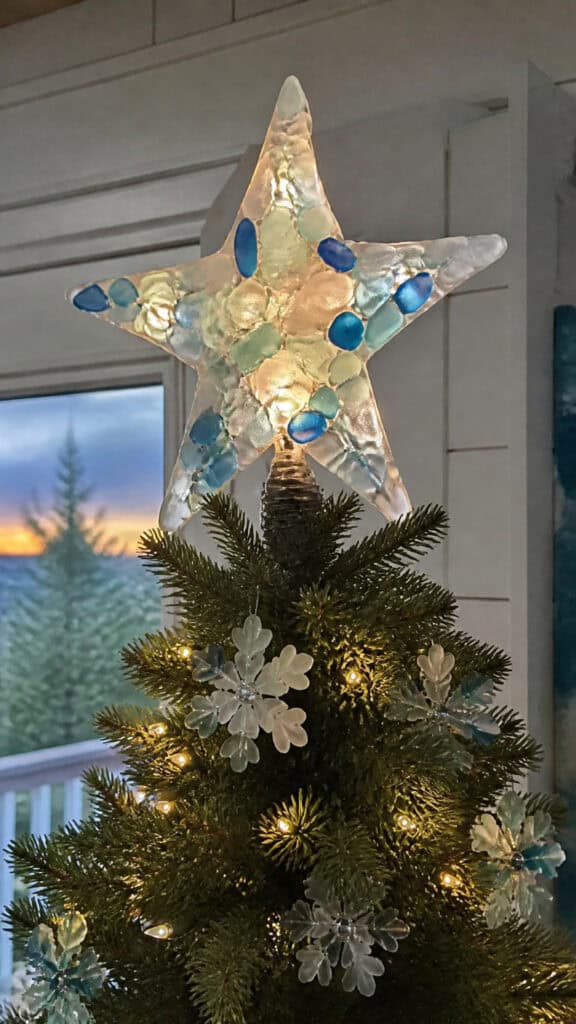
If you want to add coastal charm to your existing Christmas tree without going full beach glass, creating a stunning tree topper or special accent pieces is the way to go! I did this for our main family tree, and it perfectly bridges my love of traditional Christmas with my obsession with all things beachy. The best part is that these statement pieces become instant conversation starters when guests come over!
For a beach glass tree topper, you can create a star shape using a wire frame as your base. Form a star from sturdy wire (I used 12-gauge craft wire), then attach beach glass pieces to it using thinner wire or strong craft glue. Focus on using your most beautiful pieces for this since it’ll be front and center! I used mostly clear and white sea glass for mine with a few blue pieces mixed in, and it looks like a frosted star that could have come straight from the ocean!
Another gorgeous option is creating a beach glass angel tree topper. Use a larger piece for the body, a rounded piece for the head, and arrange smaller pieces in wing shapes on either side. You can attach everything to a wire frame or glue it onto a wooden base. My youngest son says our angel looks like she’s made of mermaid glass, which I think is the sweetest description ever!
Don’t forget about creating special accent pieces to nestle throughout your tree branches! I made several beach glass snowflakes by gluing pieces onto wire frames in snowflake patterns. These catch the light beautifully and add little pops of coastal color throughout the tree. You can also create beach glass icicles by stringing pieces vertically – they look stunning hanging from the tips of branches and create a beautiful dripping effect!
Illuminated Beach Glass Tree Display Ideas
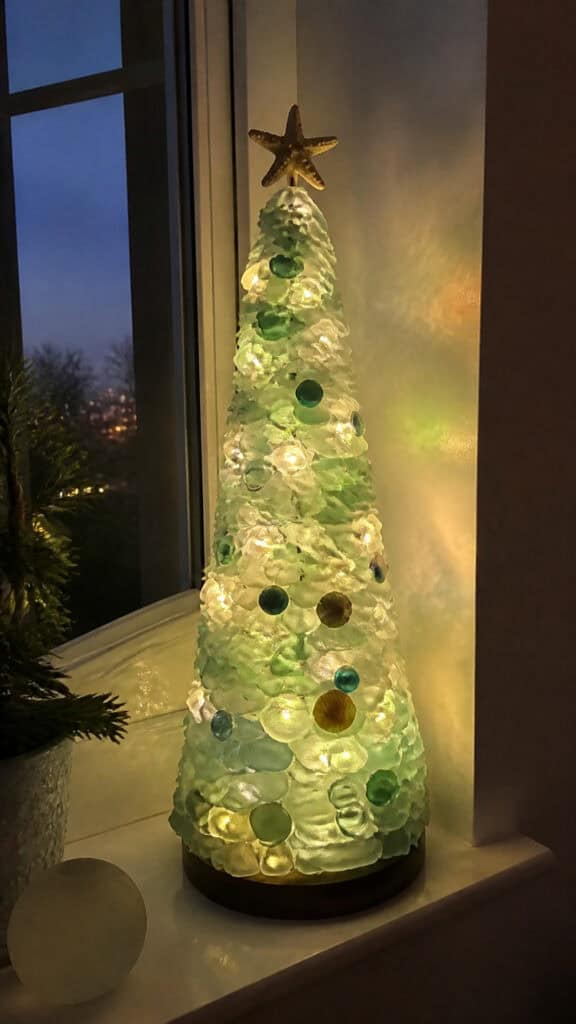
Lighting is absolutely everything when it comes to showing off your beach glass Christmas tree DIY creations! The translucent nature of sea glass means it was practically made to glow, and adding lights takes these projects from beautiful to absolutely breathtaking. I’ve experimented with different lighting techniques, and I’m excited to share what works best!
For tabletop trees, battery-operated fairy lights are your best friend! I thread them through the beach glass as I’m gluing pieces onto the cone, making sure the actual light bulbs peek through gaps in the glass. The warm white lights create the most gorgeous glow, but colored lights can be fun too – blue lights with blue and green sea glass creates an icy, winter wonderland effect that’s stunning! Make sure to use lights with a timer function so you don’t have to remember to turn them on and off every day.
Another amazing technique is to create a lighted base for your beach glass tree. I found a round LED light base at the craft store (the kind used for lighting up glass displays), and placing my beach glass tree on top of it creates this incredible uplighting effect! The light shines up through the glass pieces, making the whole tree glow from within. It’s especially dramatic in the evening with the room lights dimmed!
For a really magical display, try placing your beach glass tree in front of a window where it can catch natural sunlight during the day and be backlit by outdoor lights at night. I have mine positioned on a windowsill, and throughout the day, it creates the most beautiful colored light patterns on our walls as the sun moves across the sky. It’s like having a constantly changing piece of art! My boys love watching the rainbow reflections dance around the room, and it’s become part of our daily winter routine to check on the light patterns.
Preserving and Storing Your Beach Glass Christmas Creations
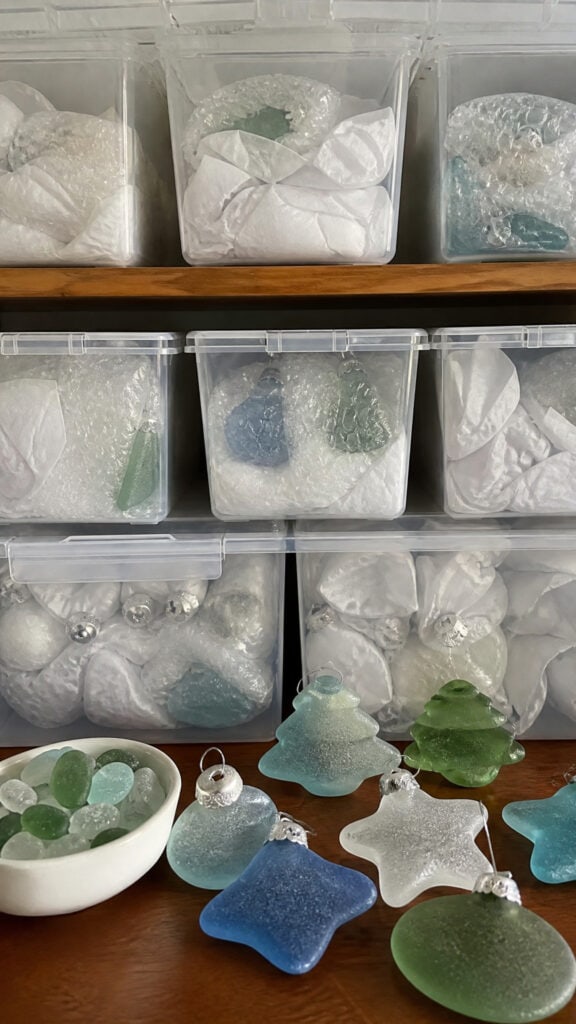
After putting so much love and effort into your beach glass Christmas tree DIY projects, you’ll definitely want to protect them so they last for many holidays to come! I learned some storage lessons the hard way my first year (let’s just say bubble wrap is essential!), and now I have a system that keeps everything safe and organized.
For tabletop trees, I wrap them carefully in several layers of bubble wrap and store them in sturdy boxes with plenty of padding around all sides. I label each box clearly with what’s inside and which room it goes in, which makes decorating next year so much easier! If you used foam cones as your base, these trees are actually pretty sturdy, but the glass pieces can still get knocked loose if the tree gets bumped around, so gentle handling is important.
Ornaments should be stored individually or in divided ornament boxes to prevent them from clinking together and potentially chipping. I use small jewelry boxes or wrap each ornament in tissue paper before placing them in larger storage containers. For garlands, I’ve found that wrapping them around pieces of cardboard (like the kind that comes in shirt packages) keeps them from tangling and protects the glass pieces. Store everything in a cool, dry place away from extreme temperature changes.
One tip that’s saved me so much heartache: take photos of your displays before you pack them away! This helps you remember exactly how you arranged everything and makes setting up next year a breeze. I keep a holiday decoration photo album on my phone, and it’s so helpful when I’m trying to recreate that perfect mantel display or remember which tree topper goes on which tree. Plus, it’s fun to look back and see how your beach glass collection and creations have grown over the years! These pieces truly become family treasures that you’ll want to bring out year after year, and with proper care, they’ll last forever!
Bringing Ocean Magic to Your Holiday Season
Creating a beach glass Christmas tree DIY has been one of my favorite holiday projects ever, and I hope these ideas inspire you to start your own coastal Christmas tradition! There’s something so special about incorporating natural treasures into your holiday decor, and every time I look at our beach glass creations, I’m reminded of sunny days at the beach with my boys, searching for that perfect piece of glass. It brings such warmth and happy memories into our home during the winter months!
Whether you’re making a full tabletop tree, adding beach glass ornaments to your existing decorations, or creating mini trees as gifts, these projects are such a wonderful way to celebrate the holidays while honoring your love of the ocean! Don’t worry about making everything perfect – the beauty of beach glass is in its natural, weathered imperfection. So grab your collection, fire up that glue gun, and get creative! Your sparkling, handmade beach glass Christmas decorations will bring joy to your home for many holiday seasons to come, and who knows, you might just start a new family tradition that your kids will carry on with their own families someday!
This post may contain affiliate links. Read the full disclosure here.