7 Beach Christmas Decorations DIY Ideas for a Handmade Coastal Home
Living near the coast or just dreaming of sandy shores means Christmas doesn’t have to follow the traditional red and green playbook! As a mom of three energetic boys who are constantly bringing home shells and beach treasures, I’ve learned that the best decorations are the ones we make together during those precious quiet moments between soccer practice and bedtime chaos.
Beach christmas decorations diy projects have become our favorite holiday tradition, and honestly, they’re so much more meaningful than anything I could buy at the store!
Discover additional ways to fill your home with creative coastal Christmas decorations made by hand.
The beauty of coastal Christmas decor is that it perfectly blends the warmth of the holidays with the relaxed, breezy vibe we love about beach living. Plus, many of these projects use materials you can collect during family beach walks, making them budget-friendly and eco-conscious. Whether you live by the ocean or just want to bring that beachy feeling into your holiday celebrations, these seven DIY ideas will help you create a stunning coastal Christmas that your whole family will adore!
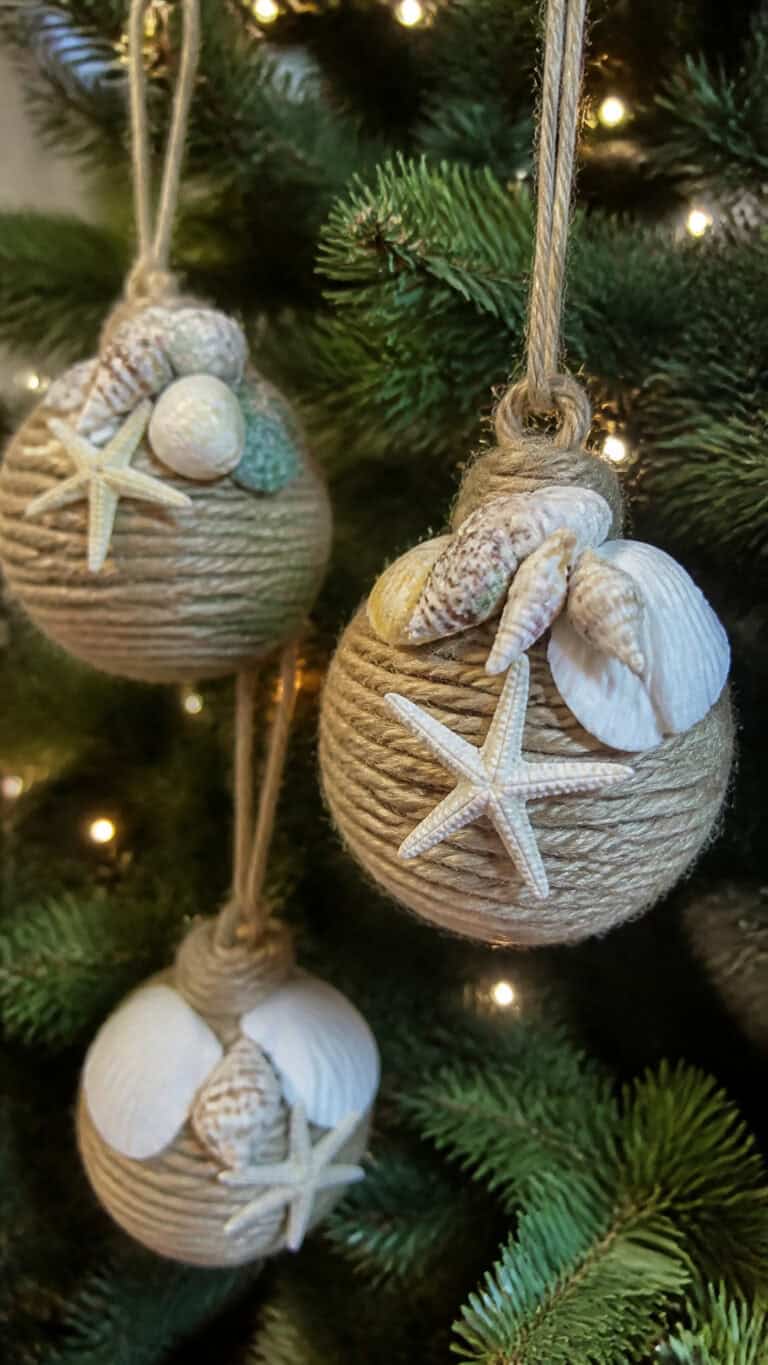
Seashell and Starfish Ornament Collection
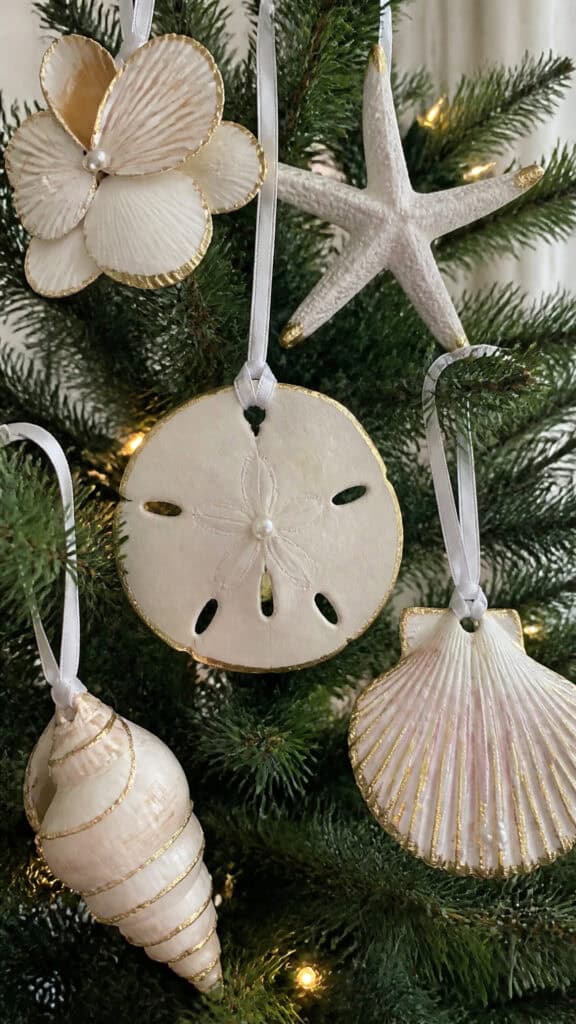

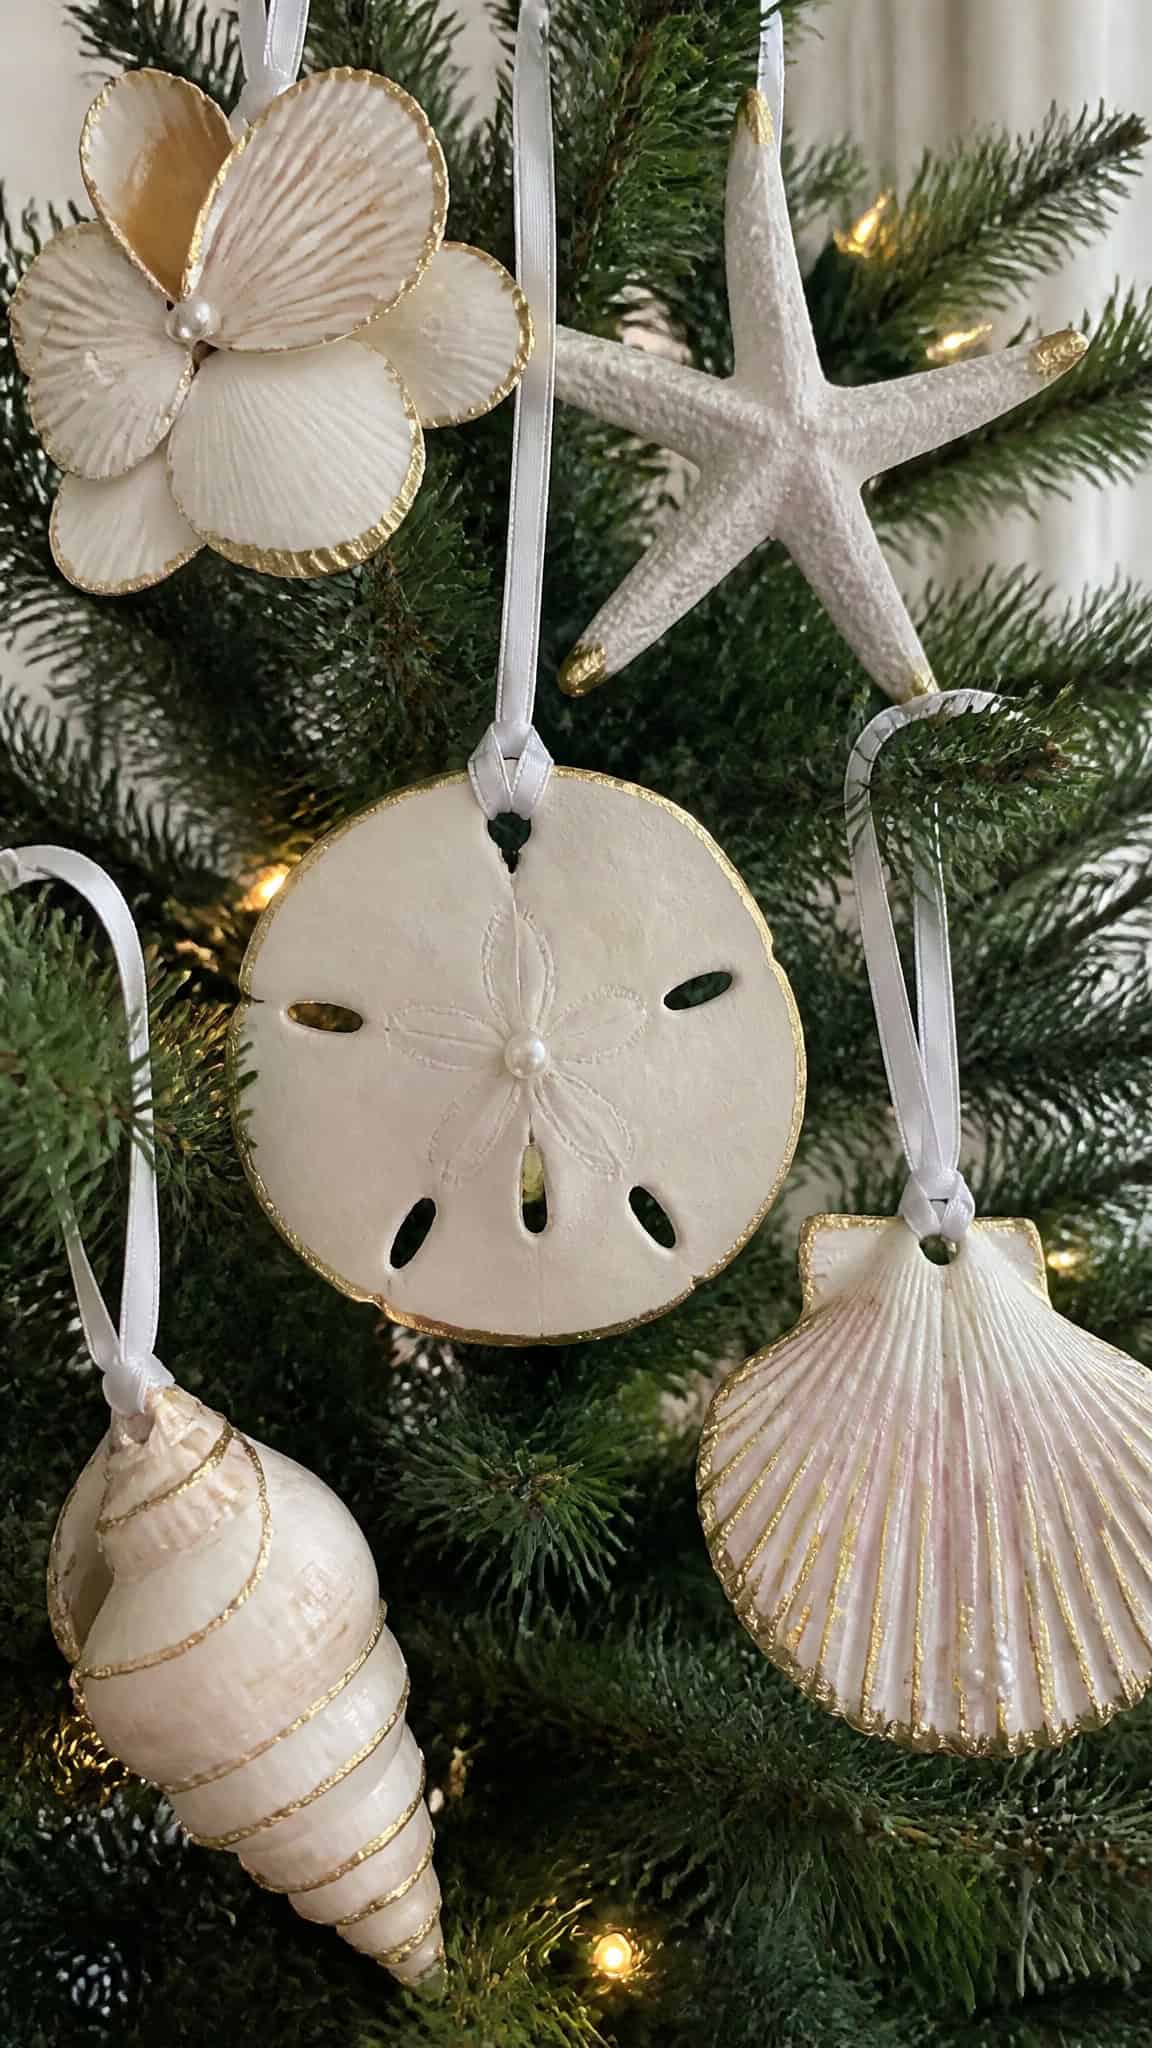
Creating your own seashell ornaments is probably the easiest way to start your beach christmas decorations diy journey, and my boys absolutely love this project! We spend an afternoon sorting through our collection of shells from summer beach trips, and suddenly those random treasures have a purpose. You’ll need an assortment of shells in various sizes, some twine or ribbon, a hot glue gun, and optional embellishments like small pearls or glitter.
Start by cleaning your shells thoroughly and letting them dry completely. For larger shells like sand dollars or scallop shells, simply drill a small hole near the top edge and thread your ribbon through for hanging. My middle son discovered that painting the edges with metallic gold or silver paint makes them look extra fancy! For smaller shells, create clustered ornaments by hot gluing several shells together in a flower pattern or arranging them on a small piece of driftwood.
Starfish ornaments are another favorite in our house! You can use real dried starfish or create your own from salt dough for a more budget-friendly option. If you’re using real starfish, just add a ribbon hanger and maybe dust them with a bit of iridescent glitter for that magical Christmas sparkle. The salt dough version is perfect for little hands to help with – just cut out starfish shapes, bake them, and let the kids paint them in coastal colors like aqua, white, and sandy beige.
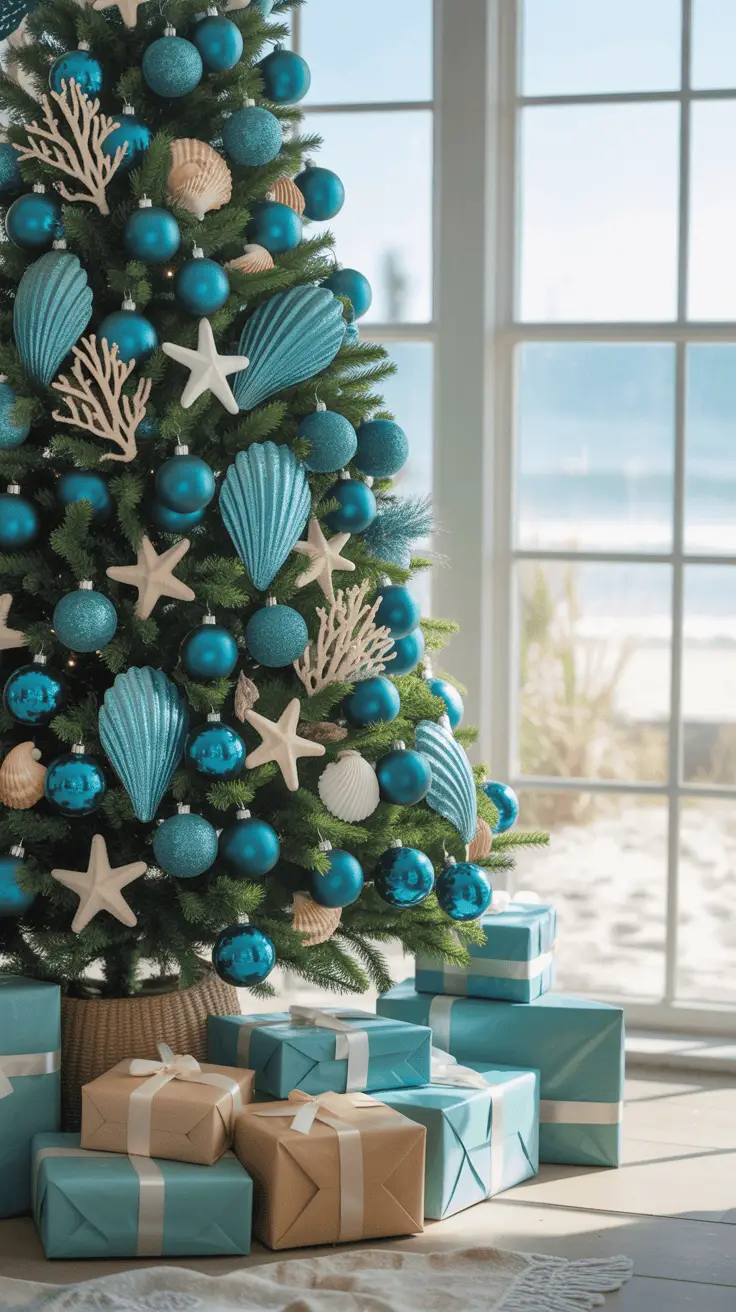
These ornaments look absolutely gorgeous clustered together on a white or aqua Christmas tree, and they’re lightweight enough that you don’t have to worry about branches drooping. Plus, every time you hang them, you’ll remember those sunny beach days, which is exactly the kind of warmth we need during the winter months!
Driftwood Christmas Tree Centerpiece
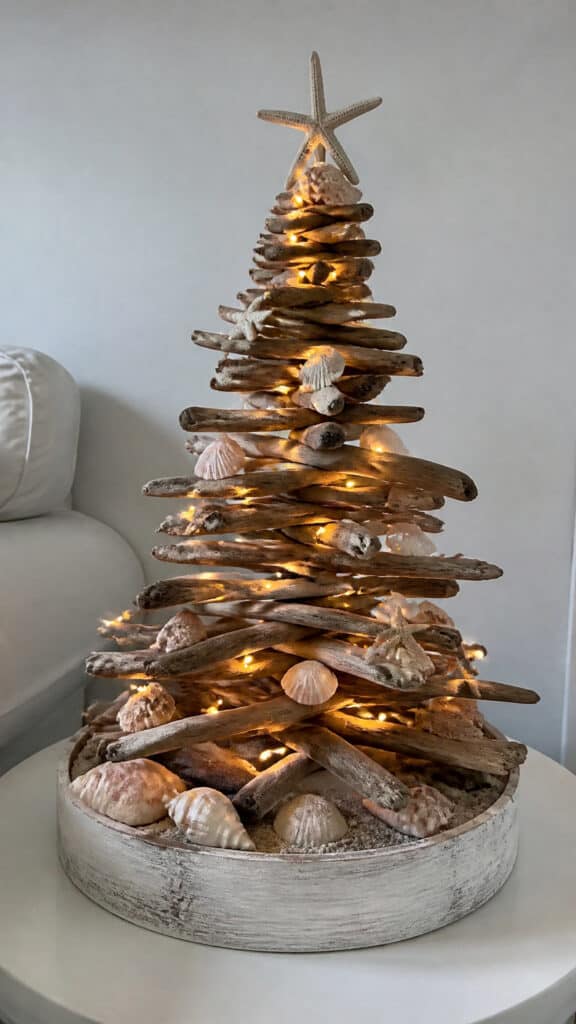
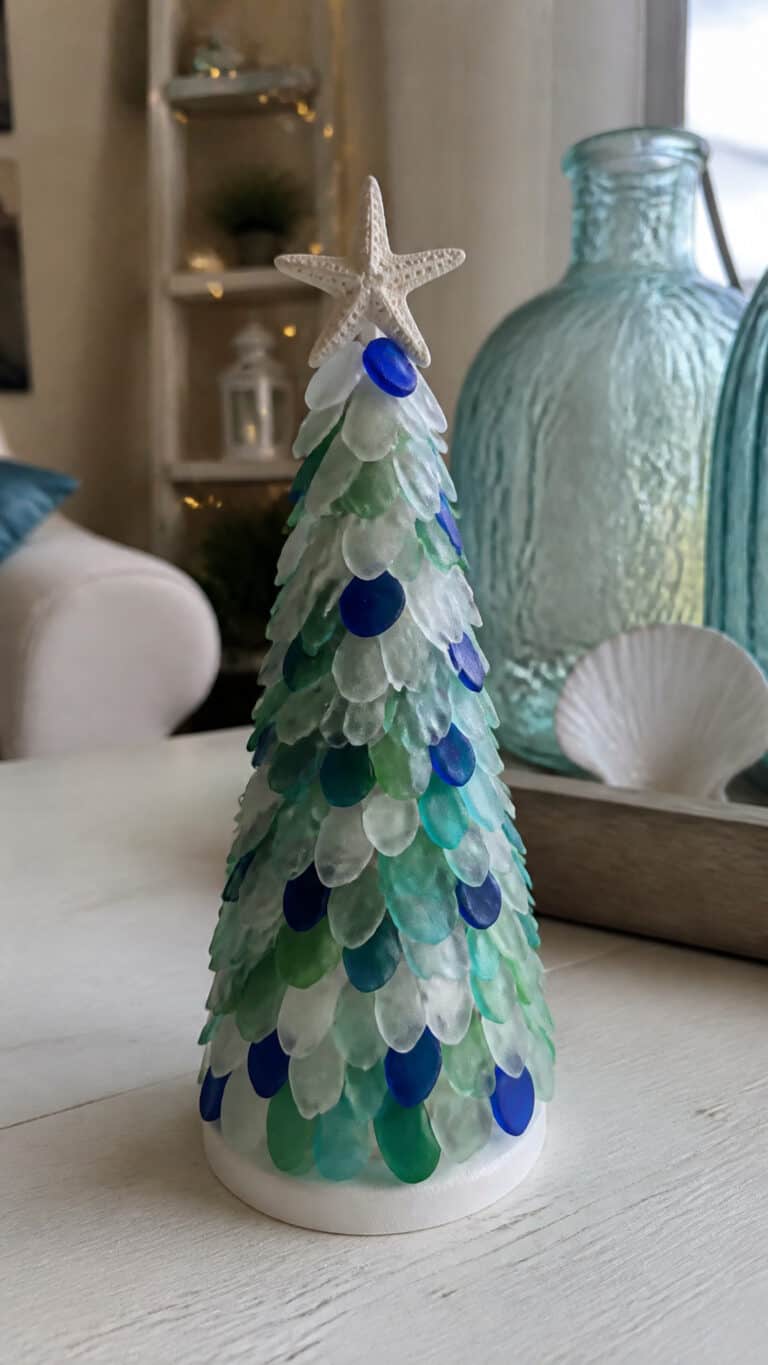
If you’re looking for a statement piece that screams coastal Christmas, a driftwood tree is absolutely it! This has become the centerpiece of our dining table every December, and guests always ask where I bought it. Little do they know it cost me basically nothing except the time spent hunting for the perfect driftwood pieces during our fall beach walks! You’ll need several pieces of driftwood in varying lengths, a sturdy base (I use a small wooden round or a terracotta pot filled with sand), strong adhesive or a drill with screws, and decorations like mini ornaments, fairy lights, or shells.
The construction is simpler than it looks, I promise! Arrange your driftwood pieces from longest to shortest to create a tree shape, with the longest piece as your trunk or base. You can either stack them horizontally in graduating sizes or arrange them in a more abstract, sculptural way. My oldest son loves the engineering aspect of figuring out how to balance everything! Secure each piece with hot glue for a temporary tree, or drill and screw them together if you want something more permanent.
Once your tree structure is solid, the decorating begins, and this is where beach christmas decorations diy really gets fun! Wrap battery-operated fairy lights around the branches for a soft, magical glow. Hot glue small shells, tiny starfish, or mini glass ball ornaments in coastal colors throughout the branches. I like to add a few strands of white or cream-colored rope for texture, and sometimes we’ll tuck in a few sprigs of eucalyptus for that fresh, beachy scent.
For the base, fill your container with sand from the beach and nestle in some larger shells or beach glass. You can even add a tiny banner made from burlap with a coastal Christmas message! This centerpiece works beautifully on a mantel too, and the best part is that it’s completely unique to your family. No two driftwood trees ever look the same, which makes it such a special conversation starter during holiday gatherings!
Beach Glass Mason Jar Luminaries
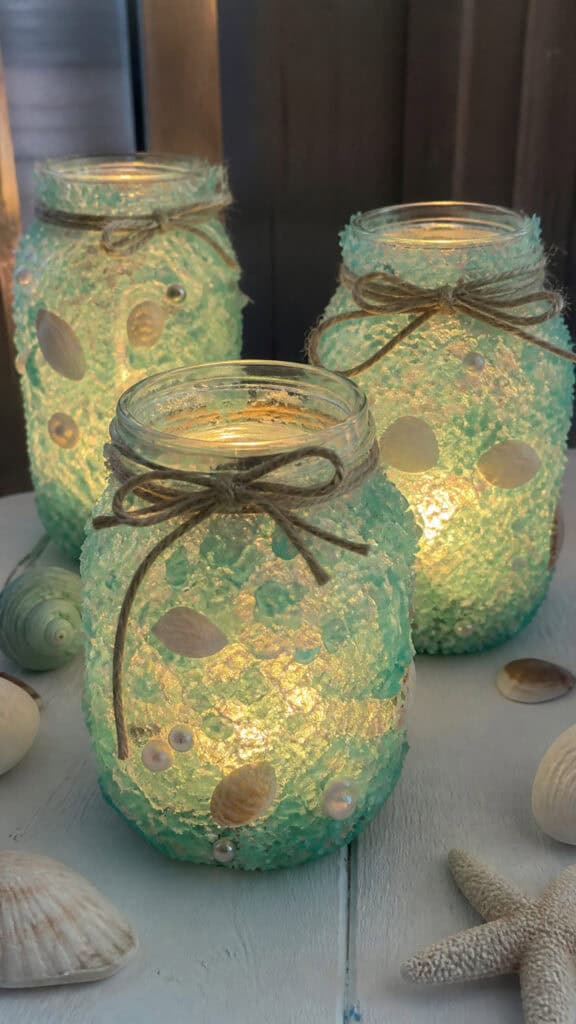
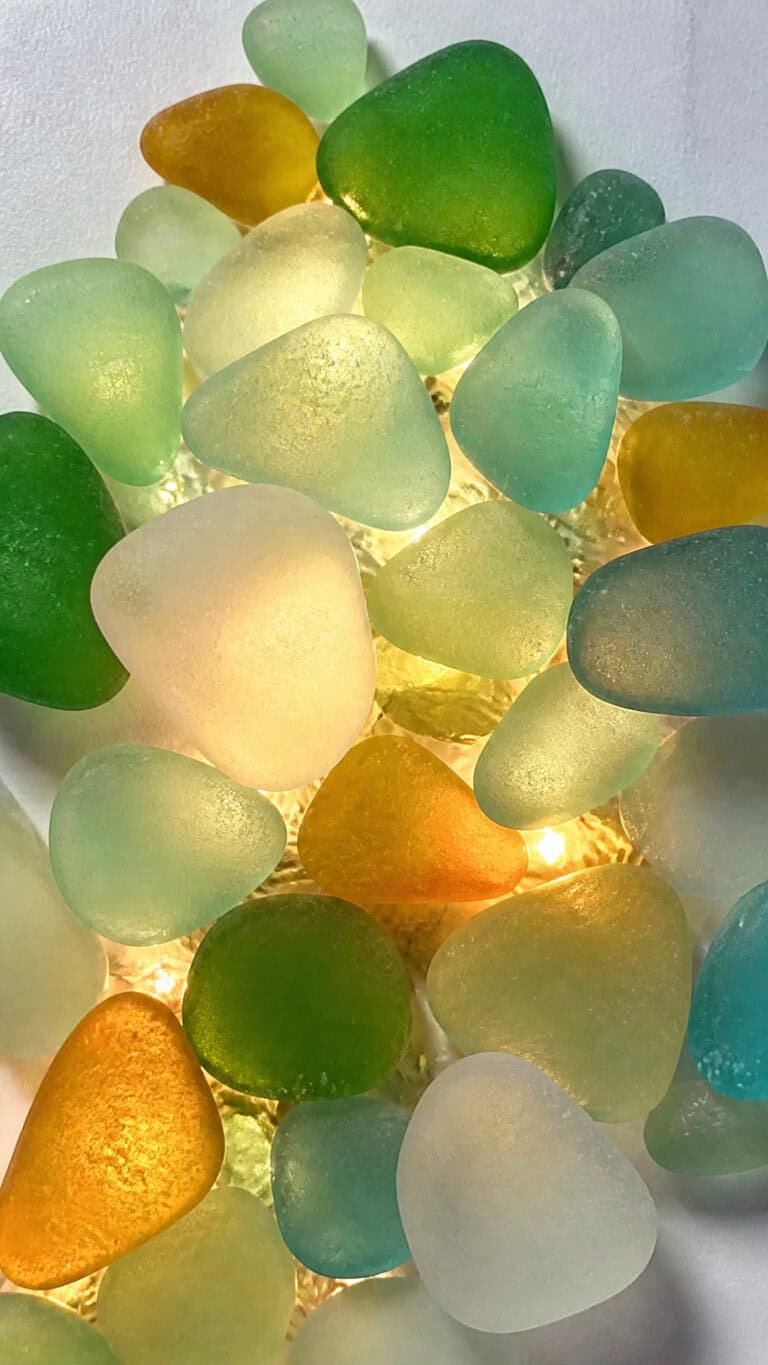
Mason jar luminaries are such a cozy addition to any Christmas decor, and the beach glass version brings that perfect coastal touch! As someone who’s constantly looking for ways to use up our enormous collection of mason jars (why do I keep every single one?), this project makes me so happy. You’ll need clean mason jars in various sizes, Mod Podge or white glue, food coloring in ocean colors, Epsom salt, and battery-operated tea lights or fairy lights.
The technique is super simple and honestly kind of therapeutic after a long day of breaking up brotherly wrestling matches! Mix Epsom salt with a few drops of food coloring in shades of aqua, turquoise, sea green, or keep some white for variety. Stir until the color is evenly distributed, then spread the colored salt on parchment paper to dry for a few hours. Once dry, paint the outside of your mason jar with a thin layer of Mod Podge and roll it in the colored salt until completely covered.
For extra beach vibes, leave a small section without salt and hot glue some small shells, a miniature starfish, or a piece of netting to that spot. You can also tie twine or jute rope around the neck of the jar and attach a small shell or a tag with a coastal Christmas message. My youngest loves helping with this part, though I’ve learned to keep the hot glue gun firmly in my control!
Arrange these luminaries in groups of three or five on your mantel, dining table, or even lining your front porch steps. When you light the tea lights inside, they cast the most beautiful sea-glass glow that’s absolutely magical in the evening. They’re also wonderful gifts for teachers, neighbors, or anyone who appreciates handmade touches. I made a dozen last year and everyone genuinely treasured them!
Rope and Shell Garland for Mantels
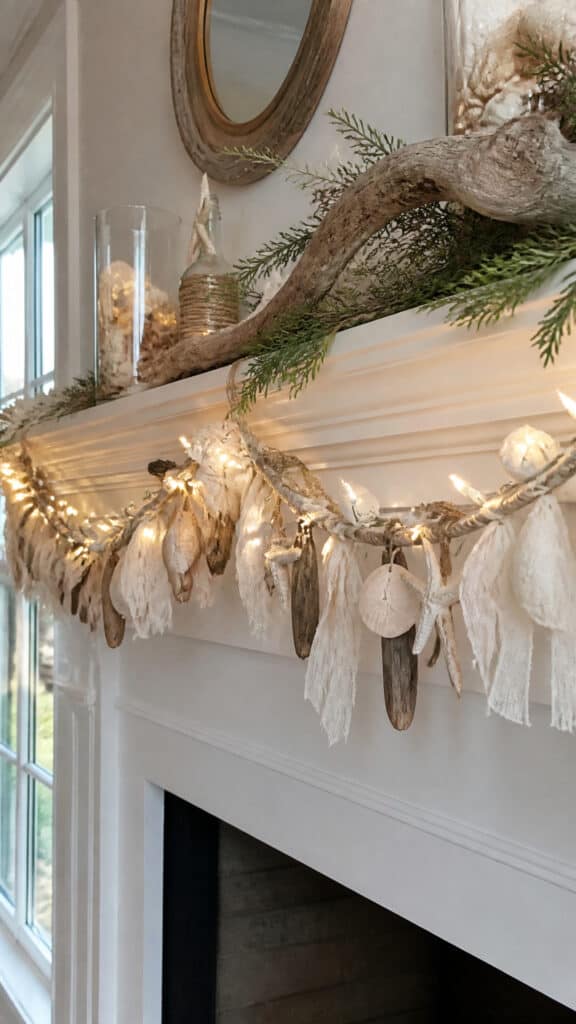
A handmade garland instantly makes any space feel more festive, and a rope and shell version is perfect for those of us who love beach christmas decorations diy projects! This garland has been draped across our fireplace mantel for three years running, and it still looks amazing. You’ll need thick natural rope or jute (I used about 8 feet for our mantel), an assortment of shells with natural holes or drilled holes, starfish, sand dollars, and optional additions like driftwood pieces, white or cream fabric strips, and fairy lights.
Start by laying out your rope and planning your design before you commit to anything permanent. I learned this the hard way my first attempt when I glued everything down and then realized the spacing was all wrong! Thread your shells directly onto the rope through their natural holes, or use hot glue to attach shells that don’t have holes. Space them out evenly or cluster them in groups – there’s really no wrong way to do this!
Between the shell clusters, I love adding strips of white or cream fabric tied in simple knots for texture and movement. You can also weave in some fairy lights for that magical glow, or tuck in small pieces of driftwood by wrapping wire around them and the rope. My boys insisted we add a few small silver jingle bells too, which actually adds a fun sound element when anyone walks by!
For extra coastal charm, create small tassels from jute twine and attach them at intervals along the garland. You can also incorporate some faux or real eucalyptus, white-painted pinecones, or even small burlap flags with coastal Christmas sayings. This garland is substantial enough to be a focal point but not so heavy that it pulls down from Command hooks, which is important when you’re renting or don’t want to put holes in your walls!
Coastal Christmas Wreath with Nautical Touches
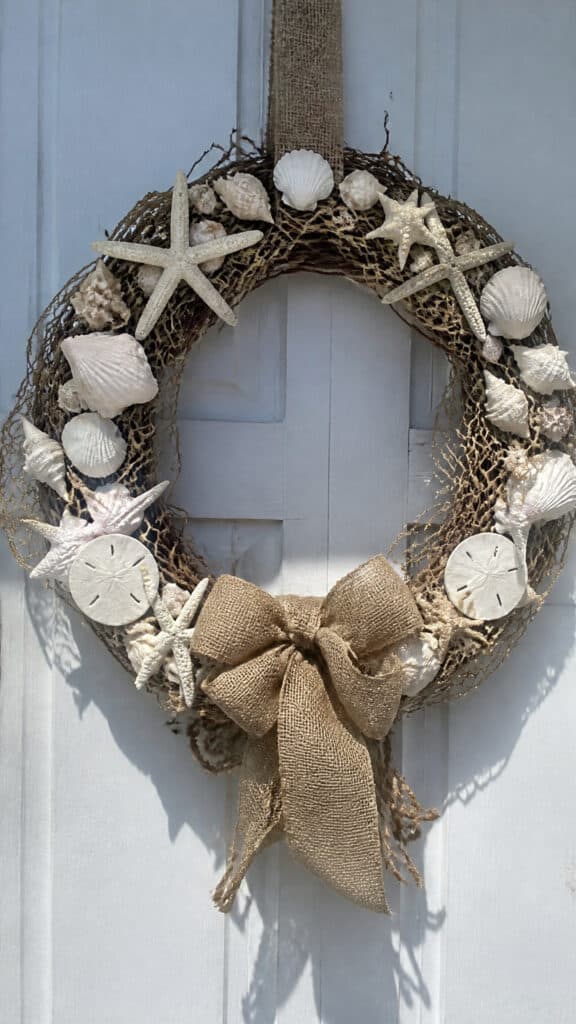
Every front door needs a wreath during the holidays, and a coastal version is such a beautiful way to welcome guests! This project took me about two hours to complete while the boys were at a birthday party, and it was honestly the most relaxing crafting session I’ve had in months. You’ll need a grapevine or foam wreath base, burlap or natural fabric ribbon, an assortment of shells and starfish, hot glue gun, and optional embellishments like rope, netting, small ornaments in coastal colors, or a wooden anchor.
Begin by wrapping your wreath base with burlap ribbon or leaving it natural if you’re using grapevine – both looks are gorgeous! Secure the ribbon with hot glue as you wrap to keep everything in place. Then comes the fun part: arranging your shells and starfish! I like to create one main focal point, usually on the bottom or side of the wreath, where I cluster the largest shells and starfish together. This creates visual interest and keeps the wreath from looking too symmetrical.
Layer different sizes and types of shells for depth and texture. Scallop shells, conch shells, sand dollars, and small spiral shells all work beautifully together. Add some dimension by hot gluing some shells flat and others at slight angles. Tuck small pieces of netting or rope between the shells for that authentic nautical feel. If you want to add a pop of color, include a few small ornaments in aqua, turquoise, or seafoam green.
For the finishing touch, create a bow from wide burlap ribbon or natural linen and attach it to the top or side of your wreath. You can also add a small wooden anchor, a “Merry Christmas” sign in weathered wood, or even some white-washed driftwood pieces. Hang it on your front door with a wreath hanger, and prepare for compliments from every delivery person and neighbor who stops by! This wreath holds up beautifully outdoors if you’re in a mild climate, but it’s stunning indoors too!
Sand Dollar and Twine Tree Ornaments
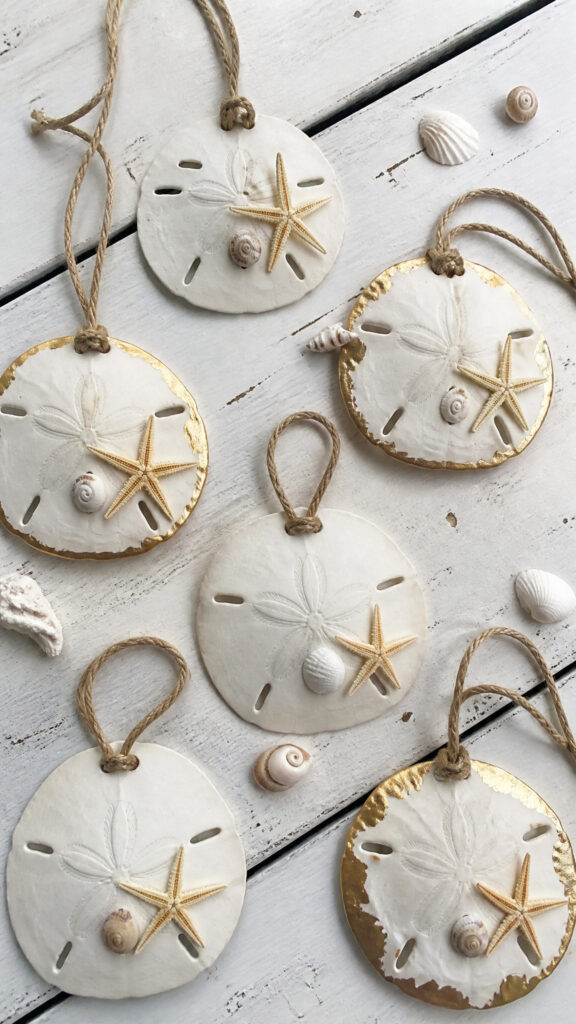
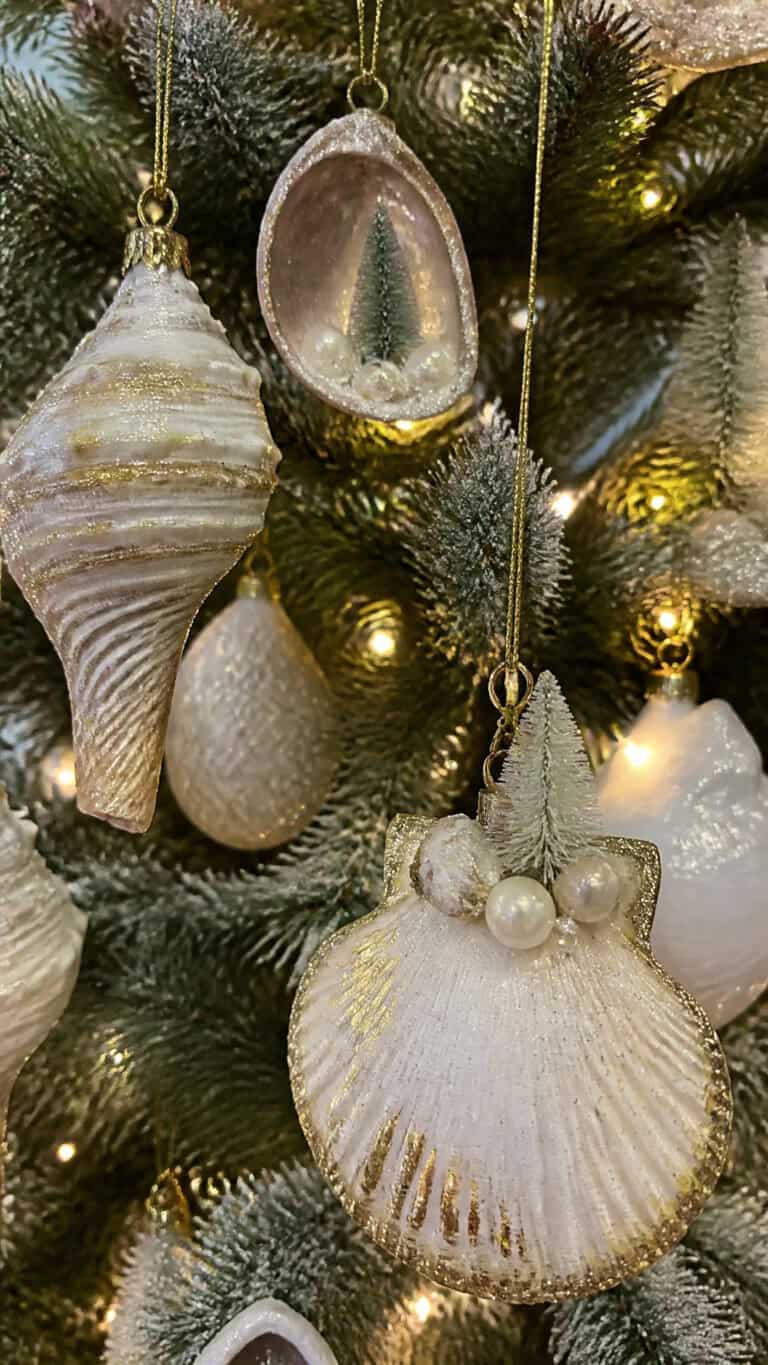
Sand dollars are like little treasures from the sea, and turning them into Christmas ornaments is one of my favorite beach christmas decorations diy projects! My boys and I have been collecting sand dollars for years, and we always keep the broken ones because they’re perfect for craft projects. You’ll need whole sand dollars (real or craft store versions), twine or thin rope, hot glue gun, paint in metallic colors or white, small embellishments like tiny shells or pearls, and clear sealant spray.
If you’re using real sand dollars, make sure they’re completely clean and dry before starting. I soak ours in a mixture of water and bleach for about 10 minutes to get them nice and white, then let them dry for a full day. Once dry, you can leave them natural or paint them! Metallic gold, silver, or copper paint around the edges looks incredibly elegant, or you can paint the entire sand dollar in white or cream for a more subtle look.
To create the hanger, cut a piece of twine about 8 inches long and form it into a loop. Hot glue the ends to the back of the sand dollar, making sure it’s secure enough to hold when hanging. For extra security, I usually glue a small piece of ribbon or fabric over the twine ends. Then flip it over and get creative with decorations! You can leave it simple and natural, or hot glue a small starfish in the center, add tiny shells around the edges, or glue small pearl beads in the natural pattern of the sand dollar.
These ornaments are so delicate and beautiful, and they look amazing on a white Christmas tree or hanging in a window where they can catch the light. I also love making extras to package as gifts – just nestle a few in tissue paper in a small box with some raffia ribbon, and you have the perfect handmade gift for teachers, neighbors, or family members. They’re lightweight enough to mail too, which is great for sending coastal Christmas cheer to far-away relatives!
Beachy Candle Holders with Shell Accents
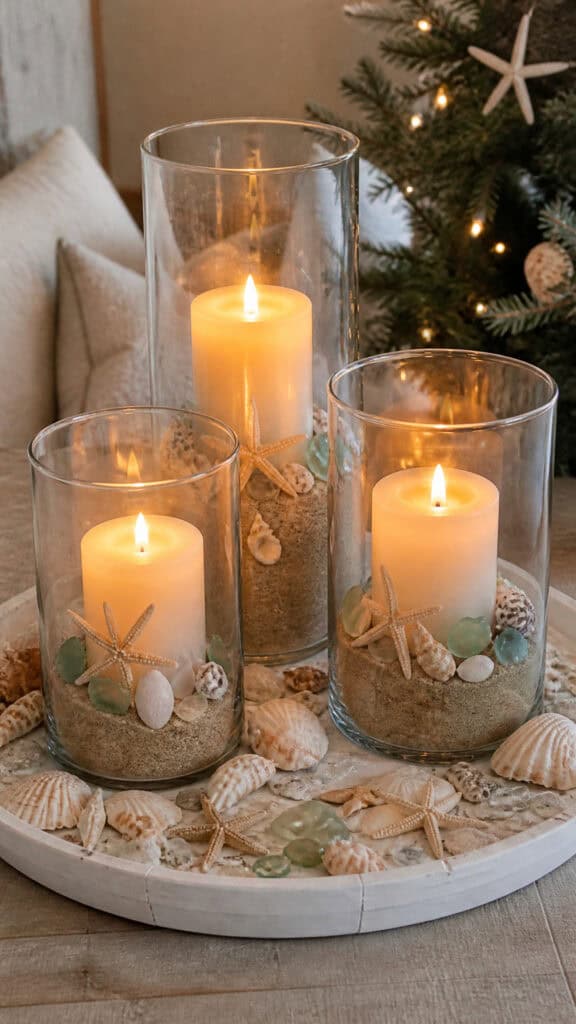
Candles create such a warm, cozy atmosphere during the holidays, and dressing up simple candle holders with shells and beach elements is an easy way to bring coastal vibes to your Christmas decor! This is probably the quickest beach christmas decorations diy project on this list, which is perfect for those moments when you suddenly remember you’re hosting a holiday gathering tomorrow and need to pull together some decorations fast. You’ll need plain glass candle holders or hurricane vases, pillar candles in white or cream, sand, shells in various sizes, hot glue gun, and optional additions like starfish, beach glass, or small pinecones.
The simplest version involves filling the bottom of your glass holder with about an inch of sand, then nestling your candle in the center. Arrange shells, small starfish, and beach glass around the base of the candle in the sand. This creates a beautiful little beach scene right there in your candle holder! The sand also helps stabilize the candle, which is a bonus when you have three boys who somehow manage to bump into every surface in the house.
For a more permanent design, hot glue shells directly onto the outside of the glass holder in whatever pattern speaks to you. I love creating a band of shells around the middle, or clustering them all on one side for an asymmetrical look. Mix different shell sizes and types for visual interest, and don’t be afraid to layer them for dimension. Small starfish glued between larger shells look particularly charming!
You can also wrap twine or jute rope around the rim of the candle holder and hot glue a few special shells or a small starfish to the rope as an accent. For extra sparkle, brush a light coat of Mod Podge over some shells and dust them with iridescent glitter before gluing them on. Group several of these candle holders together on a tray filled with sand and shells for a stunning centerpiece, or place them individually around your home for little pockets of coastal Christmas magic. Just remember to never leave burning candles unattended, especially with curious little ones around!
Bringing Coastal Christmas Magic Home
Creating beach christmas decorations diy projects has become one of our most treasured holiday traditions, right up there with baking cookies and watching Christmas movies in our pajamas! There’s something incredibly special about decorating your home with items you’ve collected during family beach adventures, and each ornament and decoration holds memories of sunny days and sandy toes. Plus, these projects are perfect for those rainy December afternoons when the boys need something creative to do, and I need to keep them from destroying the house with their endless energy!
The beauty of coastal Christmas decor is that it doesn’t have to be perfect – in fact, the handmade, slightly imperfect nature of these decorations is what makes them so charming and unique! Whether you tackle all seven of these projects or just choose one or two favorites, you’ll create a home that feels warm, personal, and distinctly yours. So grab those shells you’ve been collecting, fire up that hot glue gun, and get ready to create some coastal Christmas magic that your family will treasure for years to come!
This post may contain affiliate links. Read the full disclosure here.