7 DIY Coastal Christmas Wreath Ideas for a Breezy Holiday Welcome
There’s something absolutely magical about combining the cozy warmth of Christmas with the breezy, relaxed vibe of coastal living! As a mom of three energetic boys who loves both the holidays and anything beachy, I’ve discovered that creating a DIY coastal Christmas wreath is the perfect way to welcome guests while keeping that ocean-inspired aesthetic we adore.
These wreaths bring together the best of both worlds – festive holiday cheer with those calming, sandy beach vibes that make our home feel like a year-round vacation spot!
Complete your welcoming seaside display with more DIY coastal holiday decor for inside and outside your home!!
Whether you live by the ocean or just dream about it (like me during those chaotic homework hours!), these coastal-inspired wreaths are surprisingly easy to make and won’t break the bank. I’ve rounded up seven of my absolute favorite designs that you can create during naptime, after bedtime, or whenever you can steal a few peaceful moments. Each one brings that special seaside magic to your front door, and trust me, your neighbors will be asking where you bought them!
Seashell and Starfish Elegance
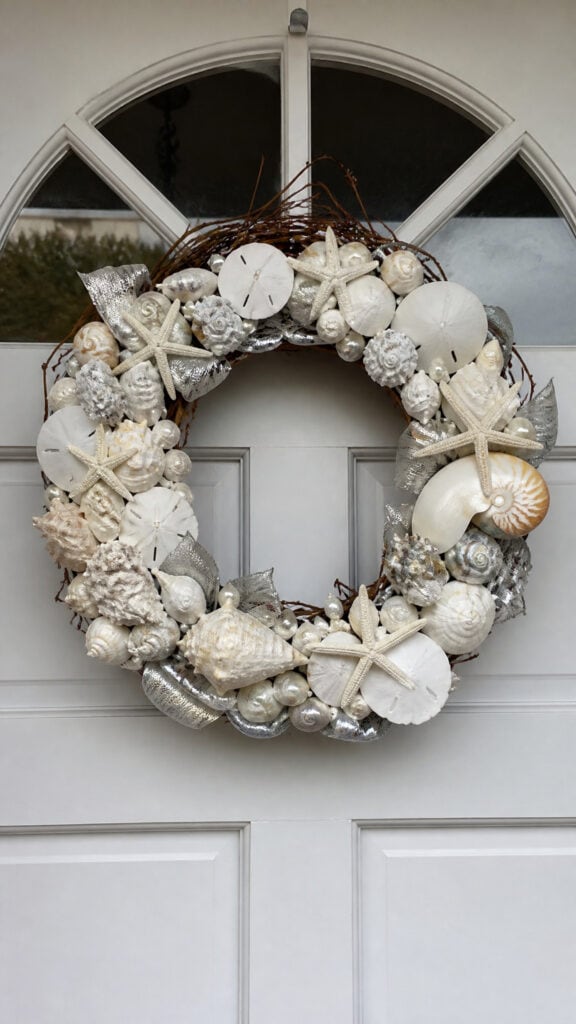

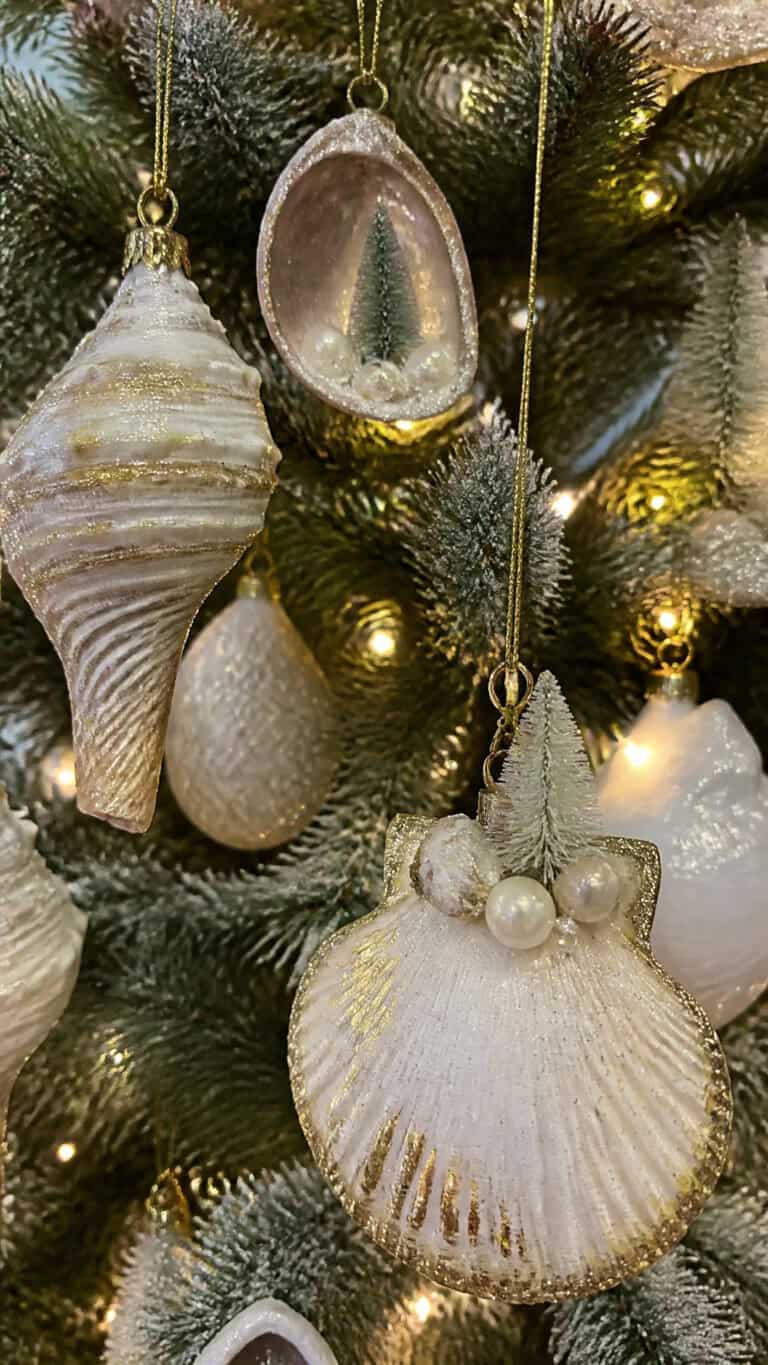
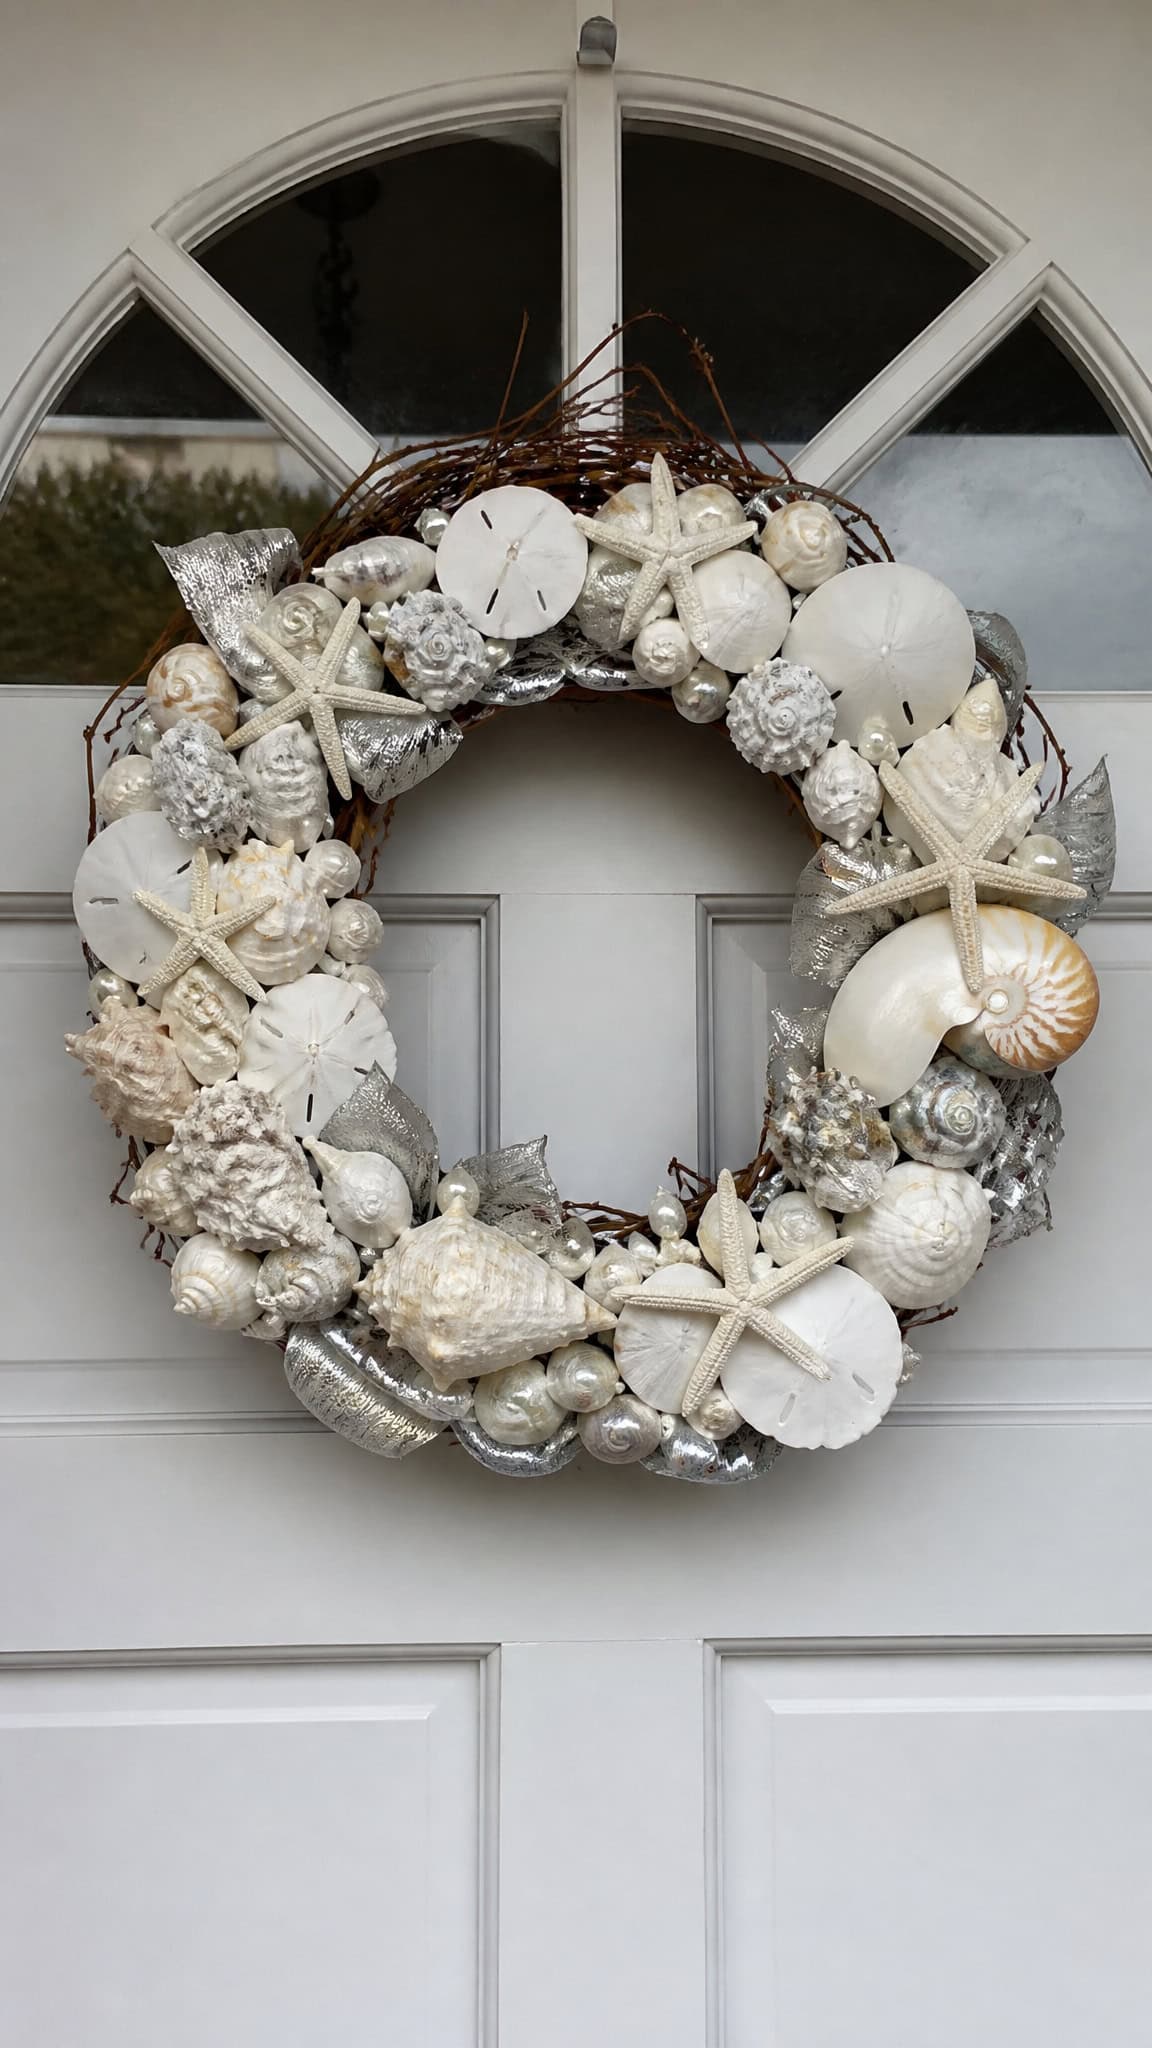
This classic DIY coastal Christmas wreath is absolutely stunning and easier to make than getting three boys to sit still for a family photo! Start with a simple grapevine or foam wreath base from your local craft store, and then it’s time to raid your seashell collection. If you’re like me and have buckets of shells from every beach trip (because the boys insist on bringing home “treasures”), this is finally their time to shine!
Hot glue is your best friend for this project! Arrange larger shells like scallops and sand dollars as focal points, then fill in gaps with smaller shells, starfish, and even some pearl-like beads for extra sparkle. I love adding a few sprigs of white or silver ribbon to give it that Christmas touch without losing the beachy feel. The contrast between the natural shells and the festive elements creates such a beautiful, sophisticated look!
For an extra special touch, consider spray painting some of the shells in metallic gold or silver before attaching them. This adds just enough holiday glam while keeping that coastal vibe intact. You can also tuck in some small ornaments in ocean colors like turquoise, seafoam green, or sandy beige. The whole project takes about two hours from start to finish, and it’s honestly so relaxing – like a mini beach meditation session right at your craft table!
Pro tip from one busy mom to another: let the boys help with this one! They can sort shells by size, pick out their favorites, and even help with placement decisions. It keeps them entertained, and they’ll be so proud when guests compliment “their” wreath. Just maybe supervise the hot glue gun part!
Driftwood and Nautical Rope Wonder
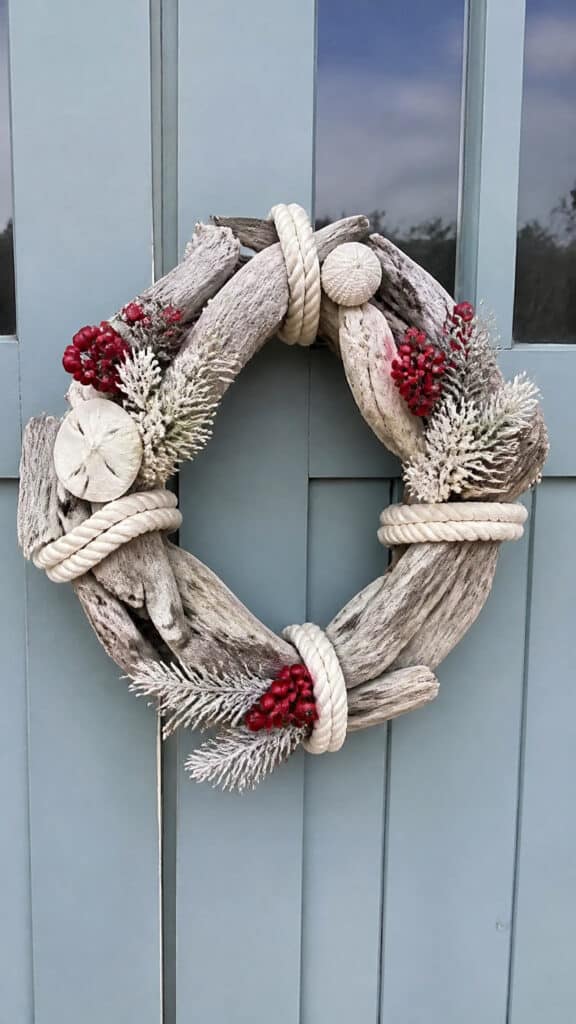
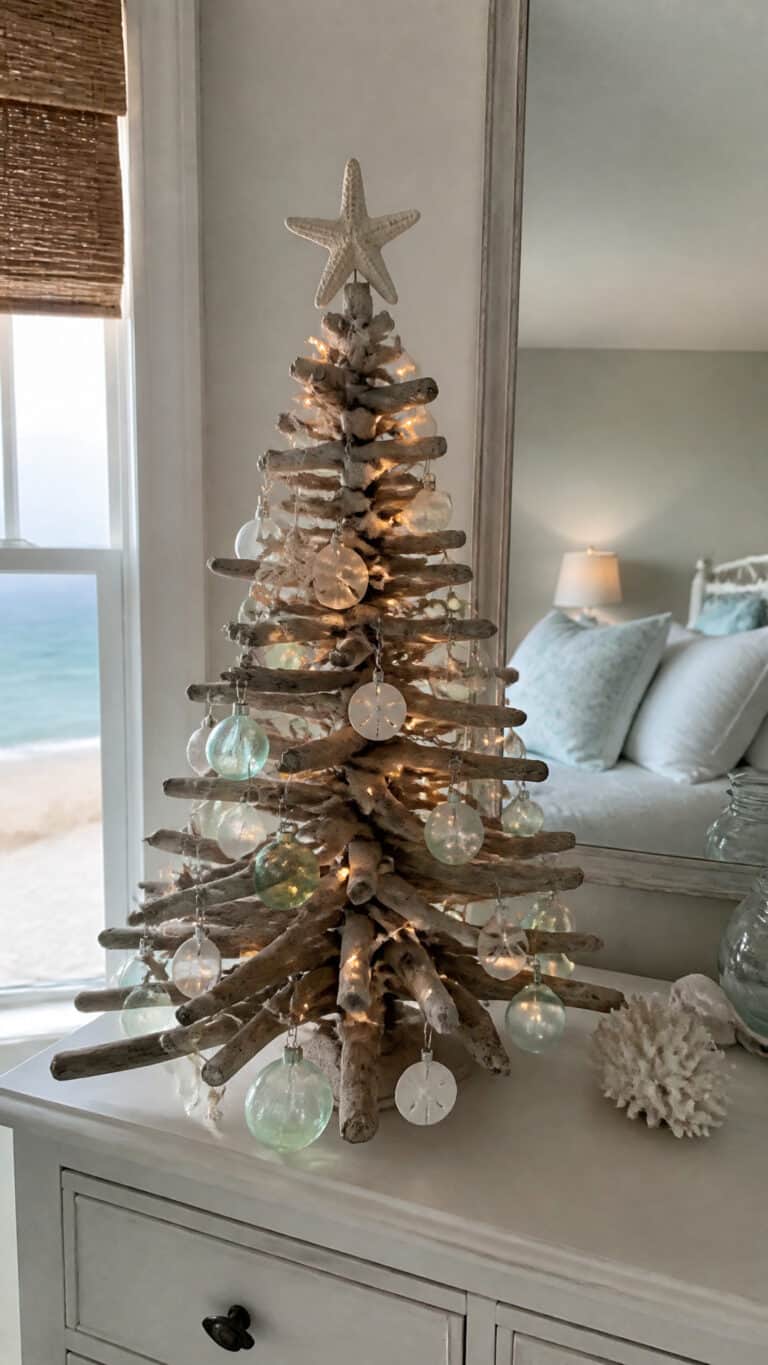
Oh my goodness, this DIY coastal Christmas wreath is perfect if you love that rustic, weathered beach look! Driftwood has such amazing texture and character, and when you combine it with thick nautical rope, you get this gorgeous, organic wreath that screams “coastal Christmas” in the best way possible. I made one of these last year and literally had neighbors stopping by to ask about it!
Start by creating a circular base using thick nautical rope – you can find this at hardware stores or online. Form it into a wreath shape and secure it with wire or strong twine at several points. Then comes the fun part: arranging your driftwood pieces! Look for pieces in various sizes and attach them to the rope base using hot glue or wire. The irregular shapes and silvery-gray tones of driftwood create such beautiful visual interest!
To make it feel more festive, I like to add small red berries (artificial ones work great and last forever!), pine sprigs, and maybe a few small white or cream-colored ornaments. You can also incorporate some fishing net as a backdrop or weave it through the driftwood for extra coastal flair. Some people add tiny bells that jingle when the door opens, which my boys absolutely love!
The beauty of this wreath is that no two will ever look the same because every piece of driftwood is unique. It’s also surprisingly sturdy – mine survived an entire season of the boys running in and out, slamming the door approximately eight million times. If you don’t have access to real driftwood, many craft stores sell it, or you can create a similar look with regular branches that you’ve whitewashed or painted gray!
Coastal Blue and White Ornament Delight
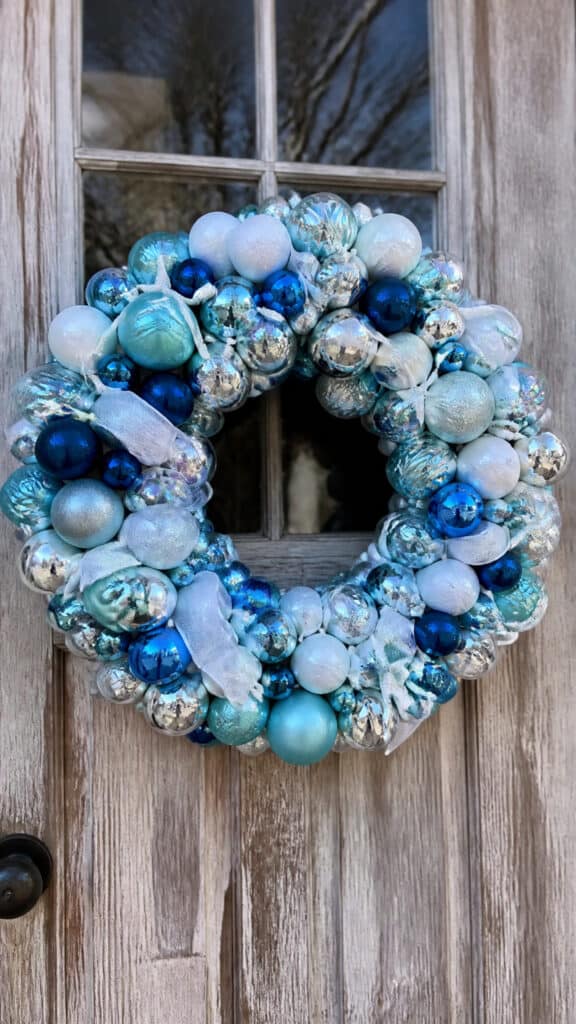
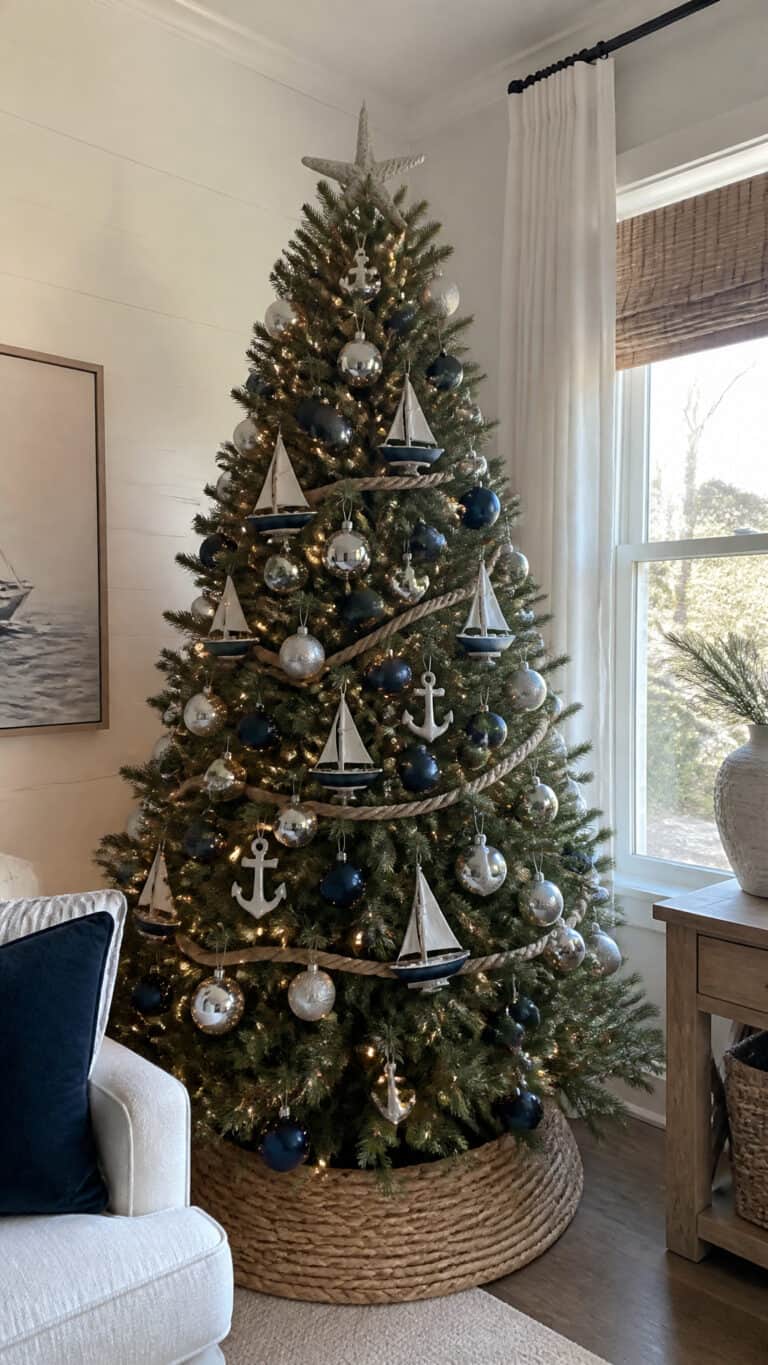
If you want a DIY coastal Christmas wreath that’s absolutely bursting with color and coastal charm, this ornament-based design is calling your name! I’m talking beautiful blues – from deep navy to soft aqua – mixed with crisp whites and maybe some sandy neutrals. It’s like bringing the ocean right to your front door, and it’s honestly one of the easiest wreaths to make because you’re basically just attaching ornaments to a base!
Grab a wire wreath frame (the kind with multiple rings) and start gathering shatterproof ornaments in all your favorite coastal colors. I learned the hard way that shatterproof is essential when you have little ones who like to touch everything! Mix different sizes and finishes – some matte, some glossy, some with glitter. The variety creates such a rich, full look that catches the light beautifully throughout the day!
To attach the ornaments, simply remove the tops and slide them onto the wire frame, then replace the tops to secure them. Pack them in tightly so you can’t see the frame underneath. The whole process is actually pretty therapeutic – I made mine while binge-watching my favorite show after the boys went to bed! You can add some ribbon in coordinating colors, maybe some small starfish tucked between ornaments, or even some artificial sea grass for texture.
What I love most about this wreath is how it catches the light and sparkles! When the sun hits it just right, or when your porch lights are on in the evening, it creates this magical, beachy glow. Plus, if you use a good quality frame and ornaments, this wreath will last for years. I’ve been using mine for three seasons now, and it still looks as gorgeous as the day I made it!
Sea Glass and Burlap Beauty
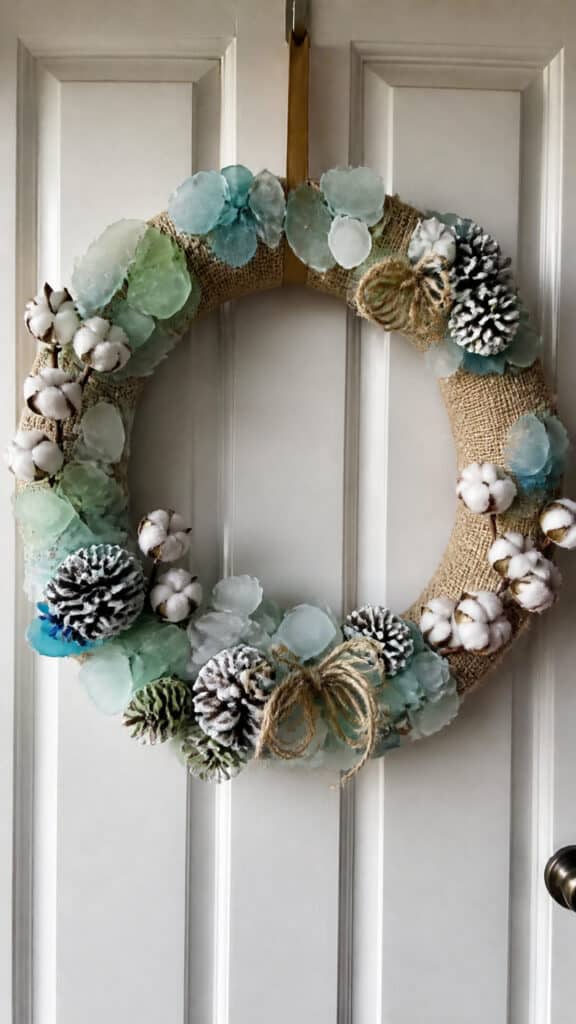
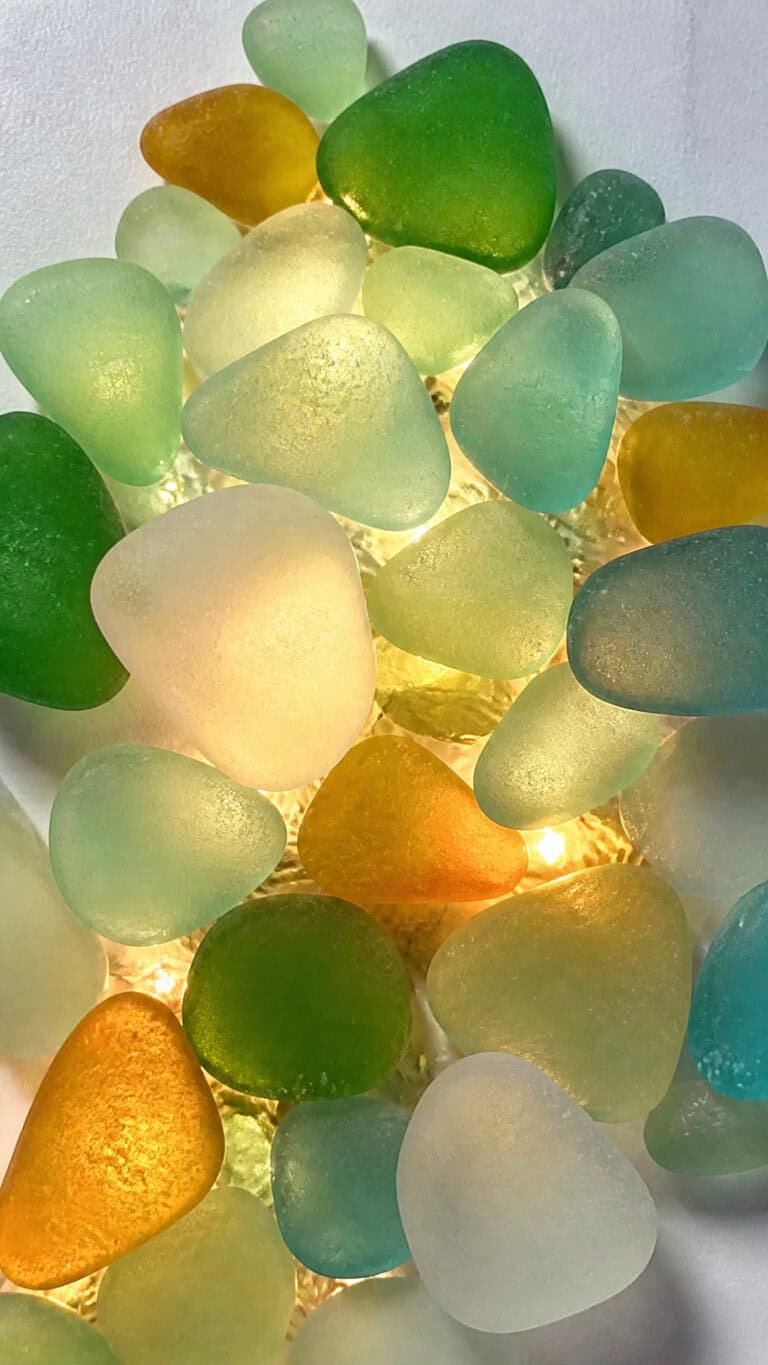
Sea glass has to be one of the most beautiful beach treasures ever, and incorporating it into a DIY coastal Christmas wreath creates something truly special and unique! Those frosted, tumbled pieces of glass in soft greens, blues, and whites are like little jewels that catch the light in the most magical way. This wreath combines that delicate sea glass with rustic burlap for a perfect balance of refined and relaxed!
Start with a burlap-wrapped wreath base – you can buy these pre-made or wrap a foam wreath form yourself with burlap ribbon. The neutral, textured background makes the sea glass really pop! If you’ve been collecting sea glass from beach trips (or if you’re like me and buy it because we don’t get to the beach nearly enough!), now’s your chance to show it off. Arrange the pieces in clusters or create patterns around the wreath.
Attach the sea glass using strong craft glue or a hot glue gun, making sure each piece is secure. I like to group similar colors together for impact, but you can also scatter them randomly for a more organic look. Between the sea glass clusters, add some natural elements like small pine cones (maybe painted white or left natural), twine bows, or even some cotton stems for a soft, beachy-Christmas vibe!
This wreath has such a sophisticated, coastal cottage feel to it! It’s perfect if you prefer a more subtle, elegant approach to holiday decorating. The combination of the rough burlap texture with the smooth, frosted sea glass creates this gorgeous contrast that people always comment on. Fair warning though: if you hang this where your kids can reach it, they will want to touch the pretty glass pieces constantly. Ask me how I know!
Coral and Pearl Luxe Wreath
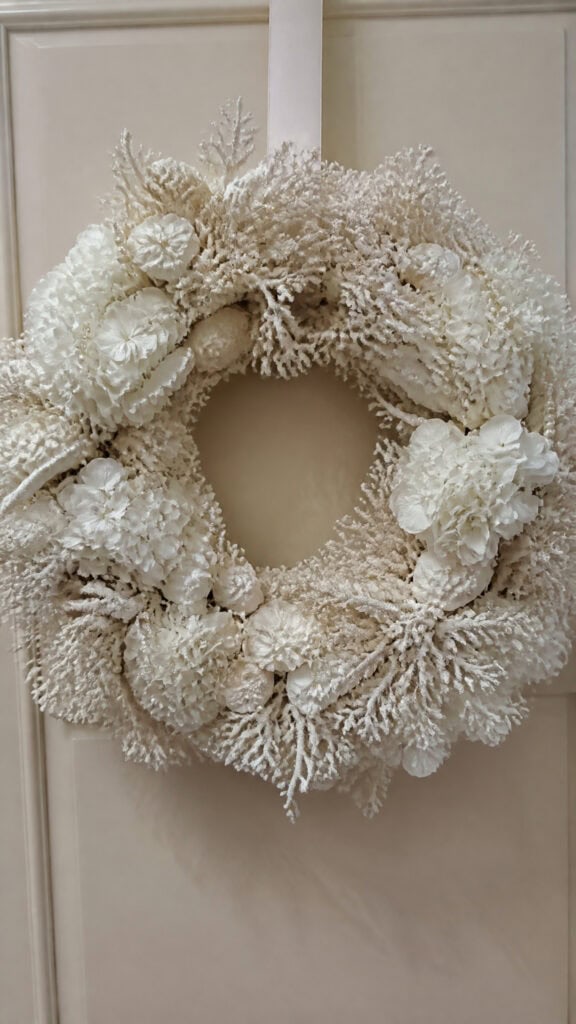
When you want your DIY coastal Christmas wreath to feel extra fancy and special, this coral and pearl design is absolutely the way to go! It has this gorgeous, upscale coastal vibe that makes your front door look like it belongs in a magazine. I made one of these for our door last Christmas, and I kid you not, people were taking pictures of it! It’s definitely a showstopper!
Start with a white or cream foam wreath base for a clean, elegant foundation. You’ll want to gather faux coral pieces (craft stores have these in various sizes and colors), pearl garland or individual pearl picks, and maybe some white or cream flowers like hydrangeas or roses. The key is keeping the color palette really soft and neutral – think whites, creams, champagne, maybe a touch of blush pink or pale gold!
Attach larger coral pieces first as your focal points, spacing them evenly around the wreath. Then weave pearl garland throughout, letting it drape naturally between the coral. Fill in any gaps with flowers, additional smaller coral pieces, or even some white feathers for extra texture. I like to add a few small white ornaments or some crystal-like embellishments to give it that extra sparkle and holiday feel!
This wreath definitely takes a bit more time and investment than some of the others, but wow, is it worth it! The sophisticated look makes it perfect for a formal entryway or if you just want something really special. It photographs beautifully too, which is great for those Christmas card photos! Just keep it protected from weather if you can, since the delicate elements don’t love getting soaked. I hang mine under our covered porch, and it stays gorgeous all season long!
Fisherman’s Net and Lighthouse Charm
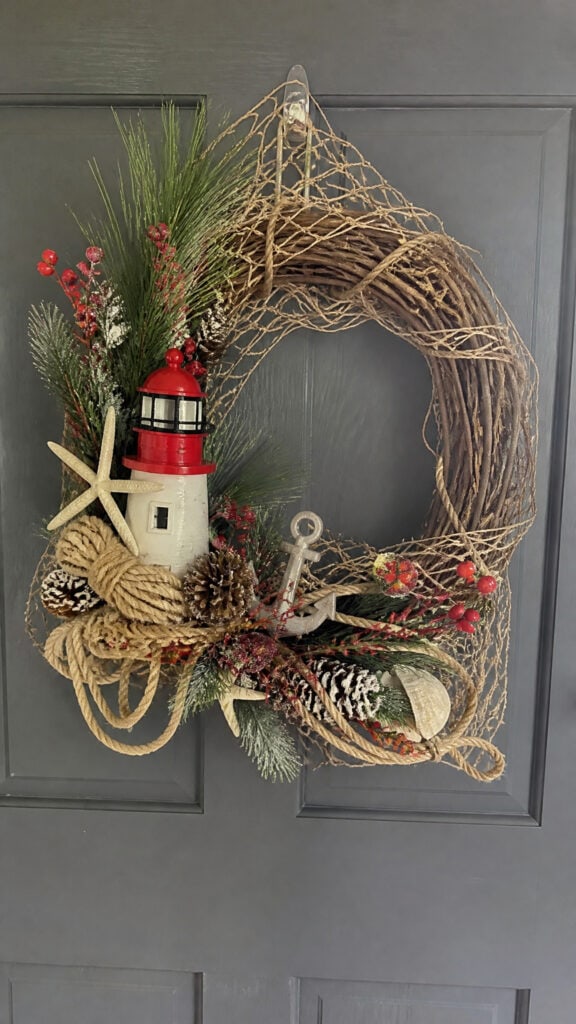
This DIY coastal Christmas wreath is perfect if you love that nautical, seaside village vibe! It’s got so much personality and tells a story, which I absolutely love. Plus, my boys think it’s the coolest wreath ever because of all the fun nautical details. It’s like bringing a little piece of a charming fishing village right to your front door!
Start with a grapevine wreath base and drape fishing net across portions of it – you don’t have to cover the whole thing, just sections for visual interest. You can find decorative fishing net at craft stores or online, and it’s usually pretty inexpensive. Secure it with wire or hot glue, letting it drape naturally with some areas looser than others for that authentic, casual look!
Now for the fun decorations! Add a small decorative lighthouse (these are easy to find at craft stores), some miniature boats, anchors, or ship wheels. Tuck in some rope coils, maybe add a few shells or starfish, and definitely include some greenery like pine or eucalyptus to give it that Christmas feel. I like to use a red and white color scheme for this one because it echoes traditional lighthouse colors and feels festive!
You can also add some small buoys, wooden fish cutouts, or even tiny oars if you can find them. The more little details you include, the more charming it becomes! This wreath is especially fun because you can keep adding to it over the years as you find new nautical treasures. My boys love helping me decide where each element should go, and they always want to add “just one more thing” to make it even better. It’s become a fun family tradition!
Sandy Beach Grass and Seashore Simplicity
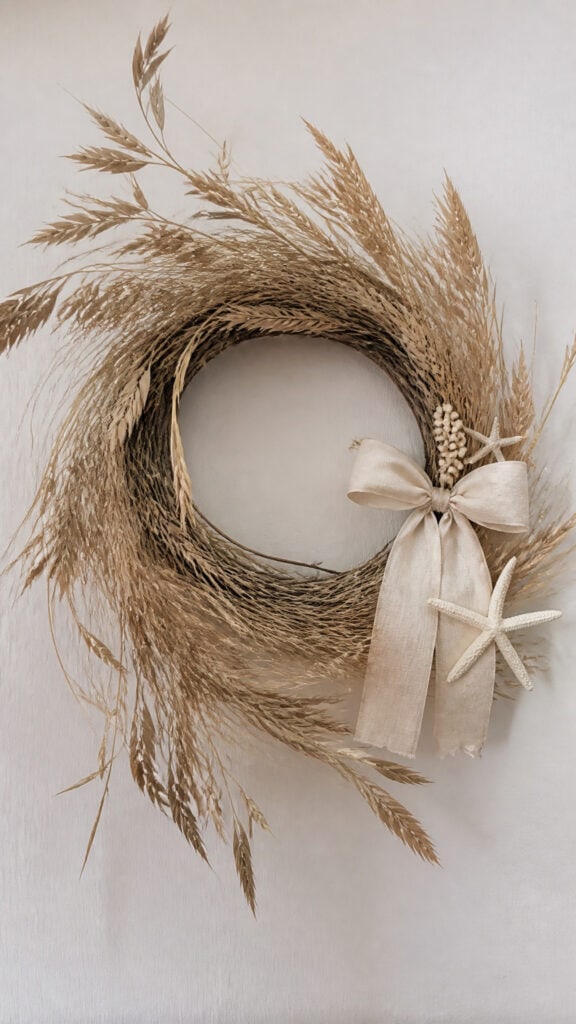
Sometimes the most beautiful DIY coastal Christmas wreath is the simplest one, and this design proves it! Inspired by those gorgeous beach grasses that sway in the ocean breeze, this wreath is all about natural beauty and understated elegance. It’s perfect if you prefer a more minimalist approach or if you just want something that feels really organic and beachy without being too “themed” or over-the-top!
The star of this wreath is dried beach grass or sea oats – you can use real dried grasses if you have access to them, or buy faux ones that look incredibly realistic. Start with a simple wreath base (grapevine, twig, or even a plain foam form) and attach bundles of the grass all around, facing them in the same direction for a windswept look. The movement and texture of the grass creates such a beautiful, natural effect!
Keep the additional decorations minimal and natural. Maybe add a simple burlap or linen bow, a few pieces of driftwood, some white or cream berries, or a couple of starfish. The idea is to let the grass be the star while just adding subtle hints of coastal charm and Christmas spirit. You could also incorporate some white-washed twigs, a few sprigs of eucalyptus, or some cotton stems for a soft, neutral palette!
What I absolutely love about this wreath is how peaceful and calming it looks! It has this serene, spa-like quality that makes me take a deep breath every time I see it. It’s also incredibly versatile – it works with any decorating style from modern farmhouse to traditional coastal. And honestly, after a day of breaking up fights over toys and wiping up spilled juice, having something this peaceful on my front door just makes me happy! It’s like a little reminder to breathe and enjoy the simple things, even during the crazy holiday season!
Bring the Beach Home This Christmas
Creating your own DIY coastal Christmas wreath is such a rewarding project that brings together creativity, holiday spirit, and that relaxed beach vibe we all love! Whether you choose shells and starfish, driftwood and rope, or any of these other gorgeous designs, you’ll have a unique wreath that reflects your personal style and welcomes everyone with coastal charm. The best part is that these wreaths are so forgiving – there’s really no wrong way to arrange beach elements, and the imperfections just add to their natural beauty!
So grab your glue gun, put on some Christmas music (or beach sounds if that’s more your vibe!), and get creative! These projects are perfect for those rare quiet moments, or turn them into a family activity where even the little ones can help. Your front door will thank you, your neighbors will be impressed, and you’ll have that perfect blend of holiday cheer and beachy bliss that makes your home feel special all season long. Now if you’ll excuse me, I need to go stop my youngest from trying to eat the ornaments off our wreath – mom life never stops, even during craft time!
This post may contain affiliate links. Read the full disclosure here.