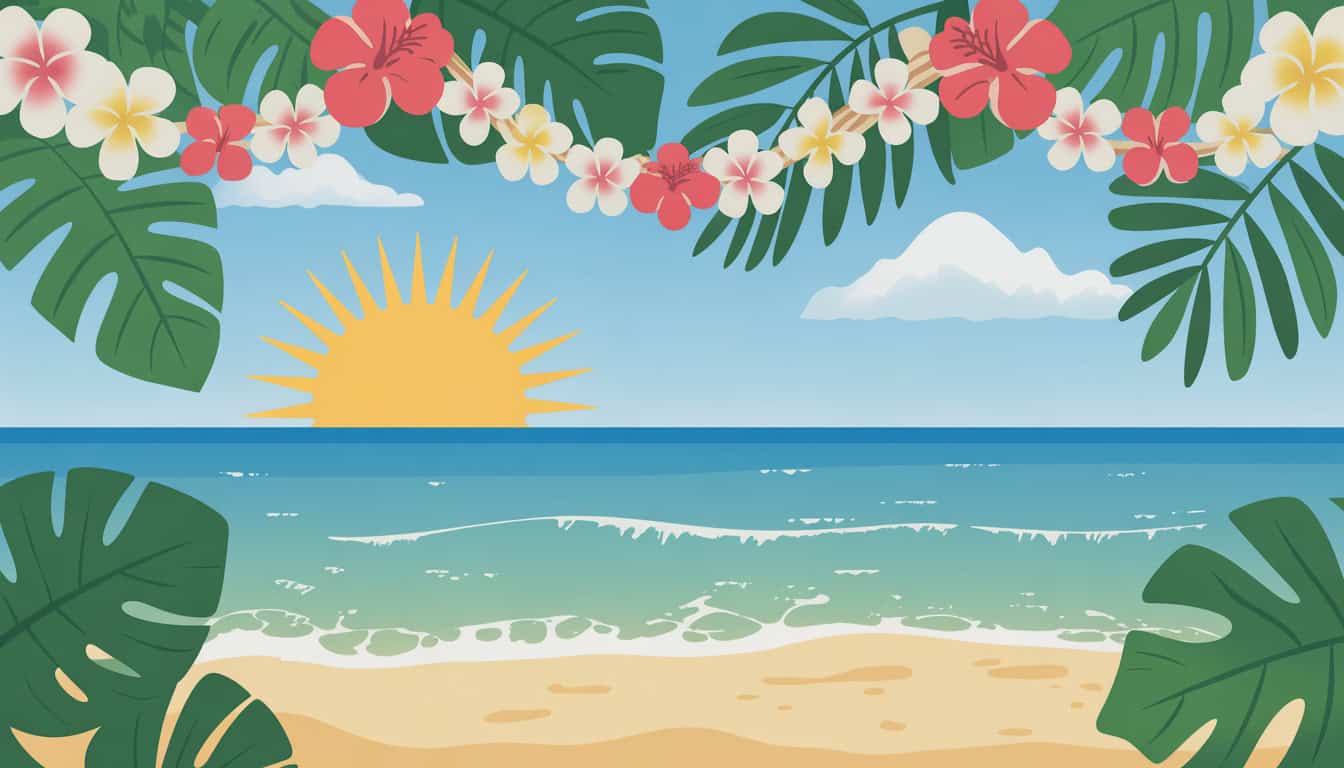
DIY Hawaiian Backdrop Ideas for Parties and Photo Booths
Creating a stunning tropical paradise for your next celebration doesn’t require a professional event planner or a huge budget.
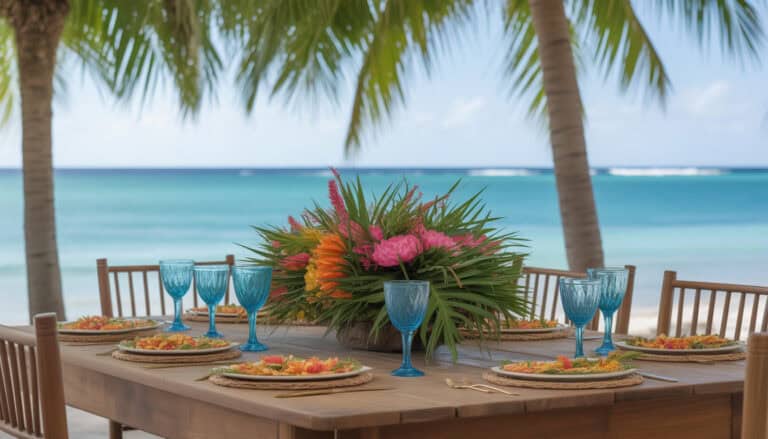
To build a complete setup, these tropical party decor ideas tie everything together beautifully.
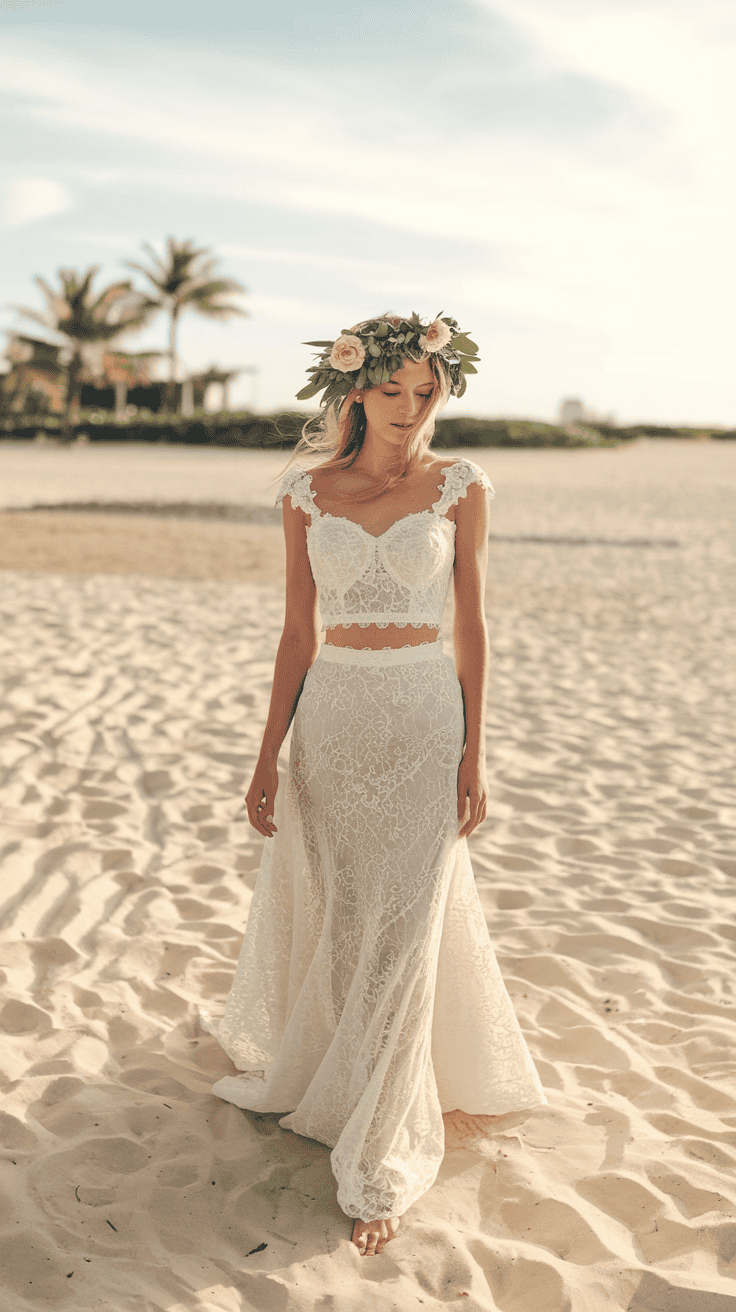
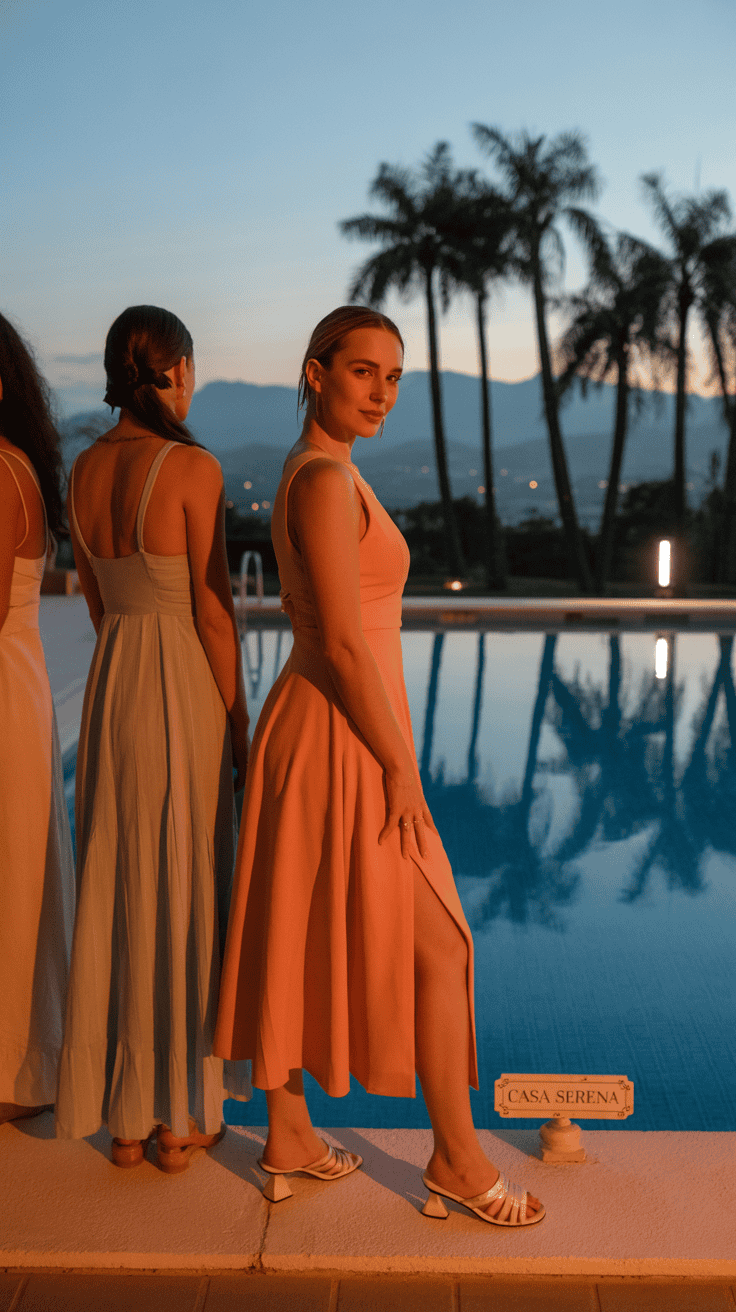
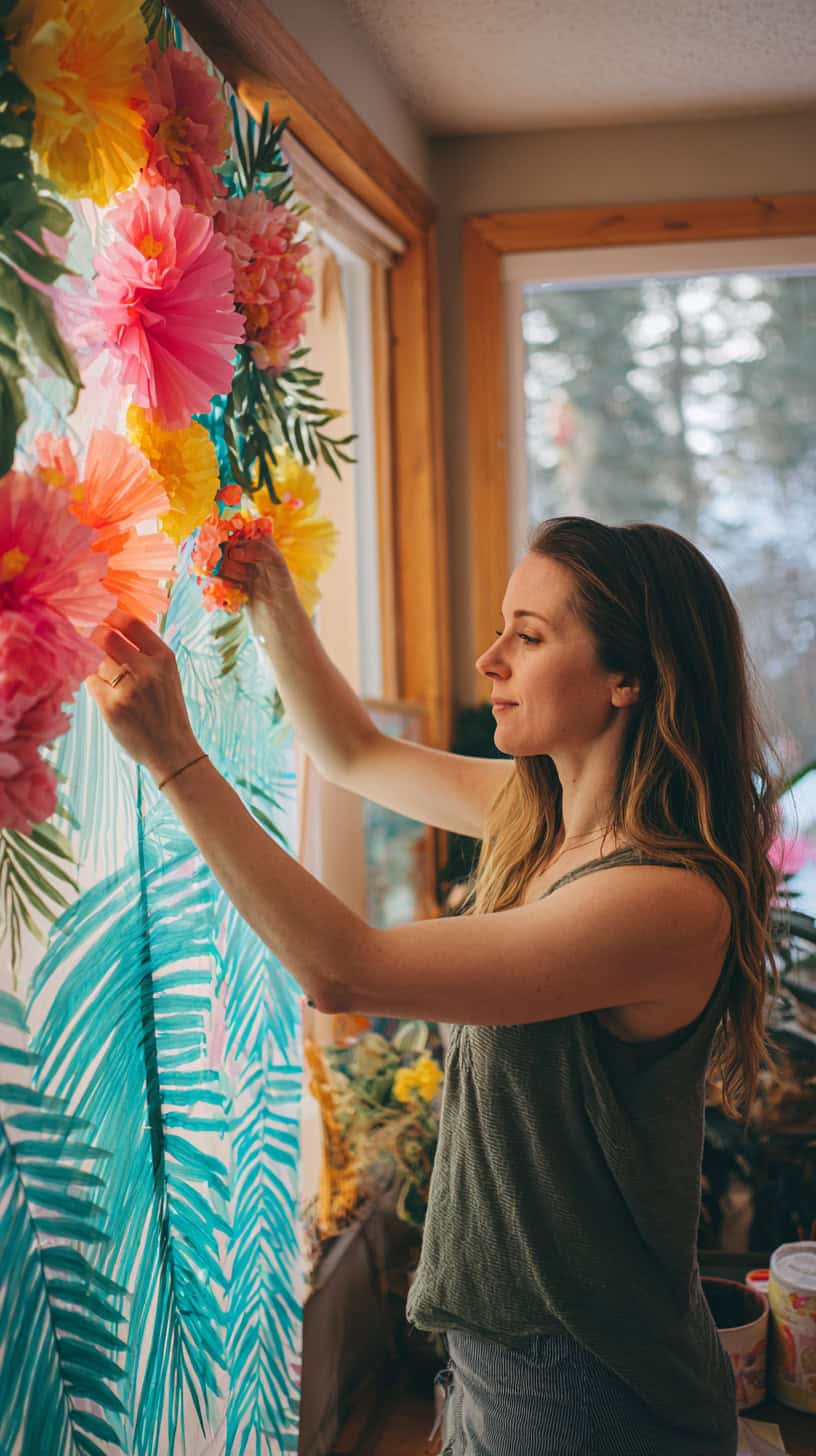
When I’m setting up a photo booth, I love using a Hawaiian-themed backdrop banner to create a fun and easy focal point!
With some creativity and a trip to your local dollar store, you can transform any space into a gorgeous Hawaiian getaway that will wow your guests and make every photo absolutely magical. Let me show you exactly how to bring the islands to your backyard!
Why DIY Hawaiian Backdrops Are Perfect for Busy Moms
As a busy mom myself, I know how overwhelming party planning can feel. Between work, kids, and everything else on your plate, the last thing you need is another complicated project. That’s why DIY Hawaiian backdrop ideas are such a lifesaver.
First, they’re incredibly forgiving. If a paper flower isn’t perfectly shaped or a streamer hangs a bit crooked, it actually adds to that relaxed island vibe. No one expects a luau to look rigid or formal, which takes so much pressure off you.
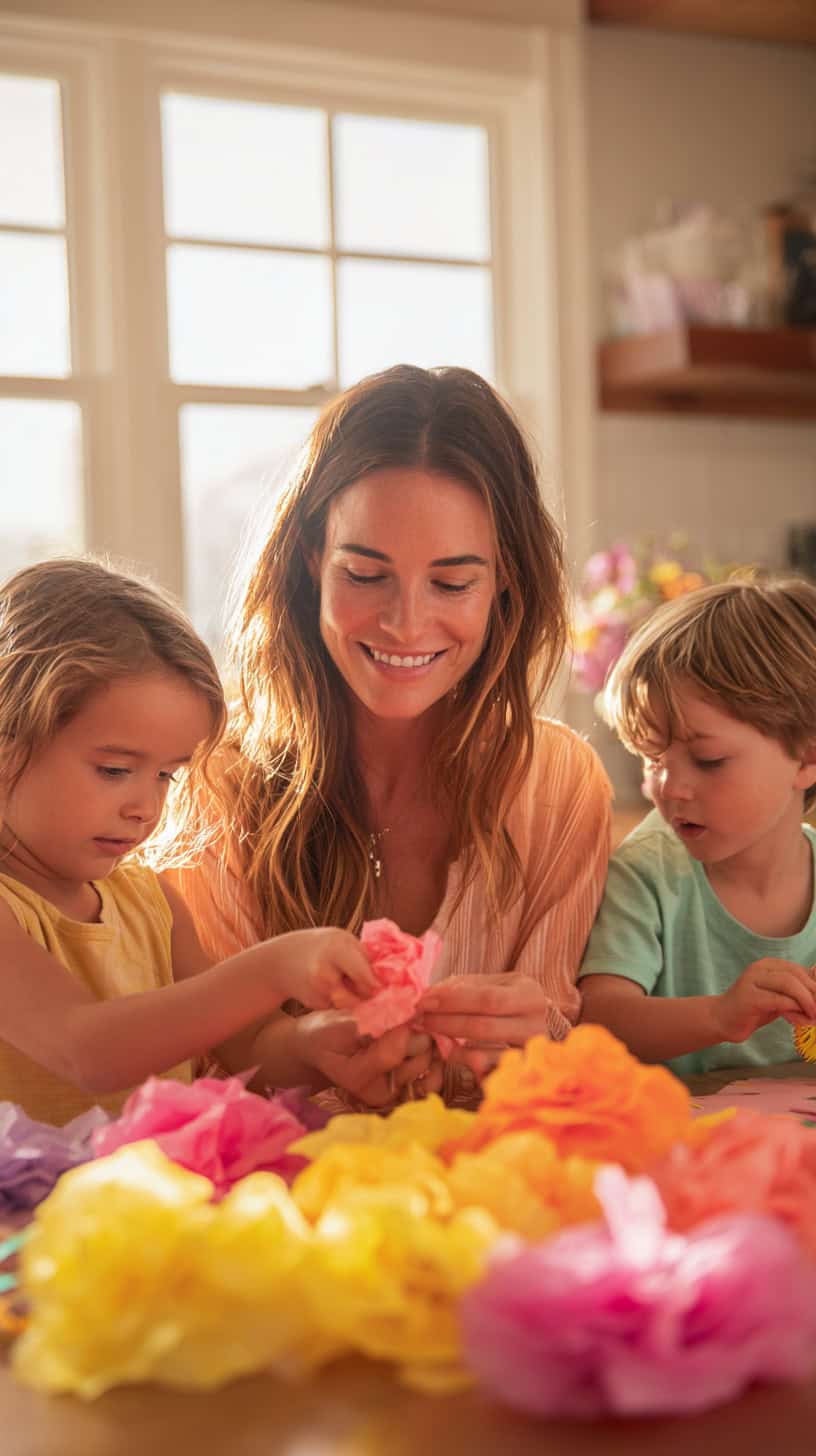
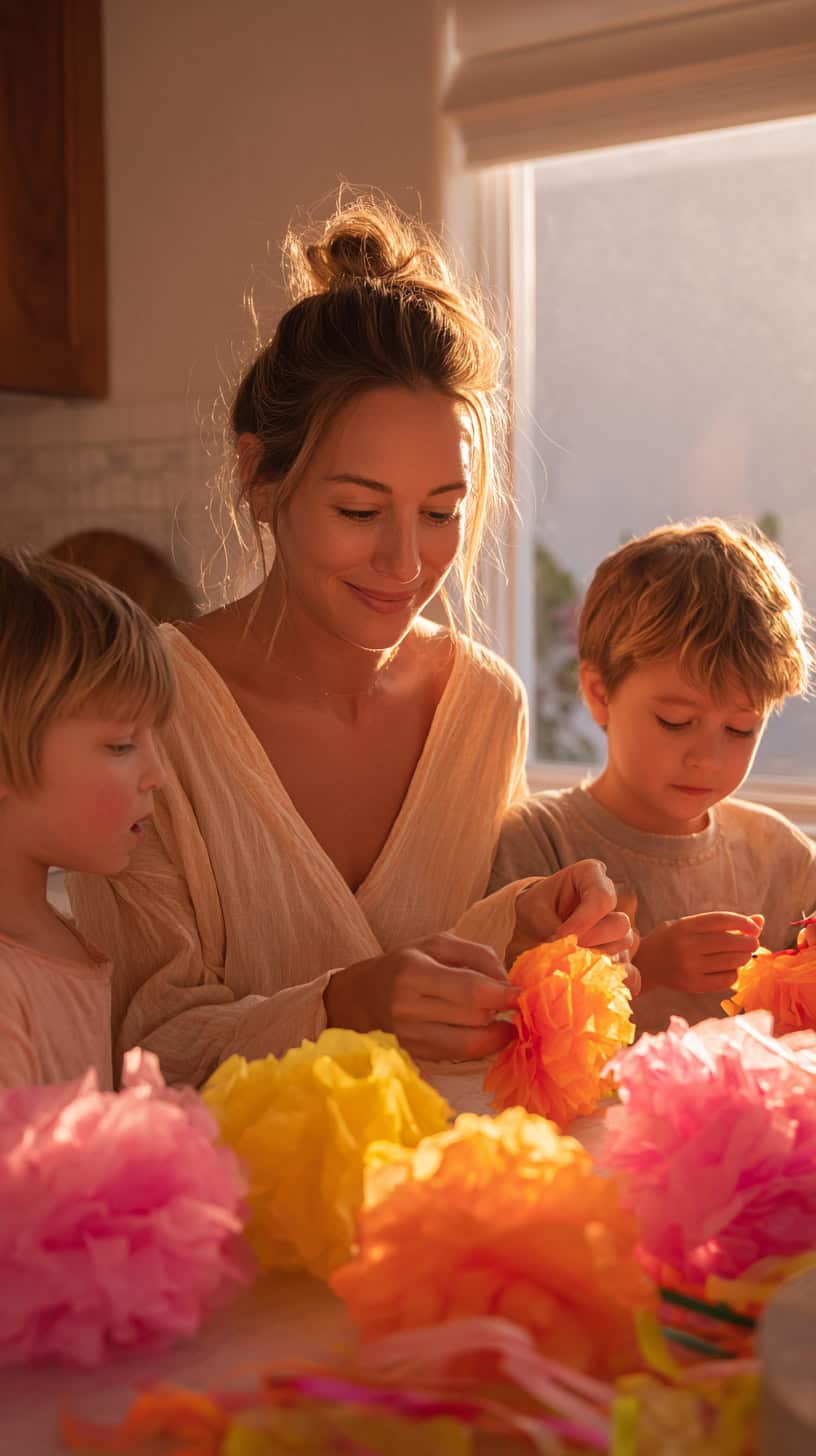
Second, these DIY tropical party decorations involve the whole family. My kids absolutely love helping with these projects. They can cut tissue paper, arrange flowers, and pick color combinations. It turns party prep into quality family time instead of another item on your to-do list that you tackle alone at midnight.
Third, you can work at your own pace. Unlike ordering custom decorations that arrive the day before the party, you can build your luau photo backdrop over several evenings or weekends. Spend twenty minutes here, thirty minutes there, and before you know it, you’ve created something amazing.
And honestly, the flexibility is unbeatable. You can make your backdrop as simple or elaborate as you want. Need something quick for a small birthday gathering? A few palm fronds and tropical flowers will do the trick. Throwing a big graduation luau? You have time to go all out with layered elements and intricate details.
Budget-Friendly Dollar Store Solutions
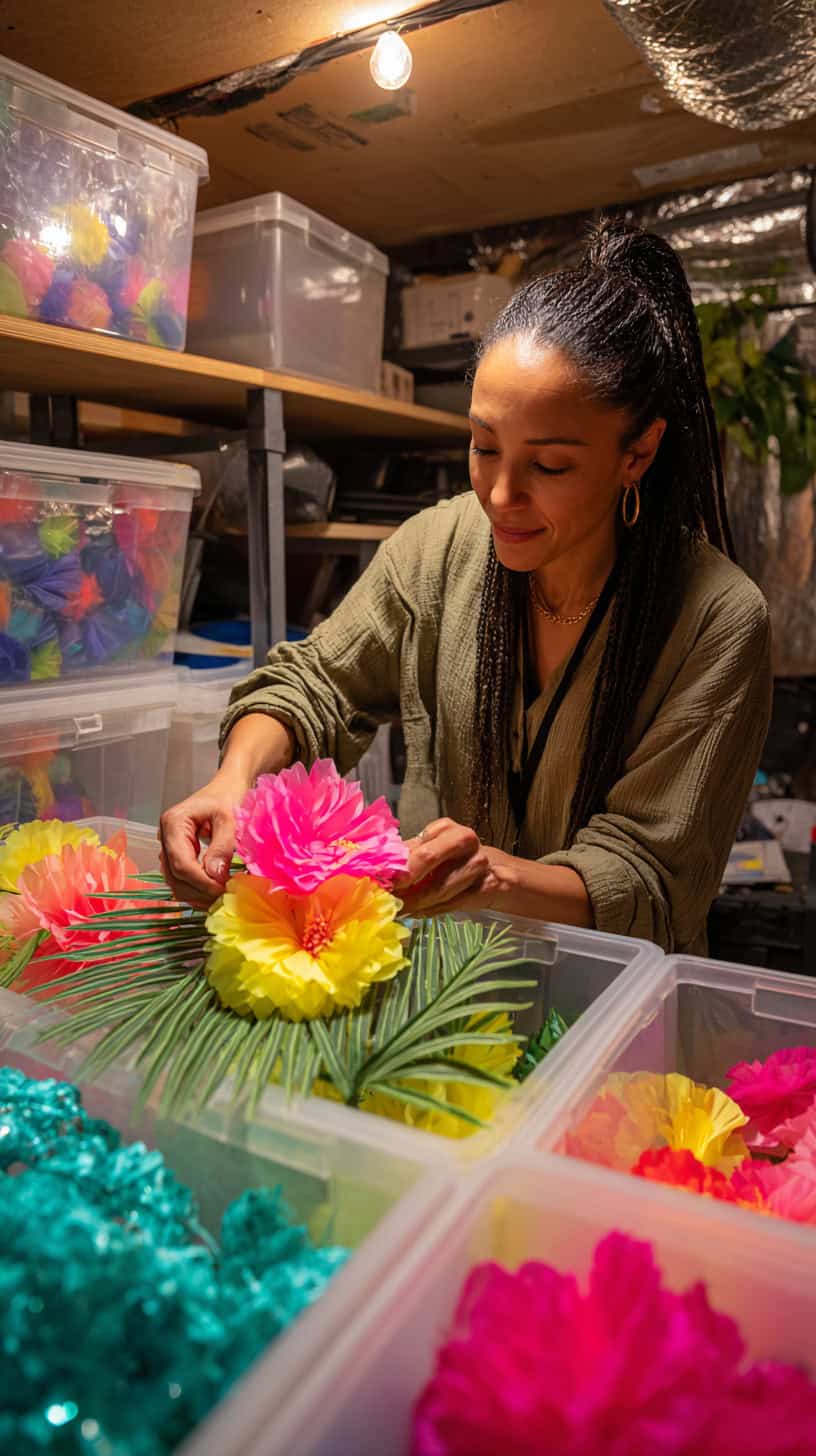
Let me tell you a secret that changed my party planning forever. The dollar store is an absolute treasure trove for Hawaiian backdrop ideas. I’m not exaggerating when I say you can create a professional-looking display for under twenty dollars.
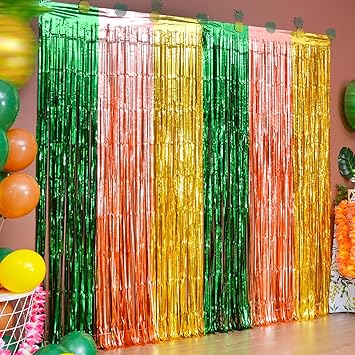
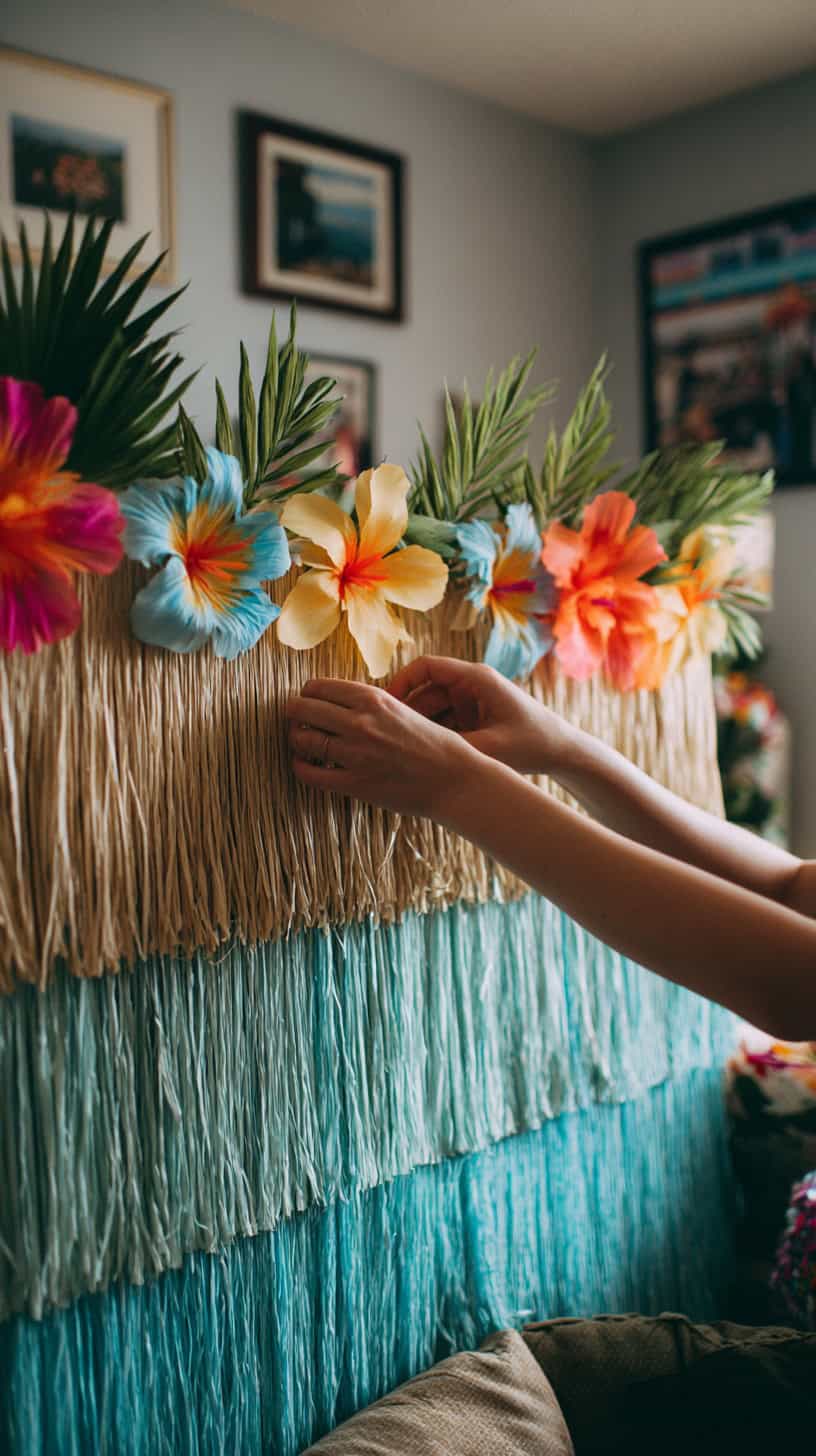
Start in the party aisle. Look for grass table skirts, which make perfect base layers for any tropical backdrop. They typically come in green or tan, and you can overlap them to create dimension. I usually grab three or four packs and use them to cover the bottom third of my backdrop area.
Next, head to the floral section. You’ll find artificial hibiscus flowers, orchids, and tropical leaves that look surprisingly realistic. Mix different sizes and colors, and don’t be afraid to go bold. Hot pink, bright orange, sunny yellow, and deep red all work beautifully for DIY luau party decorations.
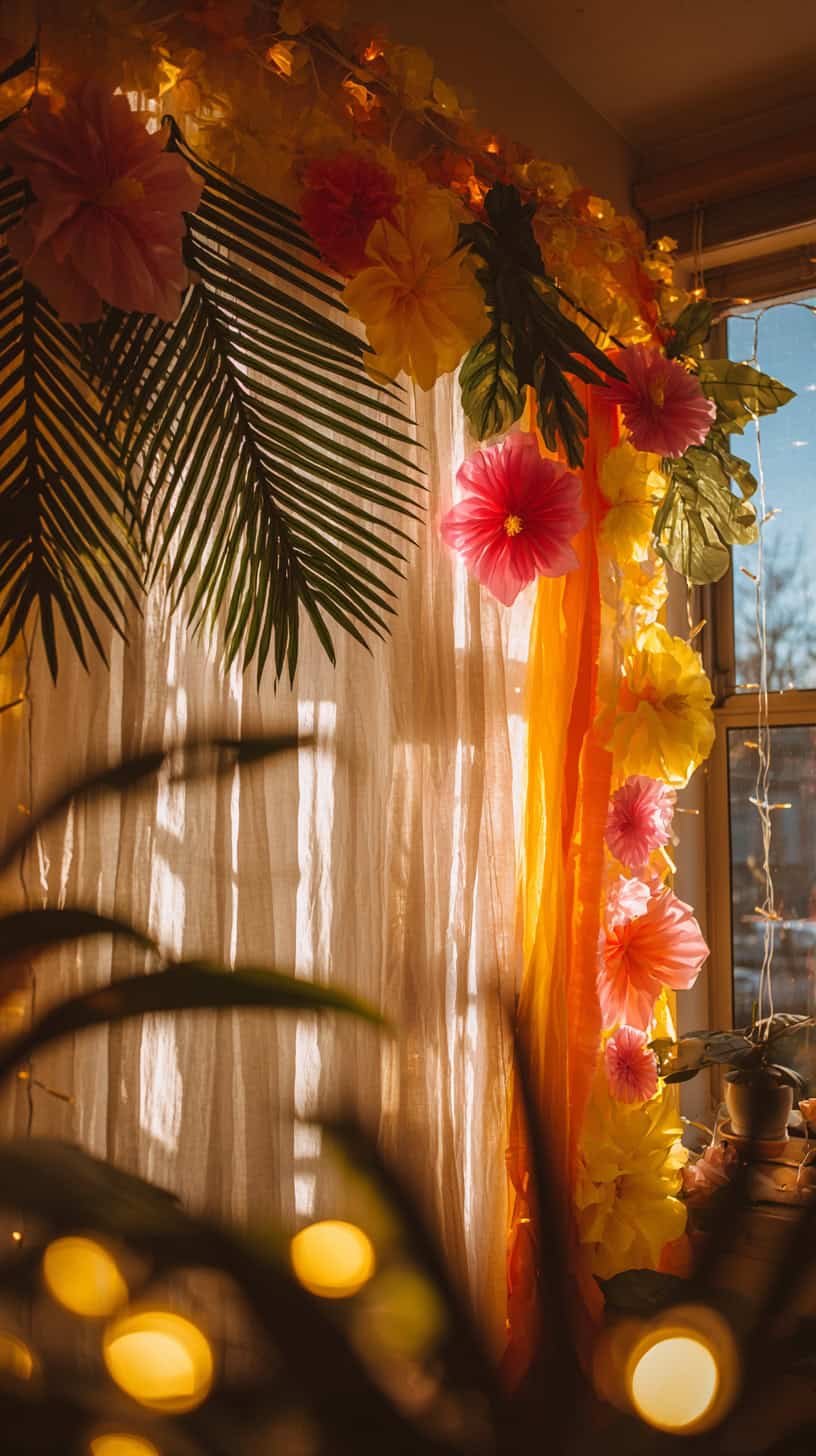
The seasonal section often has hidden gems too. I’ve found tiki torches, bamboo placemats that work as wall decor, and even inflatable palm trees. Paper lanterns in tropical colors add wonderful dimension when hung at varying heights in front of your backdrop.
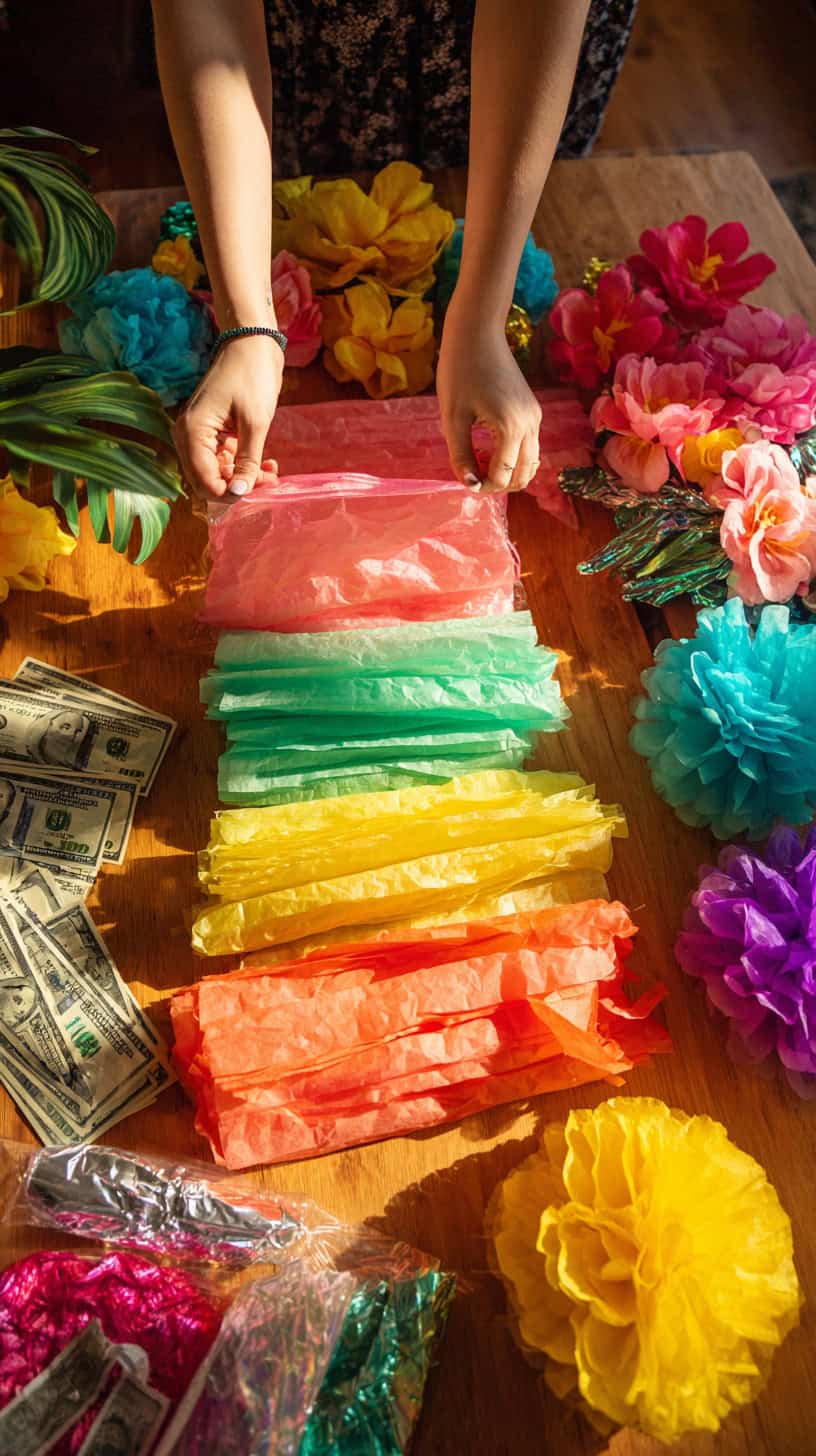
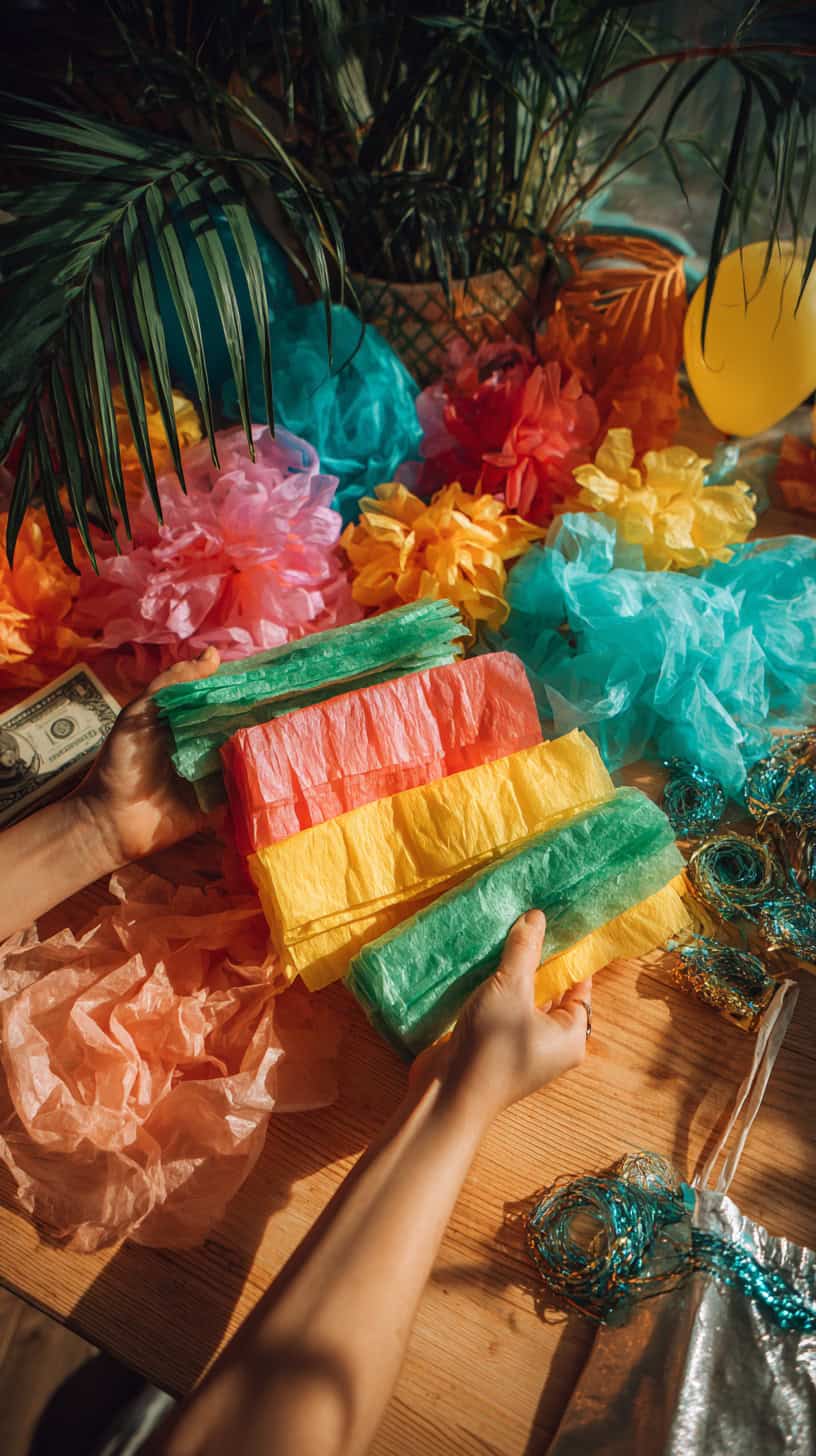
Don’t skip the craft aisle. Tissue paper, streamers, and construction paper become essential building blocks. Green tissue paper transforms into palm fronds with just scissors and creativity. Colorful streamers create that festive, flowing movement that photographs so well.
Pro tip: Visit dollar stores in beach communities if you can. They often stock more tropical items year-round because of local demand. I once found an entire section of luau decorations in February, which was perfect for my daughter’s winter birthday with a summer theme.
Layering Techniques That Look Professionally Done
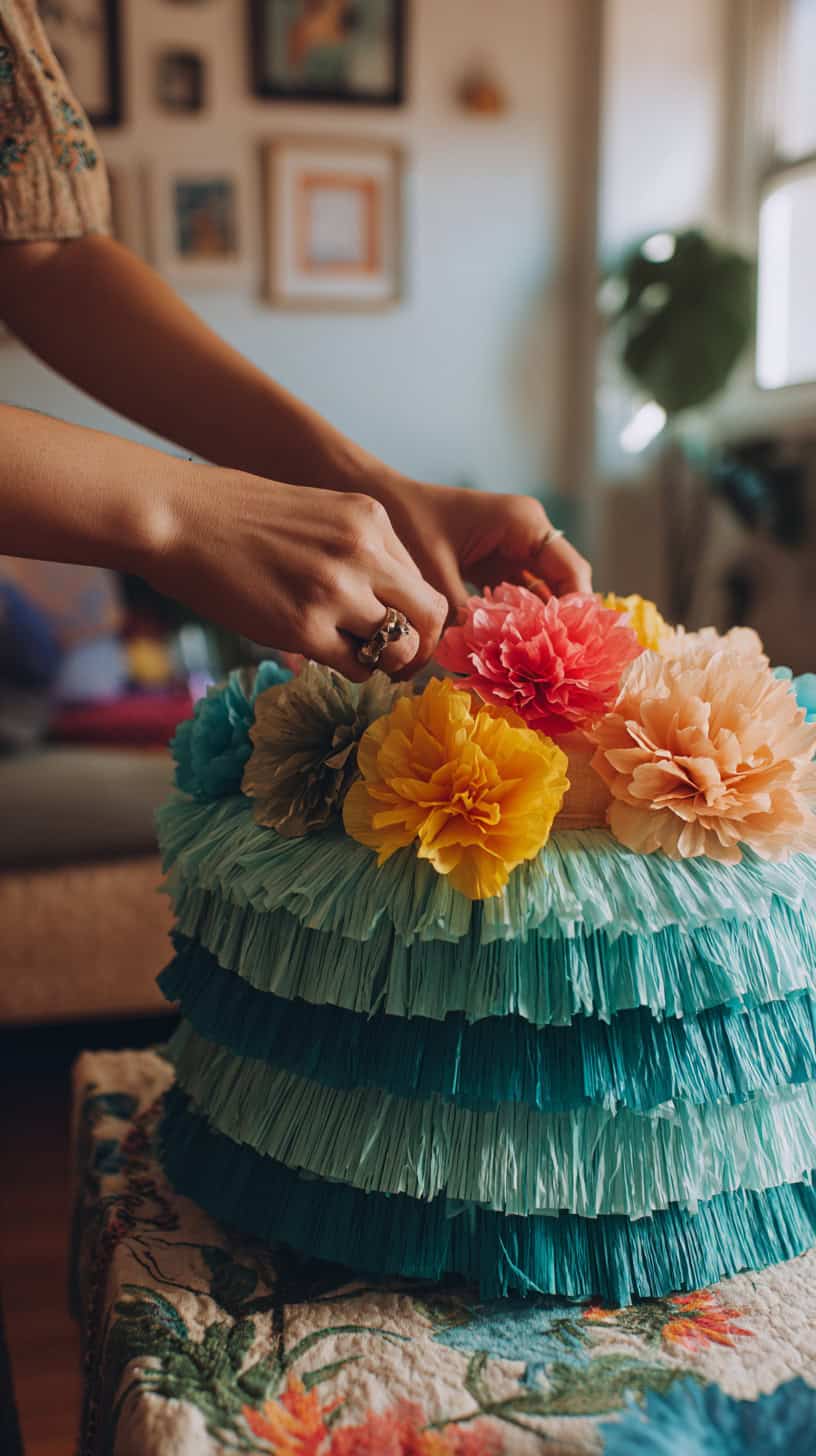
The secret to making DIY Hawaiian party decorations look expensive and polished is all about layering. This technique creates depth and visual interest that flat backdrops simply can’t achieve.
Start with your base layer. This could be a solid color tablecloth, a large piece of fabric, or even butcher paper in a tropical shade. I love using turquoise or sandy beige as foundation colors because they immediately evoke that beach feeling without overwhelming the space.
Your second layer adds texture. This is where those grass skirts come in handy. Attach them horizontally across the bottom or middle of your backdrop. You can also layer fabric in complementary colors, letting each piece overlap slightly to create dimension.
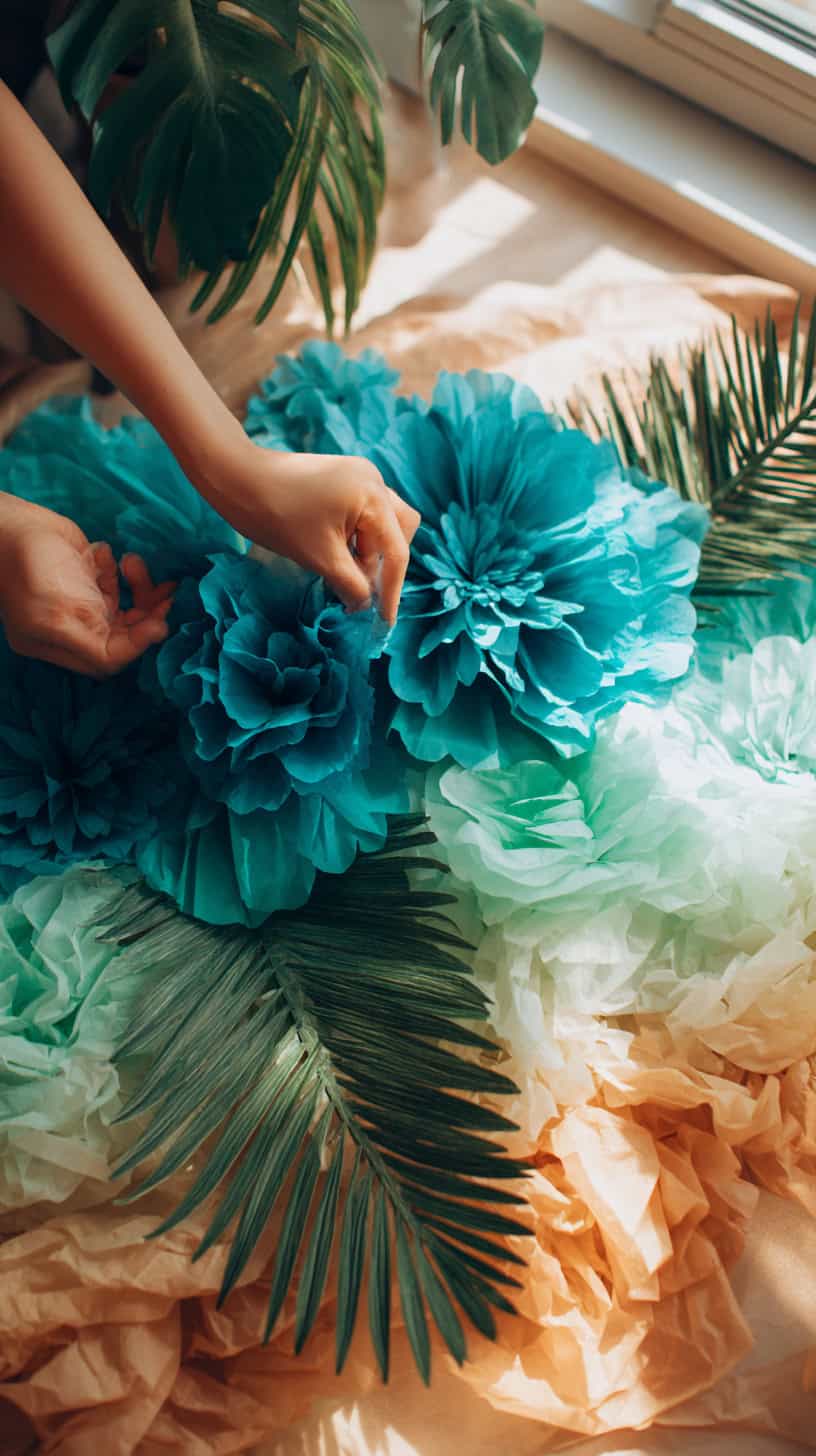
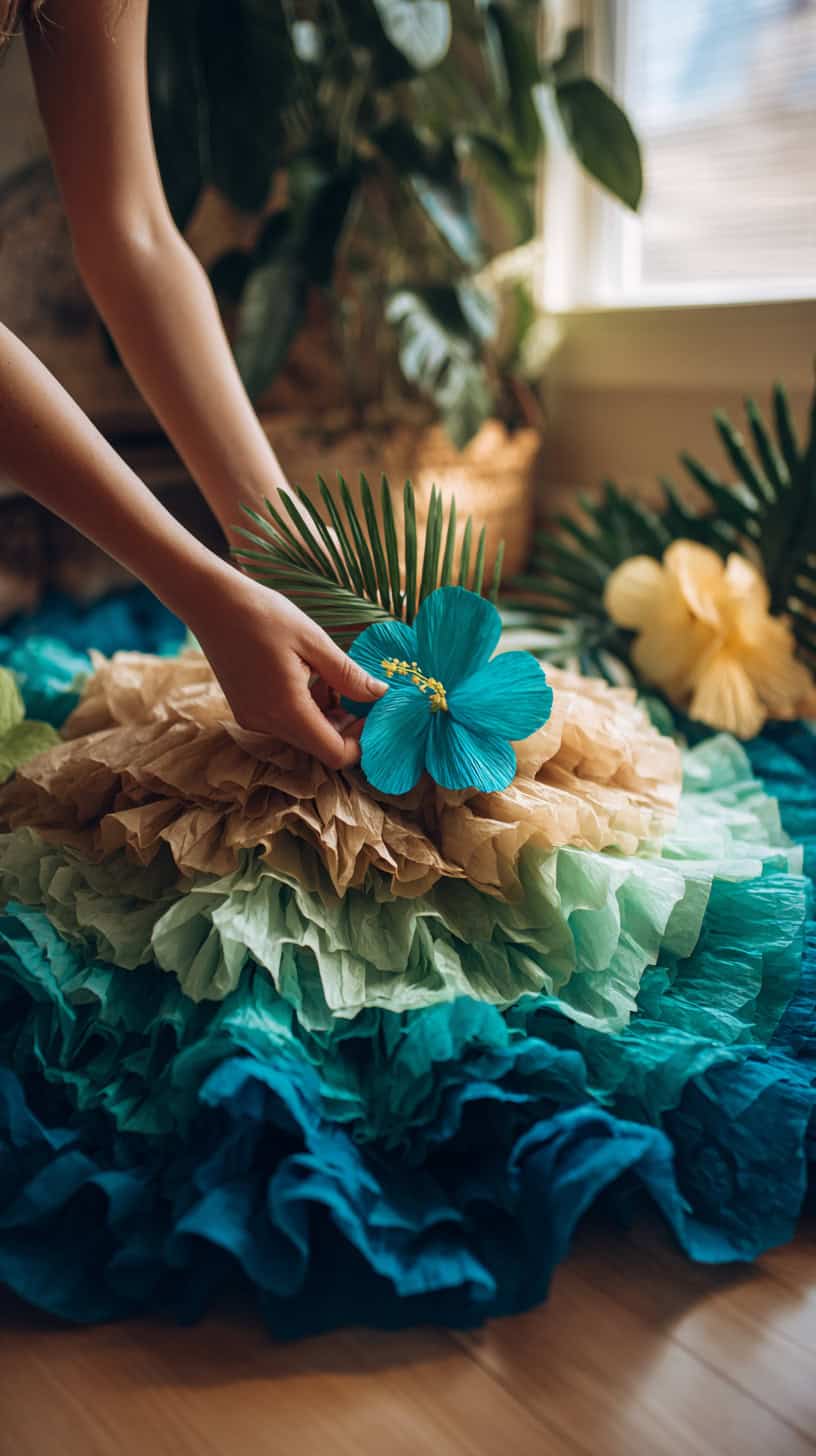
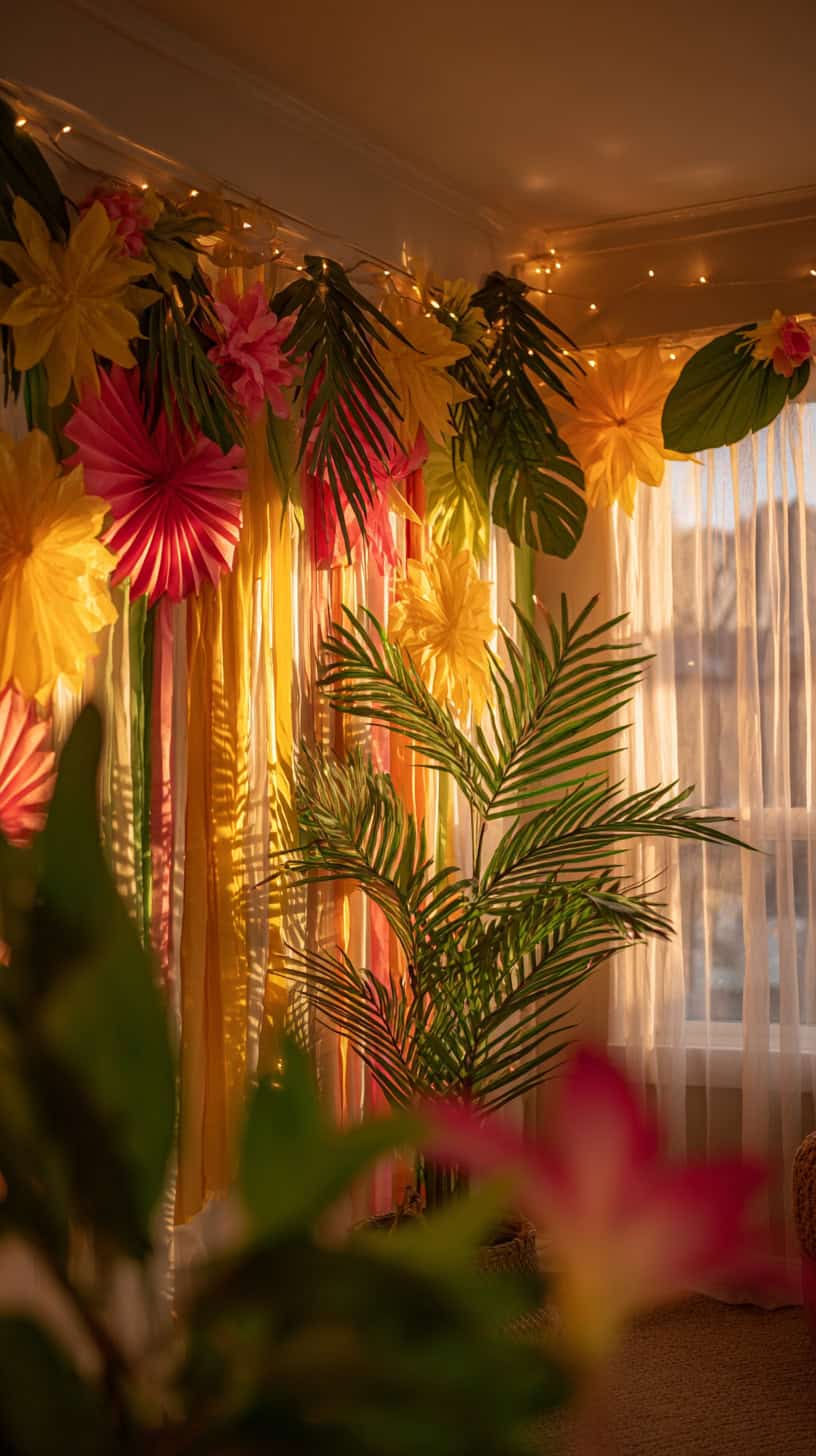
Now comes the fun part. The third layer is where you add your focal elements. Large tissue paper flowers, palm frond cutouts, or hanging vines create stunning visual anchors. Place these strategically, clustering some together while leaving other areas more open. This prevents the cluttered look that happens when decorations are evenly spaced.
The fourth layer brings in your accent pieces. Smaller flowers, tropical leaves, and colorful details fill gaps without overwhelming the design. Think of this layer as the jewelry of your backdrop. It catches the eye and adds polish.
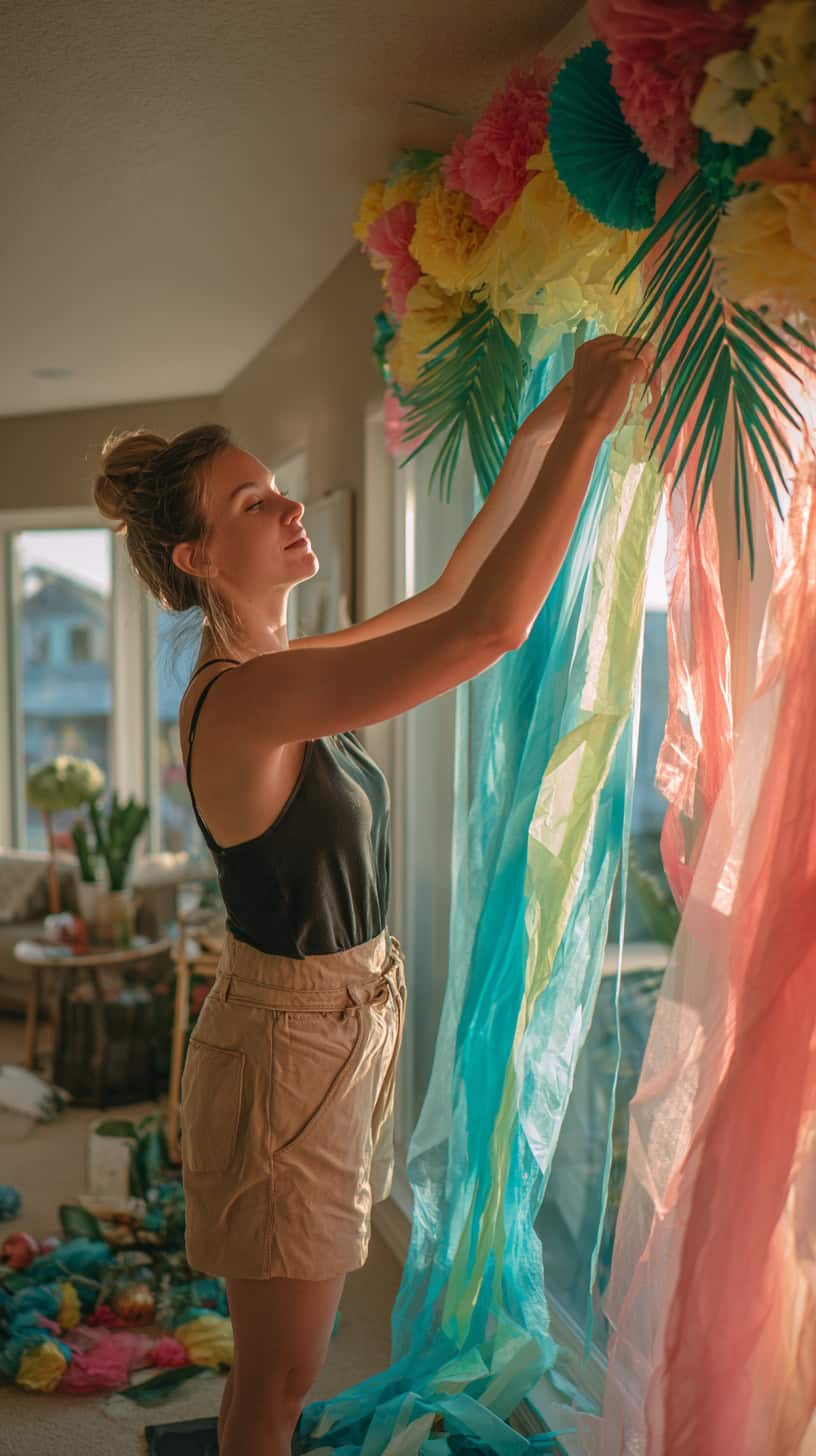
Finally, add a dimensional layer that extends into the party space. Hanging elements like paper lanterns, flowing ribbons, or suspended flowers create movement and make your backdrop feel immersive rather than flat. These pieces should hang at different lengths for the most dynamic effect.
The key is varying your depths. Some elements sit flush against your base, others project out an inch or two, and your hanging pieces extend even further. This layering creates shadows and highlights that make everything pop in photos.
Must-Have Supplies for Your Tropical Backdrop


Before you dive into creating your tropical party backdrop, let me share the essential supplies that make the whole process easier. Having these items on hand means you won’t be running to the store mid-project, which trust me, saves so much frustration.
Foundation Materials:
- Large fabric pieces or plastic tablecloths in tropical colors
- Backdrop stand or wall space you can decorate
- Command hooks or push pins for hanging (depending on your surface)
- Fishing line or clear thread for invisible hanging
Decorative Elements:
- Tissue paper in multiple tropical colors
- Artificial tropical flowers and leaves
- Grass table skirts or raffia
- Green cardstock or construction paper for palm fronds
- Paper lanterns in coordinating colors
- Crepe paper streamers
Assembly Tools:
- Hot glue gun with plenty of extra glue sticks
- Strong tape (double-sided and painter’s tape)
- Scissors
- Stapler
- Ruler or measuring tape
The hot glue gun is honestly your best friend for these projects. It holds everything securely, dries quickly, and works on virtually any material. I go through so many glue sticks when making luau backdrop ideas that I buy them in bulk packs.
Don’t forget lighting supplies if your party extends into evening. String lights in warm white or multicolor add magical ambiance. Battery-operated LED candles give you that tiki torch glow without fire concerns, which is especially important when kids are running around.
One supply people often forget is something to stand on. A sturdy step stool makes hanging upper elements so much easier and safer. I learned this the hard way after attempting to balance on a wobbly chair while holding a glue gun.
Creating a Moana or Tropical Theme That Wows
If you’re planning a Moana-themed party, you have such a wonderful opportunity to create something truly special. Moana backdrop ideas combine traditional luau elements with specific touches from the beloved movie.
Start with ocean-inspired colors. Deep blues, turquoise, seafoam green, and sandy tan create that perfect Moana palette. Layer these colors in your backdrop base, perhaps creating an ombre effect that transitions from sand colors at the bottom to deep ocean blue at the top.
The heart of Te Fiti is an iconic element you can easily recreate. Cut a large spiral from green cardstock or foam board, then embellish it with a glowing center. You can use glow-in-the-dark paint or place an LED light behind translucent material for that magical effect.
Palm trees are essential for any Moana display. Create tall palm fronds from green cardstock, cutting fringe along the edges to mimic real palm leaves. Arrange them to frame your backdrop, just like the lush vegetation on Moana’s island. Add coconuts made from brown paper or small balls wrapped in brown tissue paper.
Ocean waves add incredible movement to your tropical backdrop ideas. Cut wave shapes from various shades of blue paper or fabric. Layer them at different heights, with lighter blues in front and darker blues behind, creating depth and that sense of rolling ocean.
Don’t forget tropical flowers, especially hibiscus and plumeria. These flowers appear throughout the movie and instantly evoke that Polynesian island feeling. Scatter them across your backdrop, cluster them in corners, and let some appear to float on your paper waves.
Add dimensional elements like a paper boat or sailboat to reference Moana’s journey. Fish cutouts in bright tropical colors swimming through your ocean waves bring the whole scene to life. My kids love cutting out different fish shapes and choosing their colors.
For a finishing touch that really wows, incorporate some sparkle or shimmer. Glitter on your waves catches the light like sun on water. Metallic gold accents reference the heart of Te Fiti and add that touch of magic that makes Moana’s story so special.
Pro Tips for Hanging and Styling Your Backdrop
The way you hang and style your backdrop makes all the difference between amateur and amazing. Let me share the techniques I’ve learned through plenty of trial and error so you can skip straight to success.
First, consider your backdrop location carefully. You want an area with good lighting but not harsh direct sunlight that creates unflattering shadows in photos. A wall perpendicular to windows usually works perfectly, giving you natural light without glare.
If you’re working with a wall you can’t damage, Command hooks are absolute lifesavers. Place them before you start decorating, spacing them evenly across the top of your backdrop area and down the sides. This gives you secure anchor points without holes or damage.
For outdoor Hawaiian party decorations for adults, you’ll need different hanging strategies. A simple PVC pipe frame draped with your backdrop materials works wonderfully. You can also string rope between two trees or posts, creating a framework to attach your decorations. Just make sure everything is secured well because outdoor breezes can wreak havoc on lightweight materials.
When attaching your base layer, start from the center and work outward. This prevents bunching and ensures smooth, professional-looking coverage. Pull fabric or paper taut as you secure it, smoothing any wrinkles as you go.
Here’s a trick that elevates any backdrop: vary your attachment heights. Don’t hang everything at the same level. Some flowers should sit higher, others lower. Palm fronds can extend beyond the top of your backdrop. This irregular arrangement looks more natural and interesting.
For hanging decorative elements, fishing line is practically invisible in photos. It creates that floating effect where flowers or lanterns seem to hover magically. Thread it through or around your decorations, then attach to your overhead anchor points.
Step back frequently as you work. What looks perfect up close might have gaps or crowded spots when viewed from where photos will be taken. I usually check from about six to eight feet away, which is typical photo distance.
Create a subtle focal point at about face height. This is where eyes naturally gravitate in photos, so make it special. A cluster of gorgeous flowers, a meaningful prop, or a particularly beautiful layered section draws attention and makes your backdrop memorable.
Don’t forget the floor area in front of your backdrop. Scatter some tropical leaves, flowers, or even sand-colored fabric to extend your theme. This helps blend your backdrop into the party space rather than having it look like a separate element on the wall.
Making Your Backdrop Photo-Ready
Creating a beautiful backdrop is one thing, but making it photograph beautifully requires a few extra considerations. These details ensure your guests capture stunning memories they’ll treasure forever.
Lighting is everything for great photos. If your party is during the day, natural light works beautifully, but avoid positioning your backdrop in direct harsh sunlight. Soft, diffused natural light gives the most flattering results. For evening events, add string lights or position lamps to illuminate your backdrop evenly without creating hot spots.
Think about your backdrop width. You want it wide enough for group photos, not just individual shots. I typically make mine at least six to eight feet wide, which accommodates groups of four to six people comfortably. Going even wider never hurts.
Height matters too. Your backdrop should extend from floor to at least seven feet high, preferably eight feet if possible. This ensures that even tall guests or people jumping for fun action shots stay within your decorated area.
Test your backdrop before party day. Take some sample photos with your phone from various angles and distances. This reveals any gaps, awkward spacing, or areas that need more decoration. It’s so much easier to make adjustments when you’re not rushing before guests arrive.
Consider adding fun props nearby for guests to use in photos. Leis, tropical flower crowns, tiki masks, ukuleles, or even inflatable pool toys give people something to do with their hands and add playful energy to pictures. Store them in a cute basket with a sign encouraging guests to get creative.
Create good spacing in front of your backdrop. Leave at least three to four feet of clear space between your backdrop and where people will stand. This distance prevents shadows and allows the backdrop to remain in focus while not overwhelming subjects in photos.
For the best photo results, mark a spot on the floor where people should stand. You can use decorative tape or a small tropical element like a pineapple. This sweet spot is where lighting and backdrop visibility work together perfectly.
Think about your color palette’s photo compatibility. Bright, saturated colors photograph well, while pastels can wash out. The vibrant tropical colors natural to luau themes work perfectly for this reason. They pop in photos and create that energetic party feeling.
Reusing Your Backdrop for Future Celebrations

One of my favorite things about DIY Hawaiian backdrop ideas is how versatile they are for future events. With smart storage and a little creativity, you can repurpose these elements over and over, maximizing your investment of time and money.
Start by disassembling your backdrop carefully after the party. I know you’re tired and just want to tear everything down, but fifteen extra minutes of careful removal saves hours of work later. Gently remove paper flowers intact, carefully unpin or unhook fabric pieces, and save any reusable elements in labeled containers.
Paper flowers and tropical cutouts store beautifully when layered between tissue paper in plastic bins. I label mine clearly with “Tropical Decorations” and note the color scheme. These same elements work for summer pool parties, beach-themed baby showers, retirement parties with travel themes, or even summer classroom decorations if you’re a teacher.
Grass skirts and fabric pieces fold and store easily. They’re perfect for future luau events, of course, but get creative. That grass skirt becomes jungle party decor or safari adventure decorations with the addition of animal cutouts. The tropical fabric works for nautical parties or summer picnics too.
Transform your tropical backdrop ideas into different themes with simple additions. Add some pirate flags and treasure chests to your palm trees and ocean waves for a pirate party. Include flamingos and pineapples for a trendy tropical summer birthday. The base elements stay the same while small changes create entirely new looks.
Those tissue paper flowers you made aren’t just for luau parties. They’re gorgeous for spring celebrations, Easter gatherings, Mexican fiesta themes, or garden party decorations. The techniques you learned creating tropical flowers apply to any color scheme or season.
Consider refreshing rather than replacing for repeat themes. If you’re hosting another Hawaiian party next year, keep your best pieces and just add some new elements for variety. This approach builds an increasingly impressive collection while spreading the workload over time.
Some families make Hawaiian or tropical parties an annual tradition. Maybe it’s a summer kickoff party every June or a winter escape party when everyone needs warm, sunny vibes. Having your decorations ready to go makes continuing these traditions so much easier.
Don’t forget that these tropical party backdrop pieces work beautifully for photo opportunities beyond parties. Create a fun summer photo wall in your home, make a backdrop for virtual meeting backgrounds, or set up a photo spot for family pictures you’ll use for holiday cards. The investment keeps giving long after the party ends.
Share the wealth too. If you have friends who need party decorations, offer to lend your collection. Or get together with other parents and create a decoration swap where everyone shares their DIY creations. This builds community while saving everyone time and money.
Remember that trending themes come and go, but tropical, luau, and Hawaiian parties remain consistently popular. These decorations won’t feel dated next year or five years from now. Palm trees and hibiscus flowers are timeless elements that always create joy and celebration.
Creating your own luau photo backdrop brings such satisfaction. Every time you see those party photos, you’ll remember the fun of making something beautiful with your own hands. You’ll smile knowing you created magical memories without spending a fortune or stressing yourself out. These DIY Hawaiian party decorations prove that the best celebrations come from creativity, love, and a willingness to try something new. Your tropical paradise awaits, so grab those supplies and start creating something amazing!
This post may contain affiliate links. Read the full disclosure here.