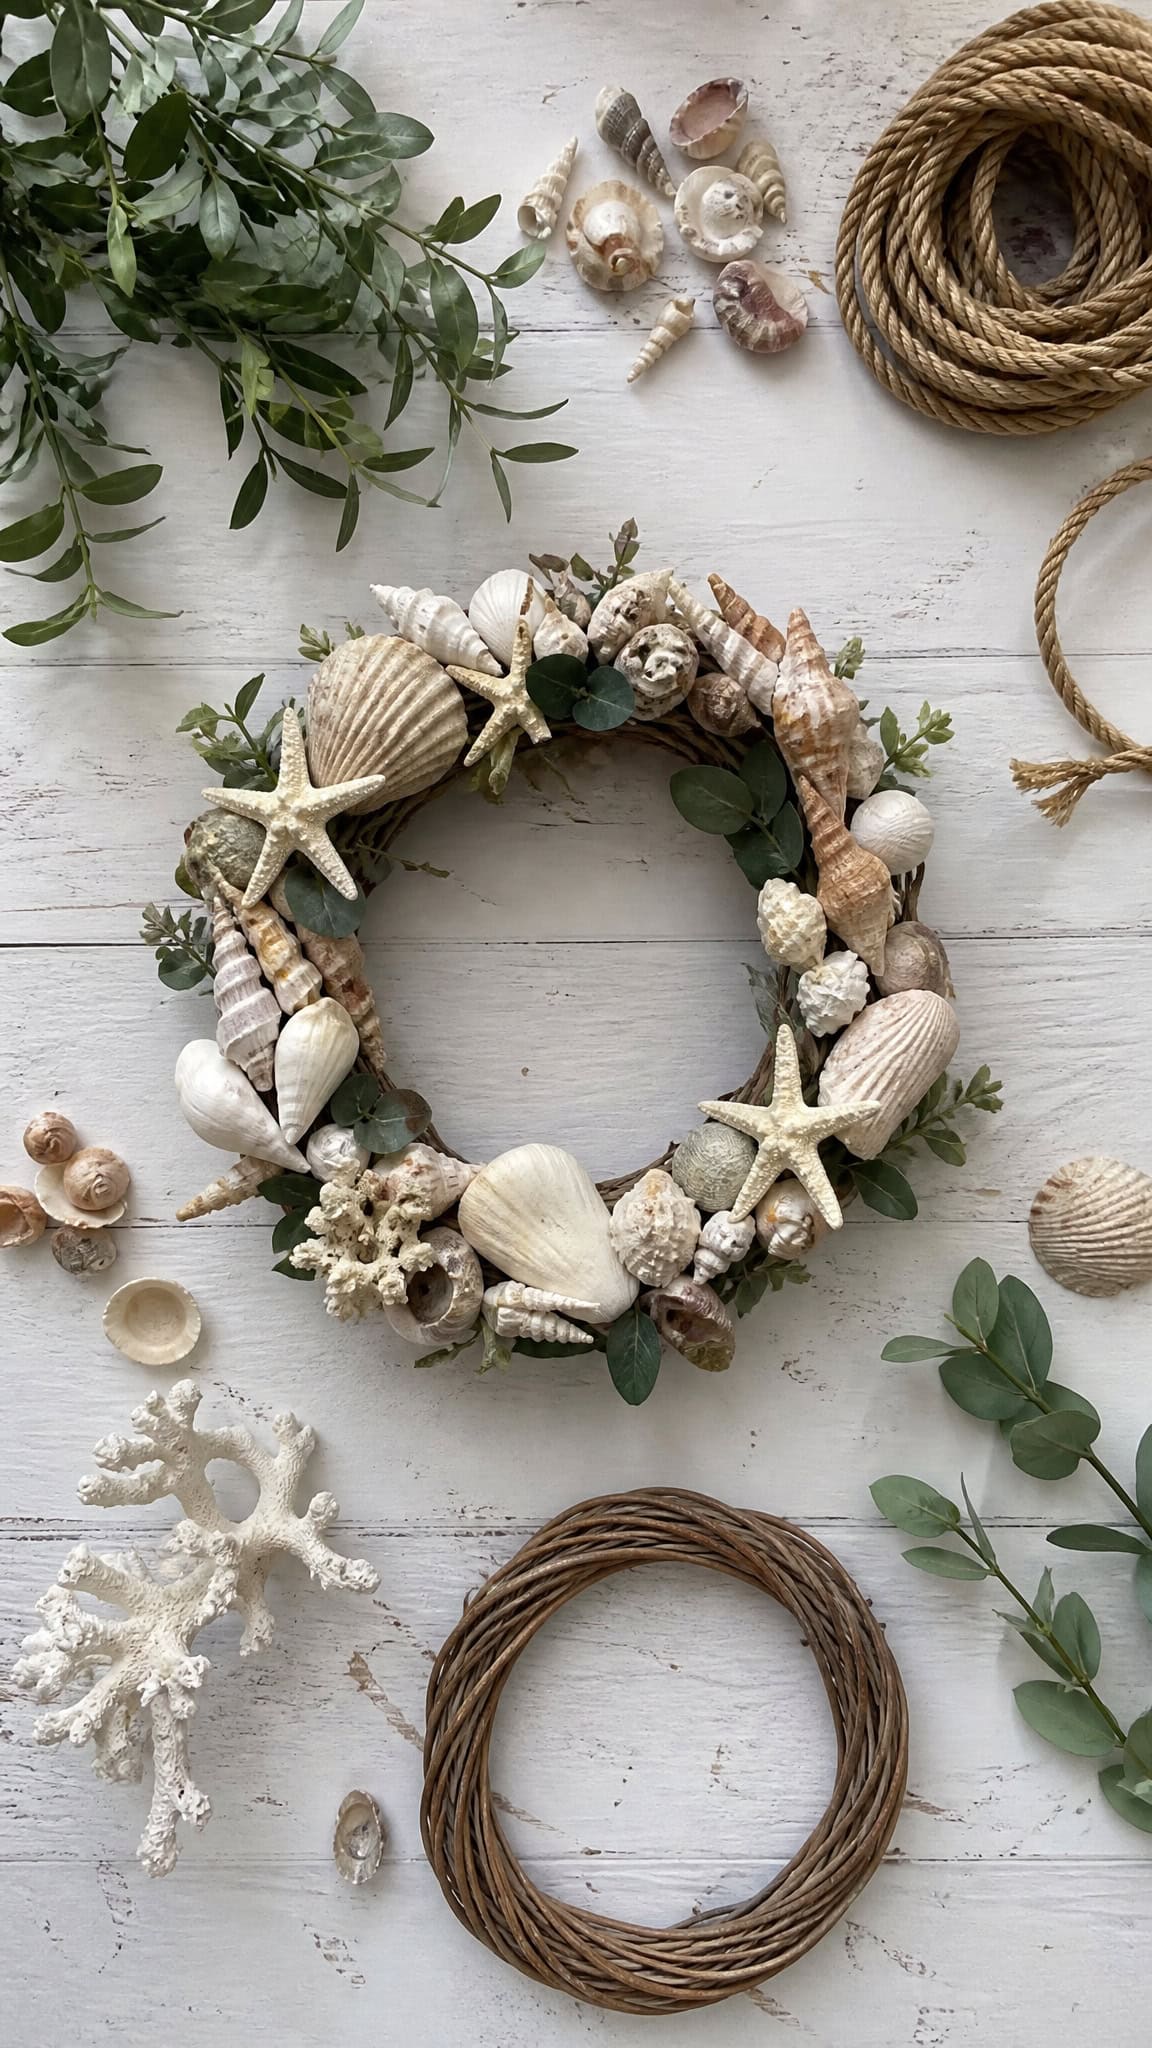
How To Make a Coastal Wreath DIY for a Breezy Seaside Look
There’s something absolutely magical about bringing those relaxed beach vibes into your home, especially when you’re juggling three energetic boys and need all the calm coastal energy you can get!
A coastal wreath DIY project is the perfect way to add that breezy, seaside charm to your front door or any room in your house without breaking the bank or spending hours on complicated crafts.
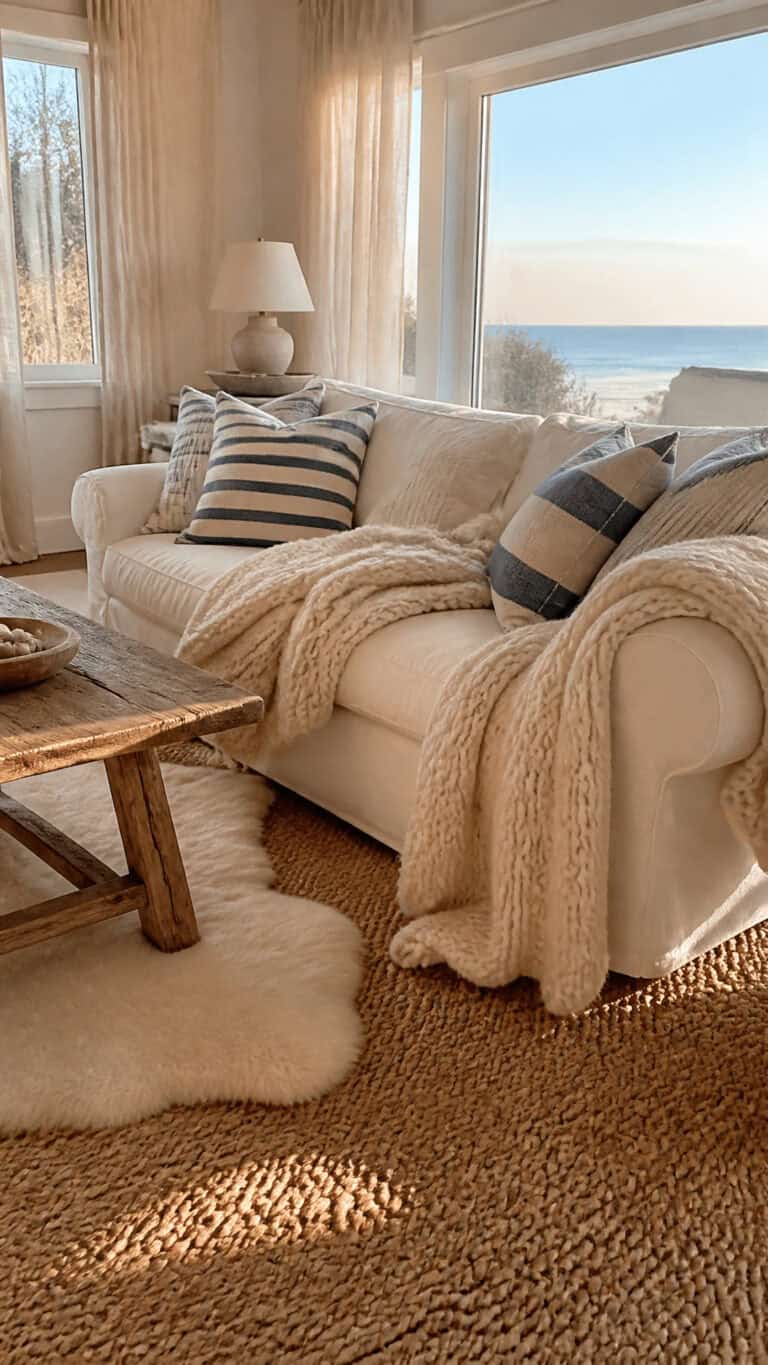
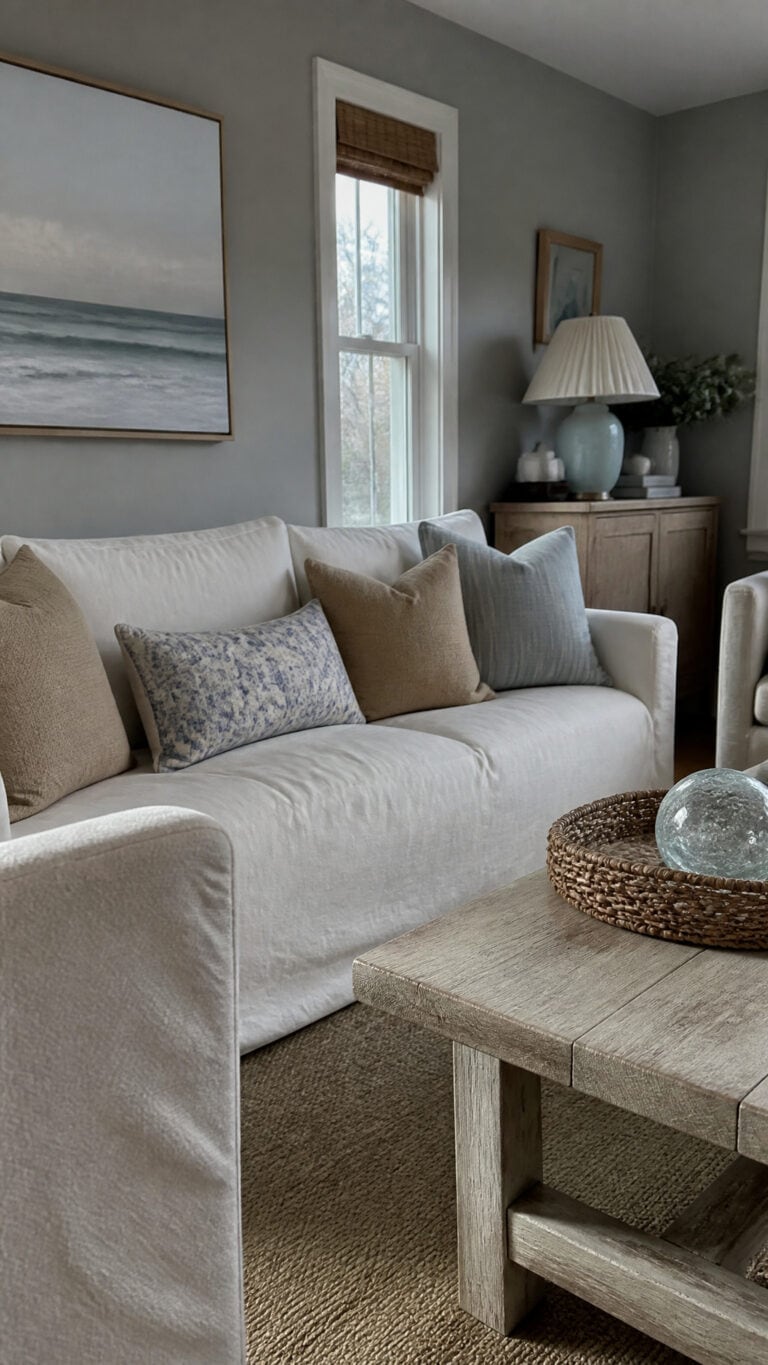
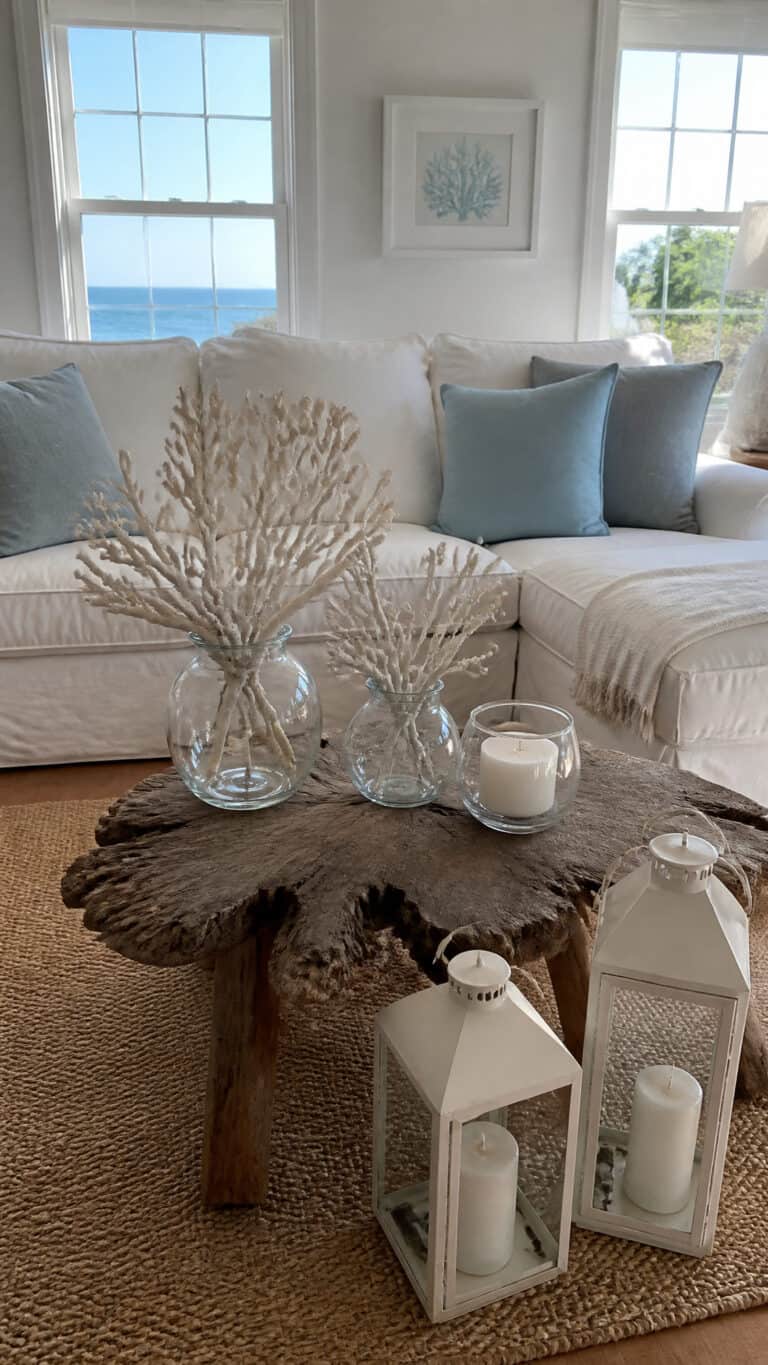
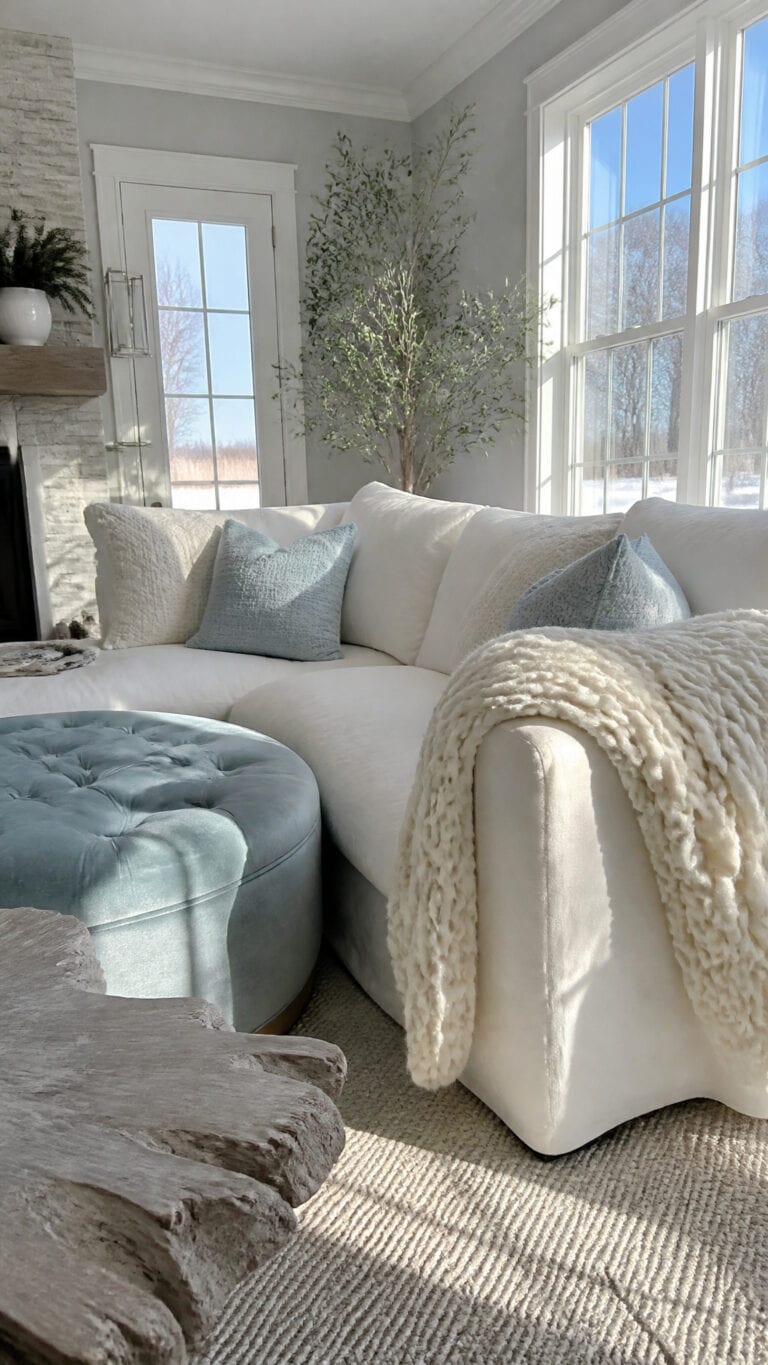
After finishing your wreath, bring the same breezy feeling indoors with winter seaside decor that feels cozy without losing its coastal charm!!
I discovered the joy of making coastal wreaths when I needed a quick home refresh between soccer practice and snack time, and let me tell you, this project is so much easier than it looks! Whether you live by the ocean or just dream of sandy toes and salty air, creating your own coastal wreath brings that vacation feeling right to your doorstep. Plus, it’s a fantastic activity that even the kids can help with during those long summer afternoons!
Gathering Your Coastal Wreath Materials
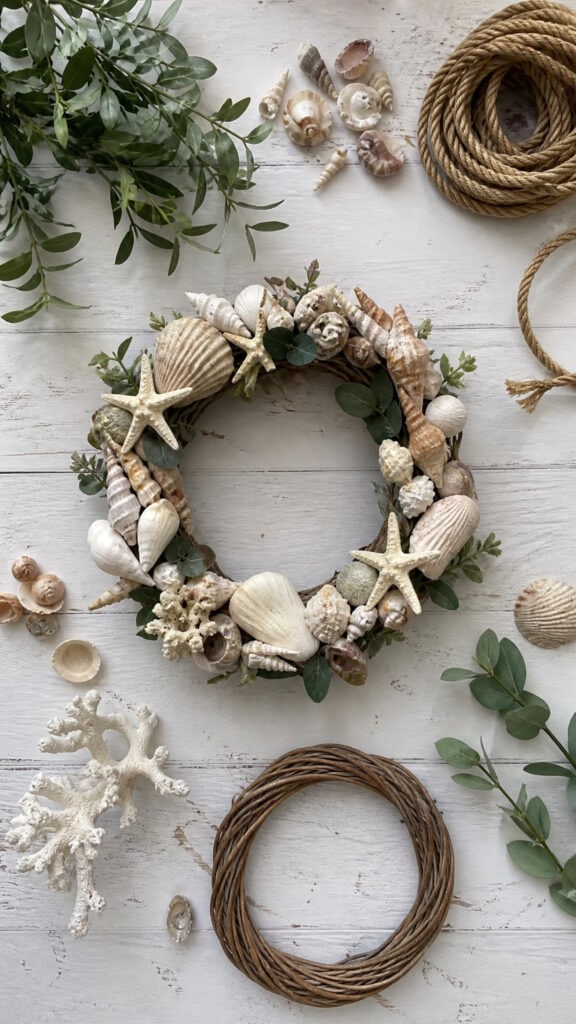

Before we dive into the fun part of actually making your coastal wreath DIY, let’s talk about what you’ll need to gather! The beauty of this project is that you can use materials you already have at home, things you’ve collected from beach trips, or affordable supplies from your local craft store. I always keep a basket of beach treasures from our family vacations, and this is the perfect way to put them to use!
For your base, you’ll need a wreath form – I recommend either a grapevine wreath for a more rustic look or a foam wreath form if you want something lighter and easier to work with. You’ll also want some floral wire, a hot glue gun with plenty of glue sticks (trust me, you’ll use more than you think!), and wire cutters or sturdy scissors.
Now for the fun coastal elements! Think seashells of various sizes, starfish (real or faux), driftwood pieces, rope or jute twine, and any other beach treasures you love. I also like to include some greenery – artificial eucalyptus or preserved moss works beautifully and adds that perfect pop of color. Don’t forget some ribbon if you want to add a bow or hanging loop!
Here’s a quick shopping list to make things easy:
- Wreath form (12-18 inches in diameter works great)
- Assorted seashells and starfish
- Natural rope or jute twine
- Hot glue gun and glue sticks
- Floral wire
- Artificial or preserved greenery
- Driftwood pieces (optional)
- Burlap or coastal-themed ribbon
- Small decorative elements like sand dollars or coral
Preparing Your Wreath Base
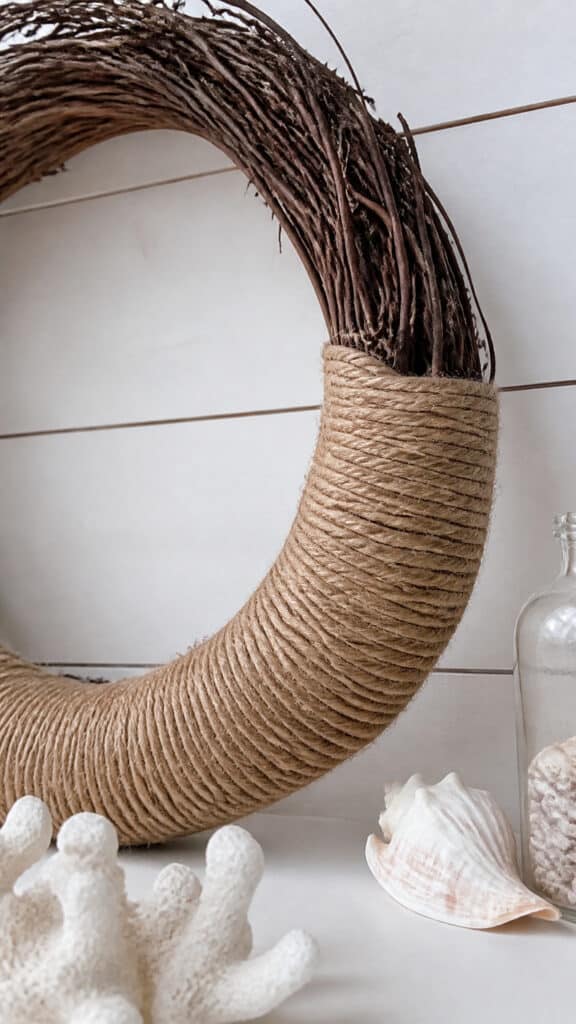
Okay, so once you’ve got all your materials spread out on your crafting surface (I always use our kitchen table after wiping away the breakfast crumbs!), it’s time to prep that base! This step is super important for your coastal wreath DIY because it creates the foundation that everything else will build upon.
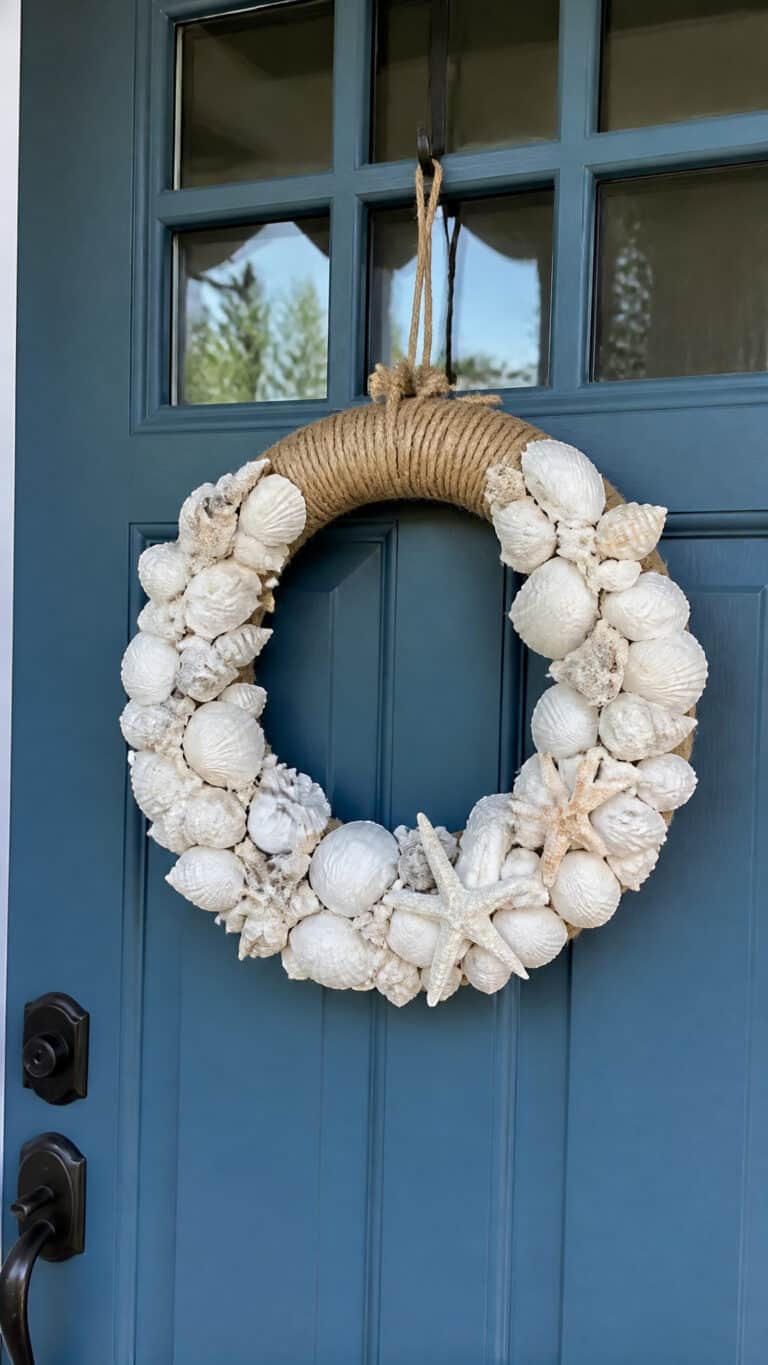
If you’re using a grapevine wreath, you might want to wrap it partially with rope or jute twine to give it that extra coastal texture. I like to wrap mine in a random, organic way – nothing too perfect or uniform because the beach is all about natural, effortless beauty! Start by securing one end of your rope to the back of the wreath with hot glue, then wrap it around sections of the wreath, leaving some of the natural grapevine showing through.
For foam wreath forms, I recommend wrapping the entire thing in burlap ribbon or rope because foam doesn’t have that natural texture we’re going for. Simply secure one end with a dab of hot glue and wrap tightly around the form, overlapping slightly as you go. When you reach the end, secure it with more hot glue and tuck the end neatly under the wrapped section.
This is also the perfect time to add your hanging mechanism if you haven’t already! I like to create a loop with some sturdy wire or ribbon attached to the back of the wreath. Make sure it’s secure because you don’t want your beautiful creation falling down when one of the boys inevitably slams the door too hard!
Creating Your Coastal Color Palette and Design
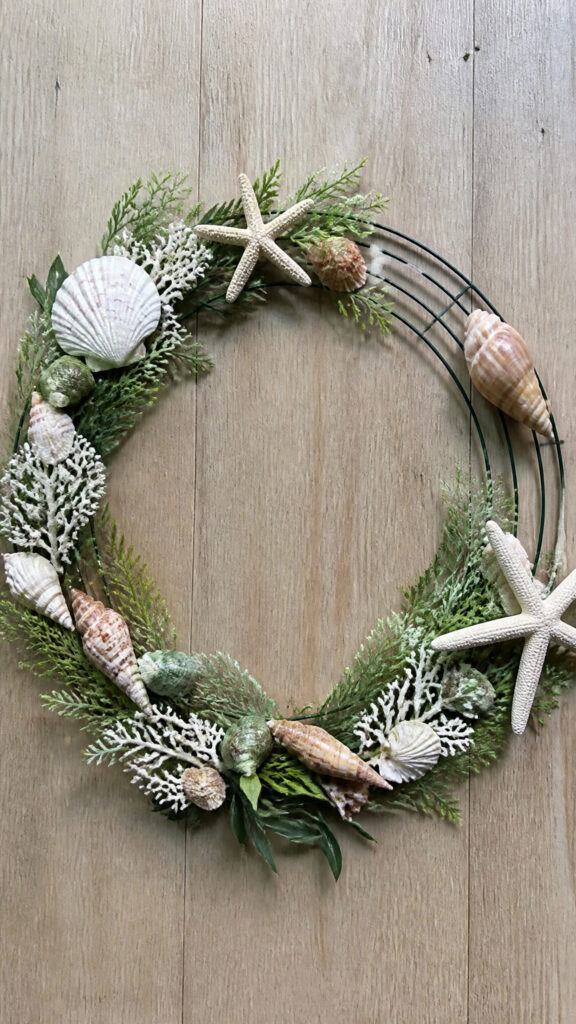
Before you start gluing everything down (and believe me, the temptation is real!), take a moment to plan out your design! This is where your coastal wreath DIY really comes to life and reflects your personal style. I learned this lesson the hard way after my first wreath attempt ended up looking more cluttered than coastal!
The classic coastal color palette includes whites, creams, soft blues, sandy beiges, and natural wood tones. These colors evoke that peaceful beach feeling we’re going for! I like to lay out all my shells and decorative elements on the table and arrange them by color to see what I’m working with. You might be surprised at how many different shades of white and cream your shells actually are!
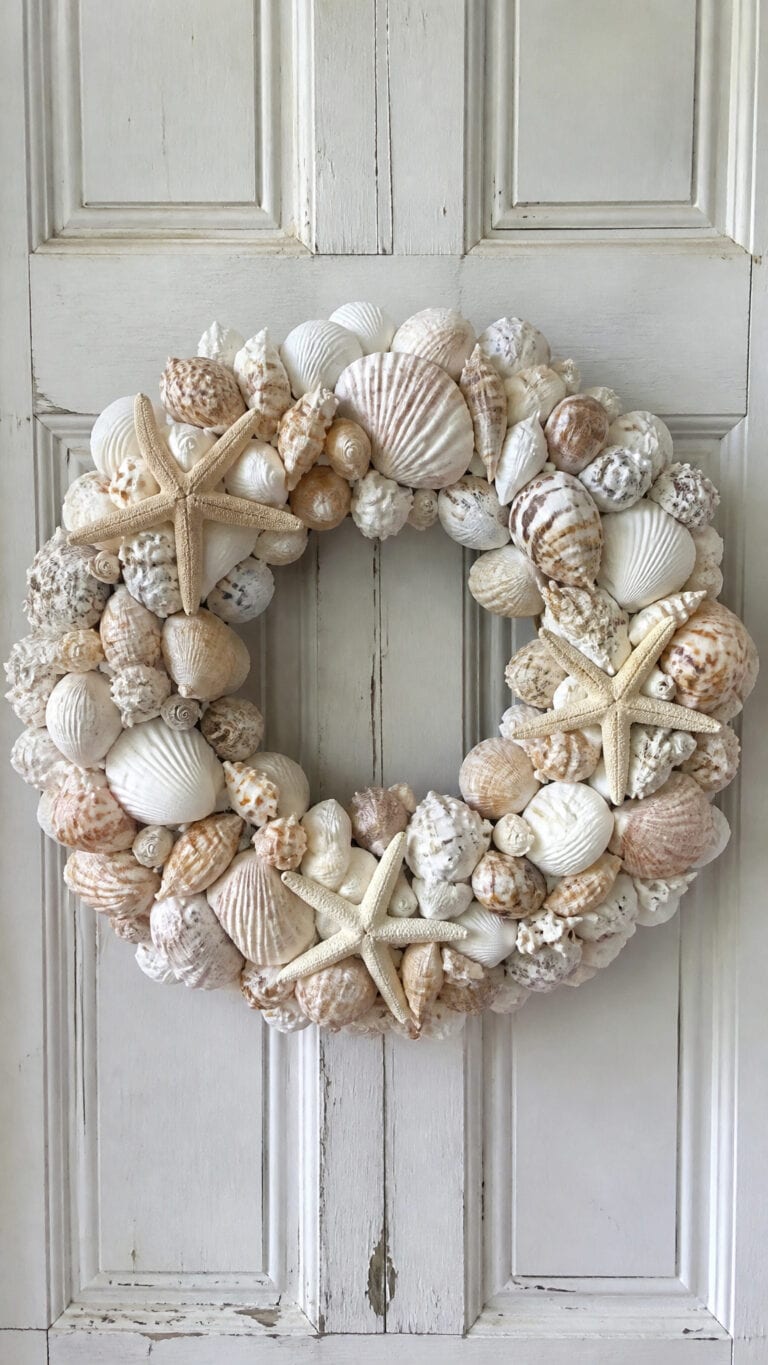
Now, let’s talk about design layout! You have a few options here. You can go for a full, lush wreath with elements covering the entire form, or you can create a more minimalist design with decorative elements concentrated on one side or the bottom half. I personally love the asymmetrical look where most of the shells and starfish are clustered on the lower right or left side, with some greenery flowing around the rest of the wreath.
Before committing anything with hot glue, actually place your items on the wreath form and take a picture with your phone! This has saved me so many times because you can step back and see if the balance looks right. Move things around until you’re happy with the arrangement. Remember, odd numbers of items (like three starfish or five large shells) tend to look more visually appealing than even numbers!
Attaching Shells and Starfish
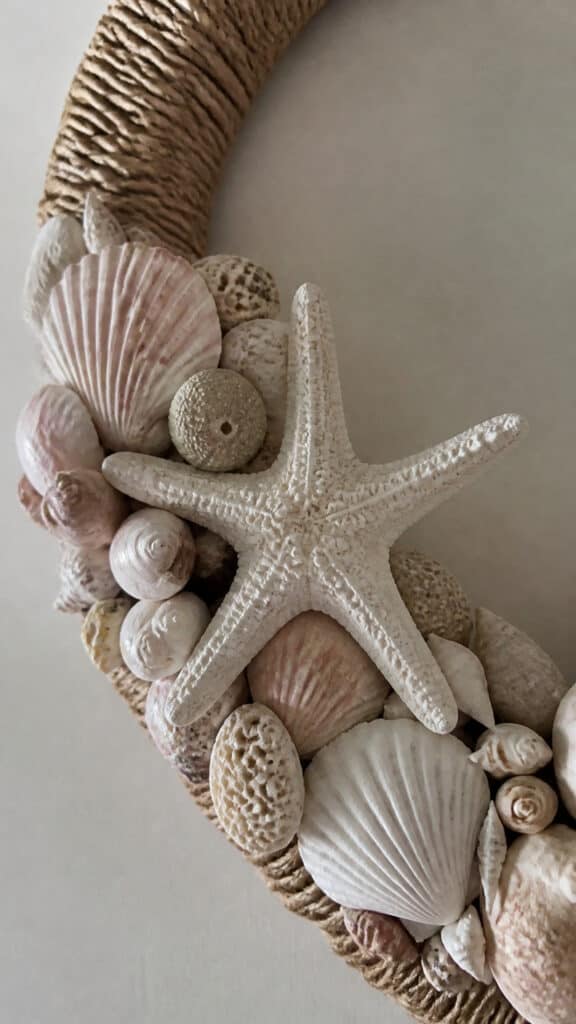
Now comes the moment we’ve been waiting for – actually attaching those gorgeous coastal elements to create your masterpiece! This is honestly my favorite part of the coastal wreath DIY process because you start to see your vision come together right before your eyes.
Start with your largest elements first, like big starfish or substantial shells! These will be your focal points and anchor pieces. I like to position my largest starfish first, securing it with generous amounts of hot glue. Pro tip from a mom who’s learned the hard way: let the glue gun heat up fully, and work in small sections so the glue doesn’t cool before you get everything positioned. Also, keep a cup of ice water nearby just in case you accidentally touch hot glue (happens to the best of us!).
When gluing shells, apply the hot glue to the wreath base rather than the shell itself when possible. This gives you better control and prevents the glue from being visible. For heavier shells, you might want to add a small piece of floral wire as extra support – just wrap it around the shell and secure it to the wreath form, then cover with hot glue.
Layer your shells in a way that creates depth and dimension! Don’t just glue everything flat against the base. Instead, angle some shells slightly outward, tuck smaller shells partially behind larger ones, and create little clusters of shells in varying sizes. This creates visual interest and makes your wreath look more professional and dynamic.
As you work your way around the wreath (or focus on your chosen design area), step back frequently to check your progress! I probably step back and look at my wreath from across the room about twenty times during this process. It helps you spot any gaps that need filling or areas that look too crowded.
Adding Greenery and Texture Elements
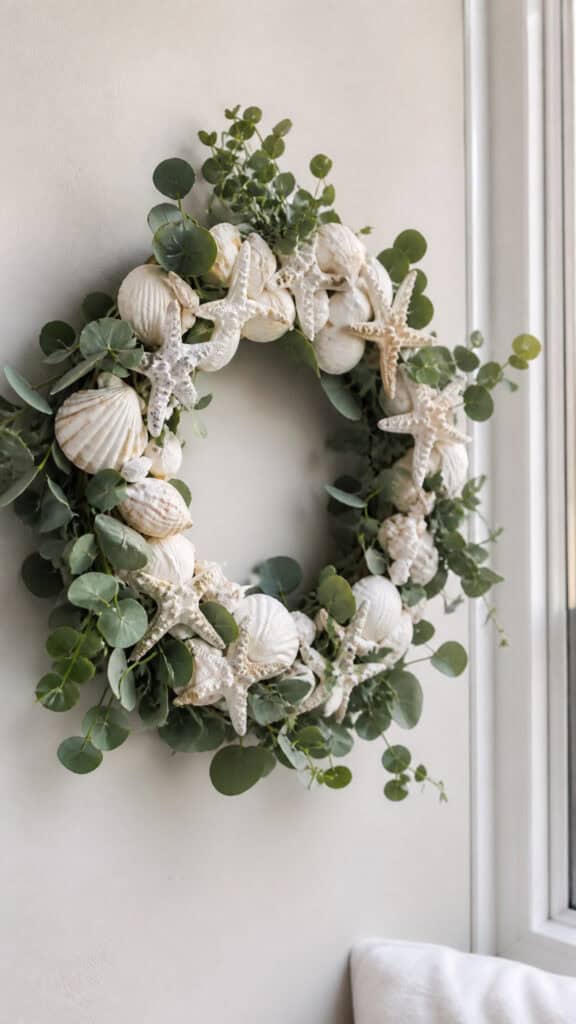
Once your shells and starfish are securely attached, it’s time to soften everything up with some beautiful greenery! This step really elevates your coastal wreath DIY from good to absolutely stunning. The greenery adds movement, fills in gaps, and brings that fresh, breezy feeling that makes coastal decor so appealing!
I love using artificial eucalyptus for coastal wreaths because the silvery-green color is perfect for that beachy vibe, and it’s incredibly forgiving to work with! You can also use preserved moss, artificial ferns, or even some wispy grasses. The key is to choose greenery that looks natural and flowing rather than stiff and formal.
Cut your greenery into manageable pieces, usually about 4-6 inches long, depending on the size of your wreath. Then tuck the stems into the wreath base, securing them with hot glue where needed. I like to have the greenery flow in one direction, as if it’s being gently blown by an ocean breeze! This creates a sense of movement and keeps the design from looking static.
Don’t be afraid to layer different types of greenery together! Mix textures and shades of green for a more natural, collected-over-time look. Tuck some pieces behind shells, let others flow over the edges of the wreath, and fill in any gaps where the base is showing through.
This is also when you can add other texture elements like small pieces of driftwood, bits of rope, or even some preserved moss tucked into corners! These little touches add so much character and make your wreath look like you spent way more time on it than you actually did. And between you and me, with three boys running around, we need all the time-saving tricks we can get!
Finishing Touches and Embellishments
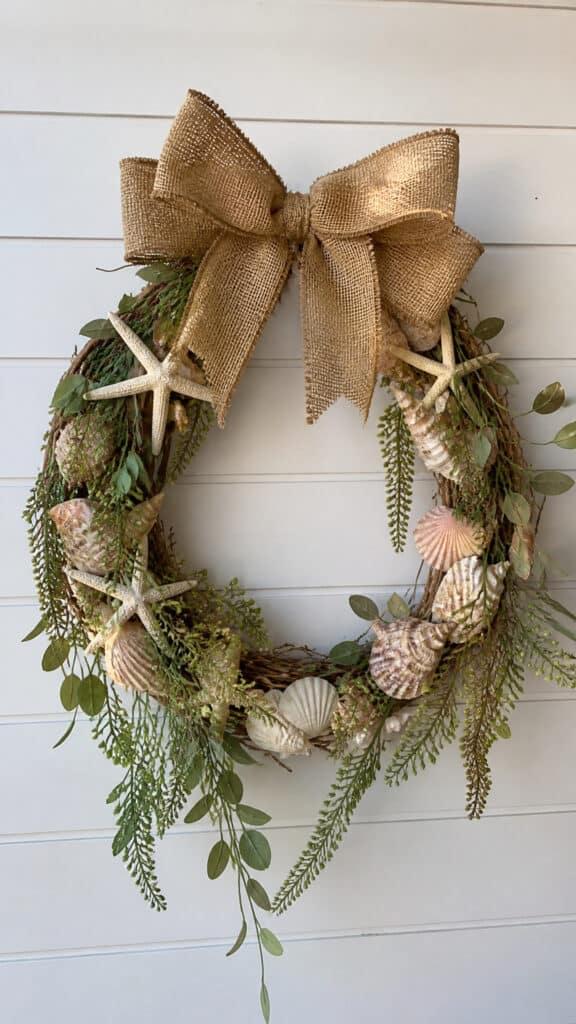
We’re in the home stretch now, and this is where you can really let your creativity shine! The finishing touches are what make your coastal wreath DIY uniquely yours and take it from pretty to absolutely gorgeous. This is also the perfect opportunity to customize your wreath for different seasons or occasions!
Consider adding a beautiful bow made from burlap ribbon, linen, or even a soft blue and white striped ribbon for that nautical touch! I like to make a simple bow with long, flowing tails that hang down – it adds elegance without overwhelming the natural elements. If bows aren’t your thing, you could also weave some ribbon through sections of the wreath for a subtle pop of color.
Small embellishments can make a big impact! Think about adding tiny sand dollars, small pieces of coral, miniature sailboats, or even some pearl beads scattered throughout. I once added some small wooden beads that looked like driftwood, and they added such a nice dimension! Just remember, less is more – you want to enhance your design, not clutter it.
If you want to add a personal touch, consider incorporating elements that have special meaning! Maybe a shell from your favorite family beach vacation, or a piece of sea glass the boys found during your last coastal trip. These personal touches make your wreath even more special and give it a story to tell.
Finally, take a step back and do a final assessment! Look for any spots where hot glue strings are visible (we call them glue gun spiderwebs at our house!) and carefully remove them. Check that everything is securely attached by gently touching each element. The last thing you want is shells falling off when you hang your beautiful creation!
Displaying and Caring for Your Coastal Wreath
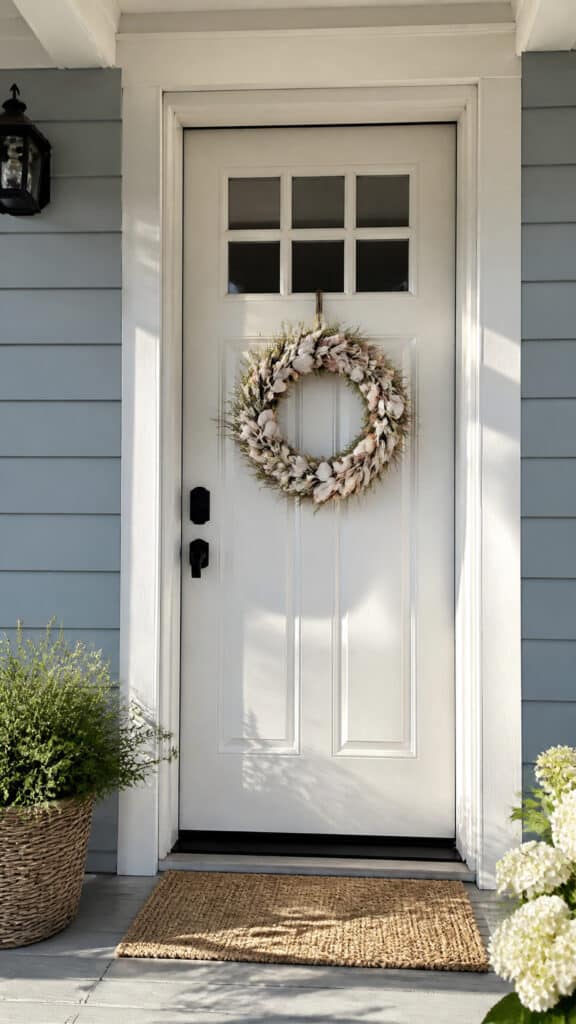
Congratulations, you’ve created a stunning coastal wreath DIY that’s ready to bring those beachy vibes to your home! Now let’s talk about the best ways to display and care for your creation so it stays beautiful for seasons to come. Trust me, after putting in all this effort, you want to make sure it lasts!
The most obvious place for your wreath is on your front door, of course! But don’t limit yourself – coastal wreaths look amazing above a fireplace mantel, on a bathroom wall, hanging in a bedroom, or even as a centerpiece on your dining table (just lay it flat and add a candle in the center – gorgeous!). I have mine hanging in our entryway where I see it every single day, and it never fails to make me smile!
When hanging your wreath outdoors, consider the elements! If your wreath will be in direct sunlight, the colors might fade over time, and if it’s exposed to rain, some materials might not hold up well. I like to hang mine on a covered porch where it’s protected but still visible to guests. If you’re hanging it on a door, use a wreath hanger rather than nails to avoid damage.
For care and maintenance, your coastal wreath is actually pretty low-maintenance (unlike my three boys!)! Every few weeks, take it down and gently dust it with a soft brush or use a hairdryer on the cool setting to blow away any dust. If any elements become loose over time, just reattach them with a bit of hot glue.
If you want to change things up seasonally, your coastal wreath is super versatile! Add some small pumpkins and orange ribbon for fall, tuck in some pine sprigs and white berries for winter, or add bright flowers for spring. The neutral base of shells and natural elements works with so many different styles! I love that I can keep the same wreath and just swap out a few elements to keep things fresh throughout the year.
Bring the Beach Home With Your Beautiful Creation
Creating your own coastal wreath DIY is such a rewarding project that brings a piece of the beach right to your doorstep! I absolutely love how this project combines creativity with those peaceful coastal vibes we all crave, especially on those hectic days when the boys are bouncing off the walls. Every time I look at my wreath, I’m reminded of sandy beaches, gentle waves, and those precious family moments by the sea!
The best part about making your own coastal wreath is that it’s completely customizable to your style and budget, and it makes such a thoughtful handmade gift too! Whether you’re a seasoned crafter or this is your first wreath-making adventure, you really can’t go wrong with this project. So grab those shells, fire up that glue gun, and create something beautiful that brings a little bit of coastal calm into your home. You’ve totally got this, and I can’t wait for you to see how amazing your finished wreath turns out!
This post may contain affiliate links. Read the full disclosure here.